Sichere Zahlungen
 Kostenloser Versand ab 85 € (DE, AT, FR)

Sliding carriage rails Bosch Gts 10xc
Assembly instructions
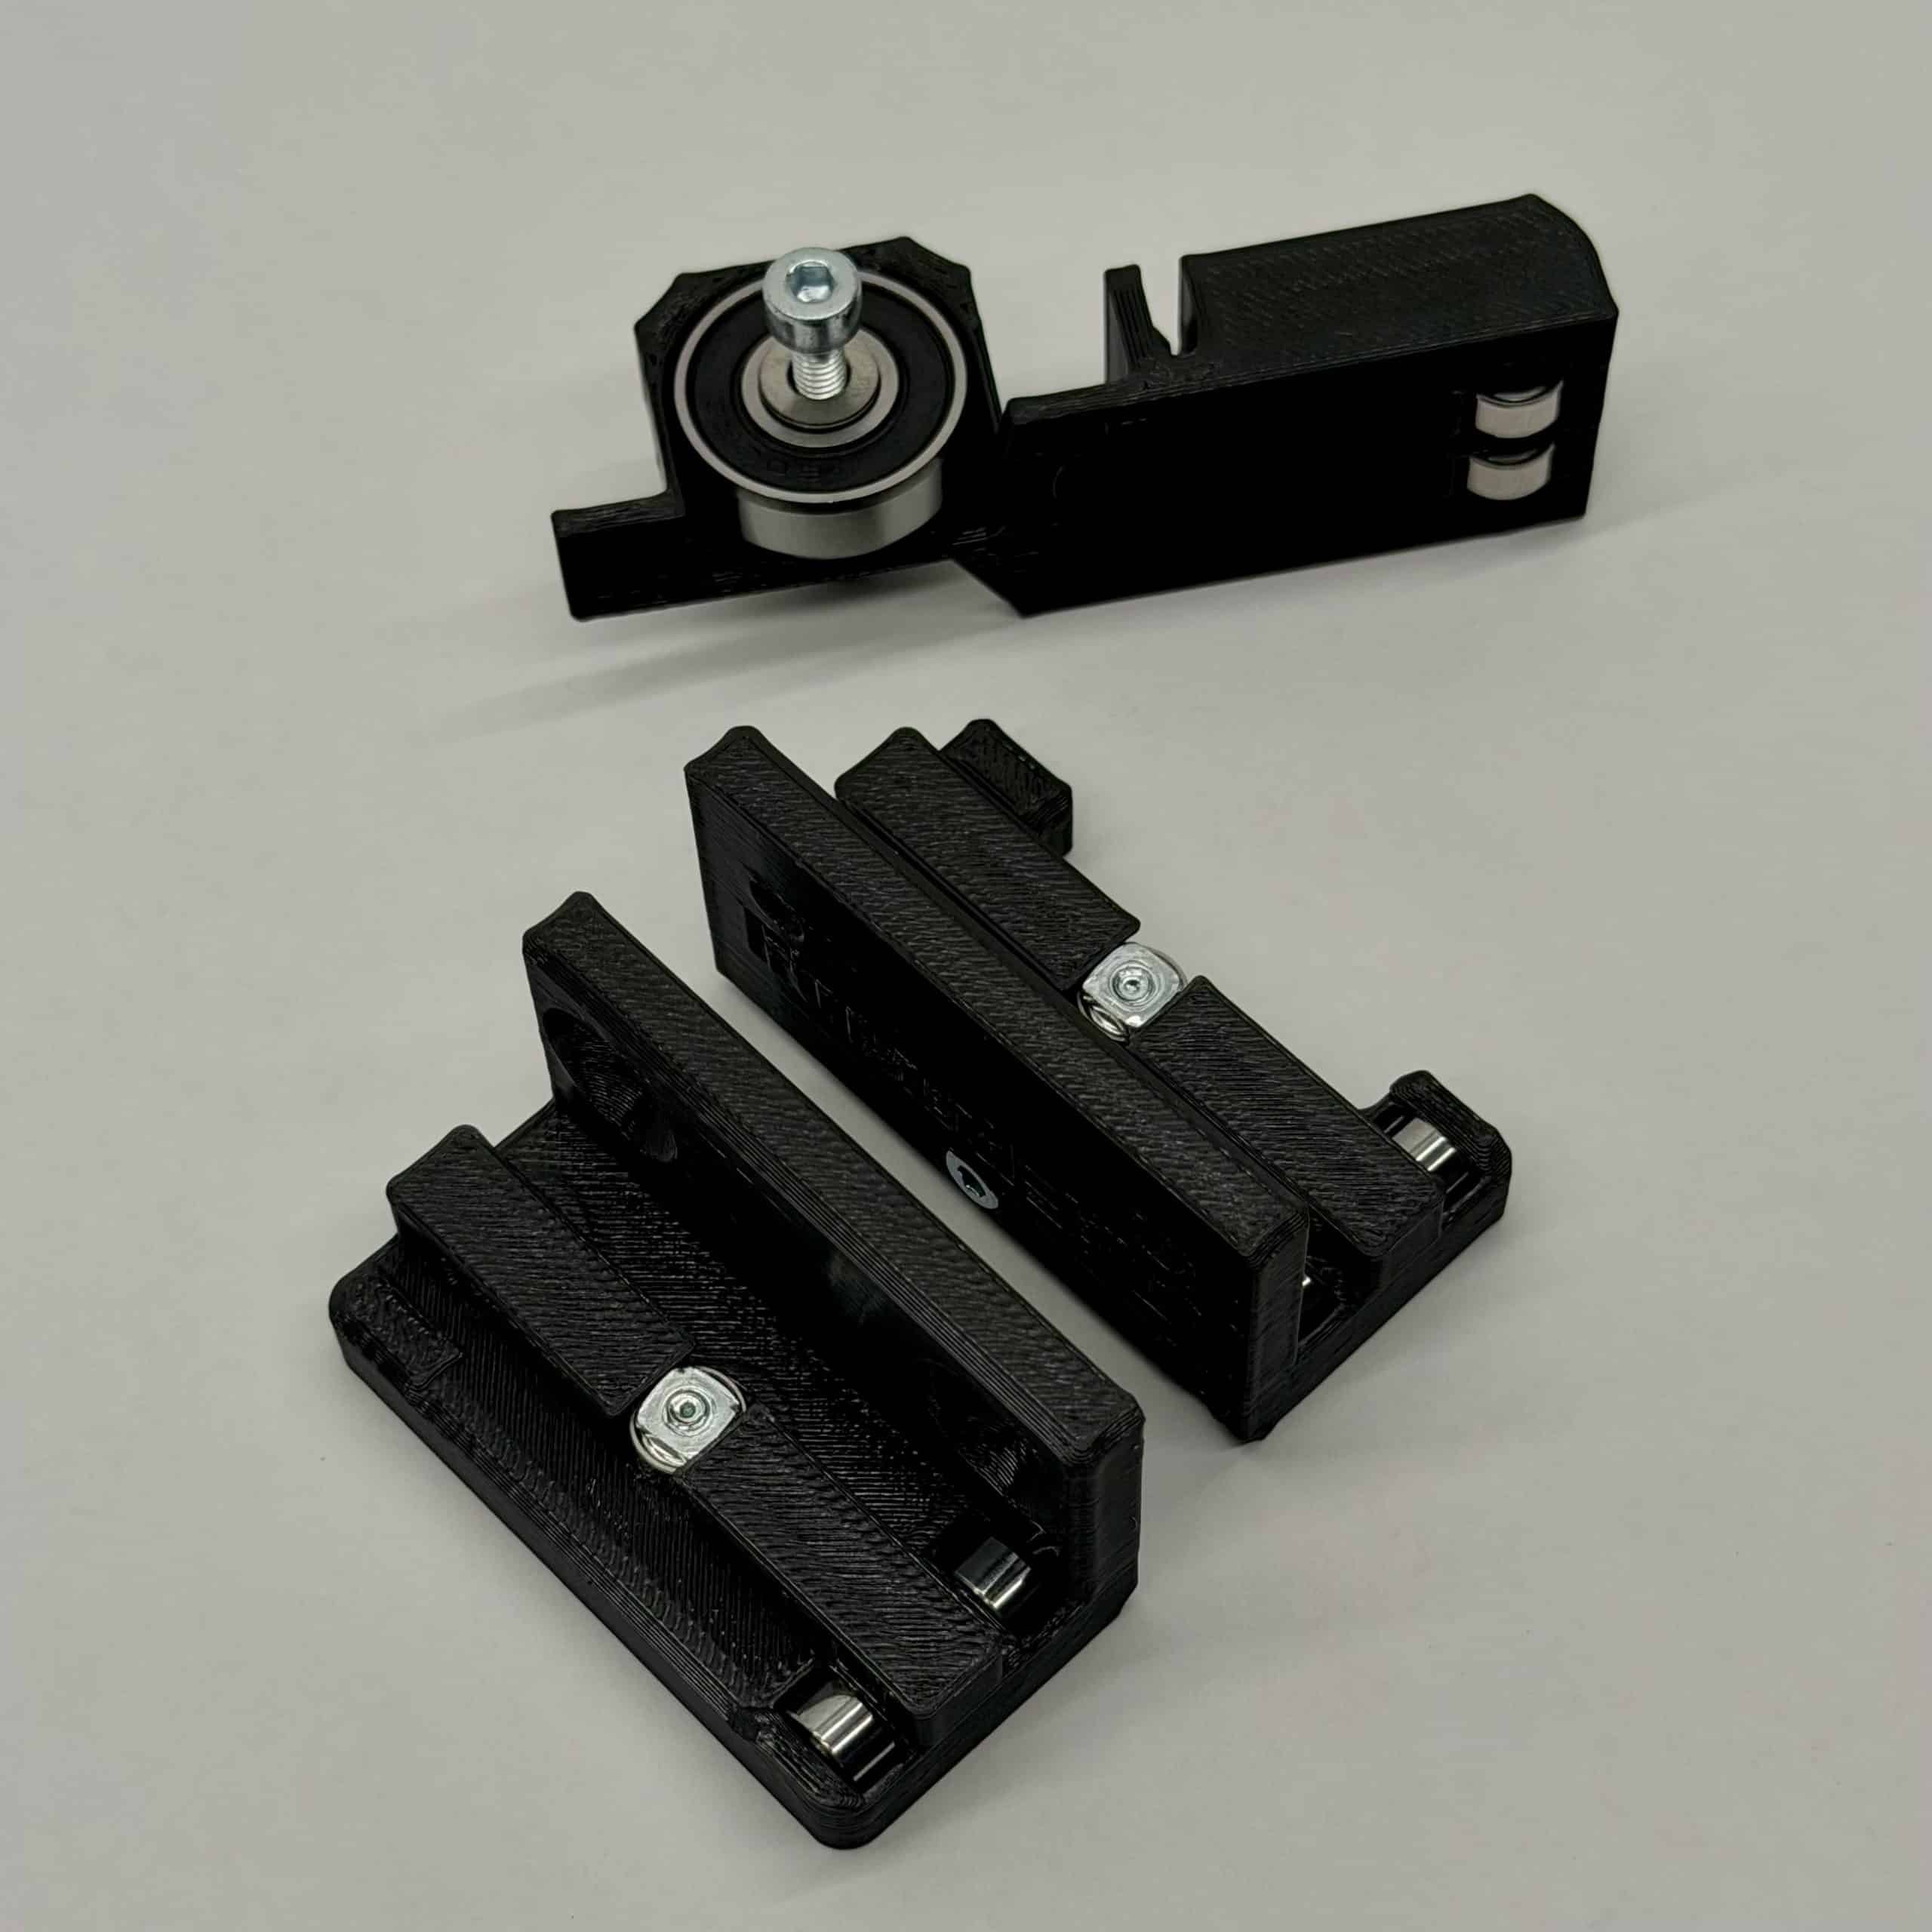
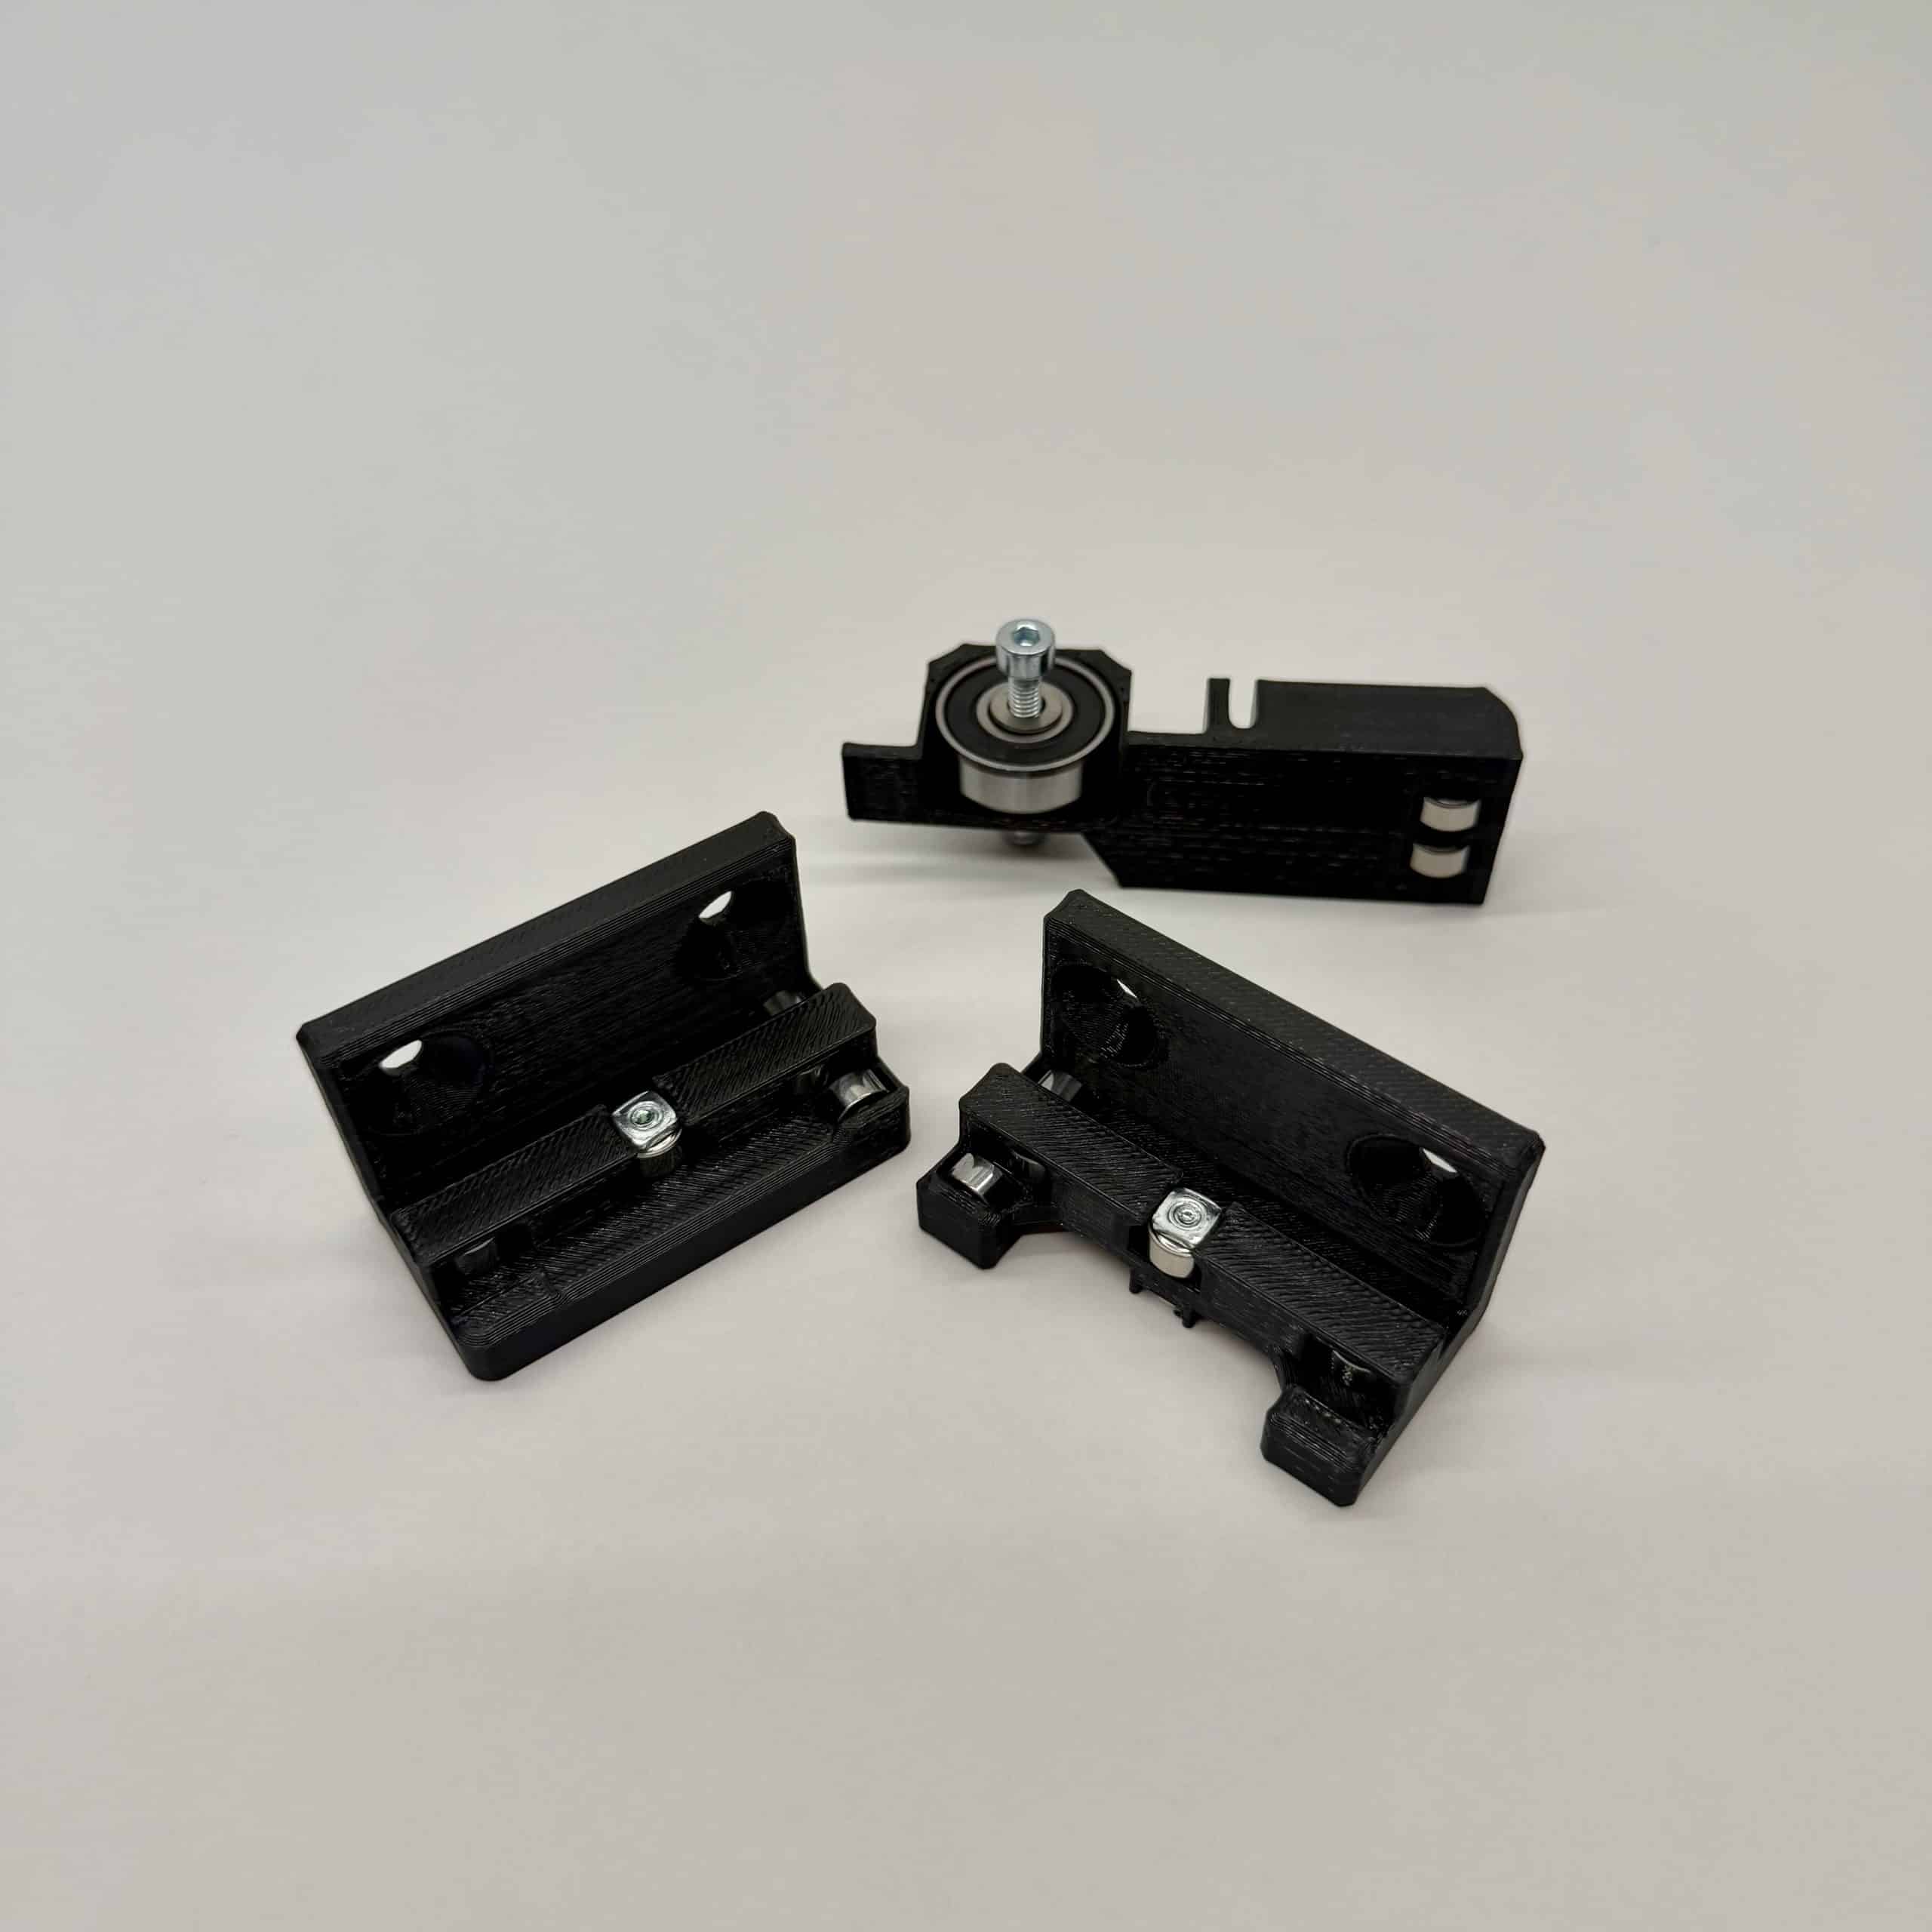
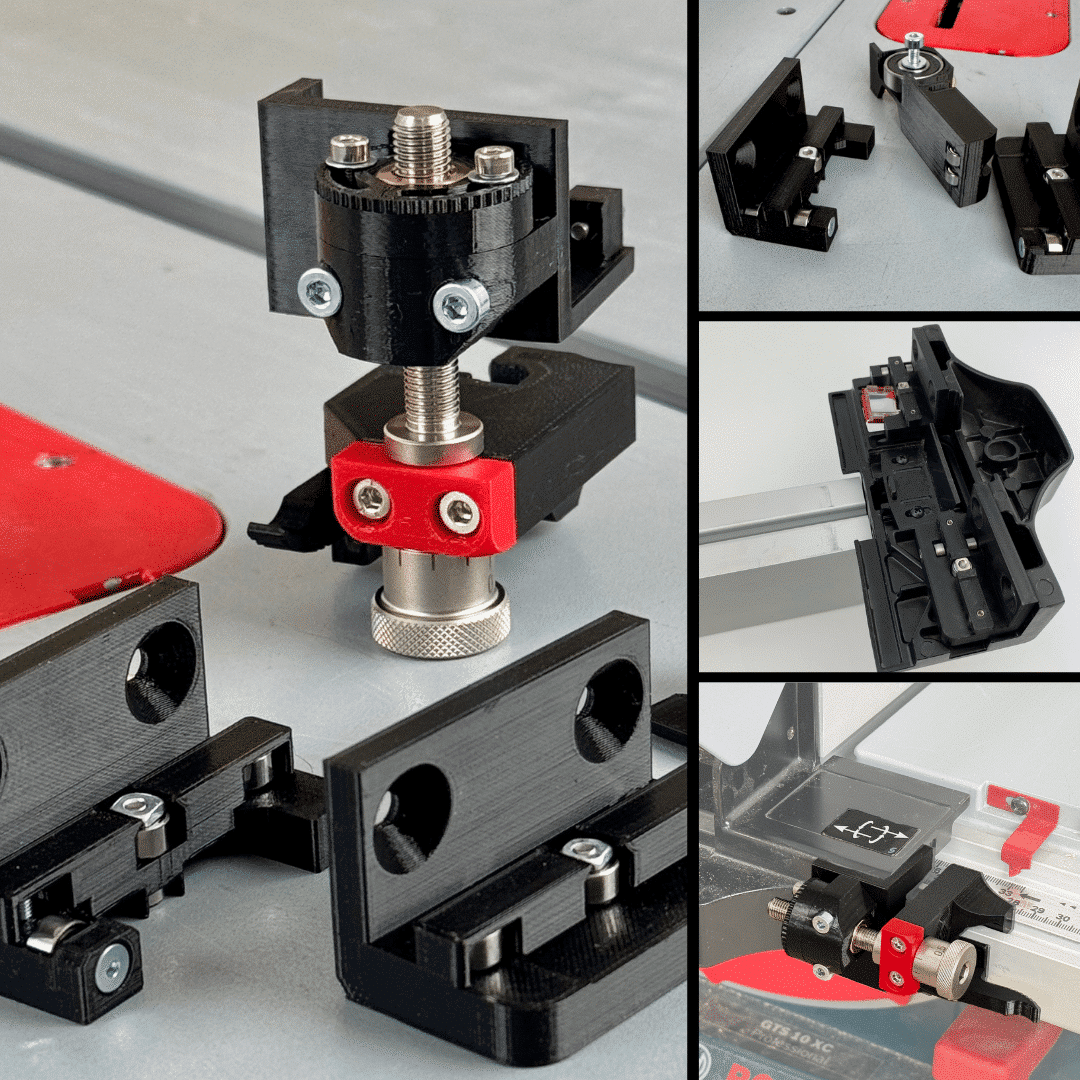
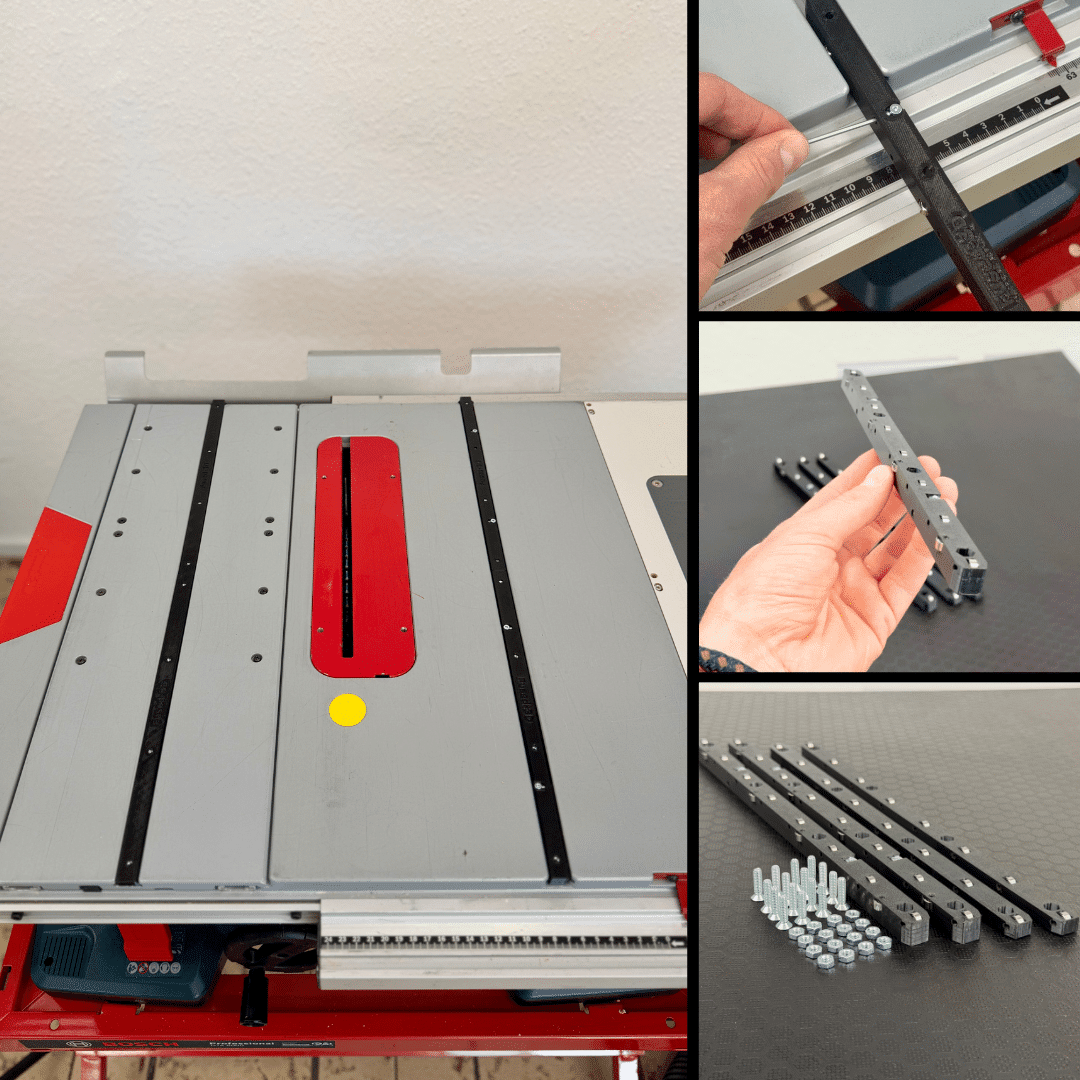
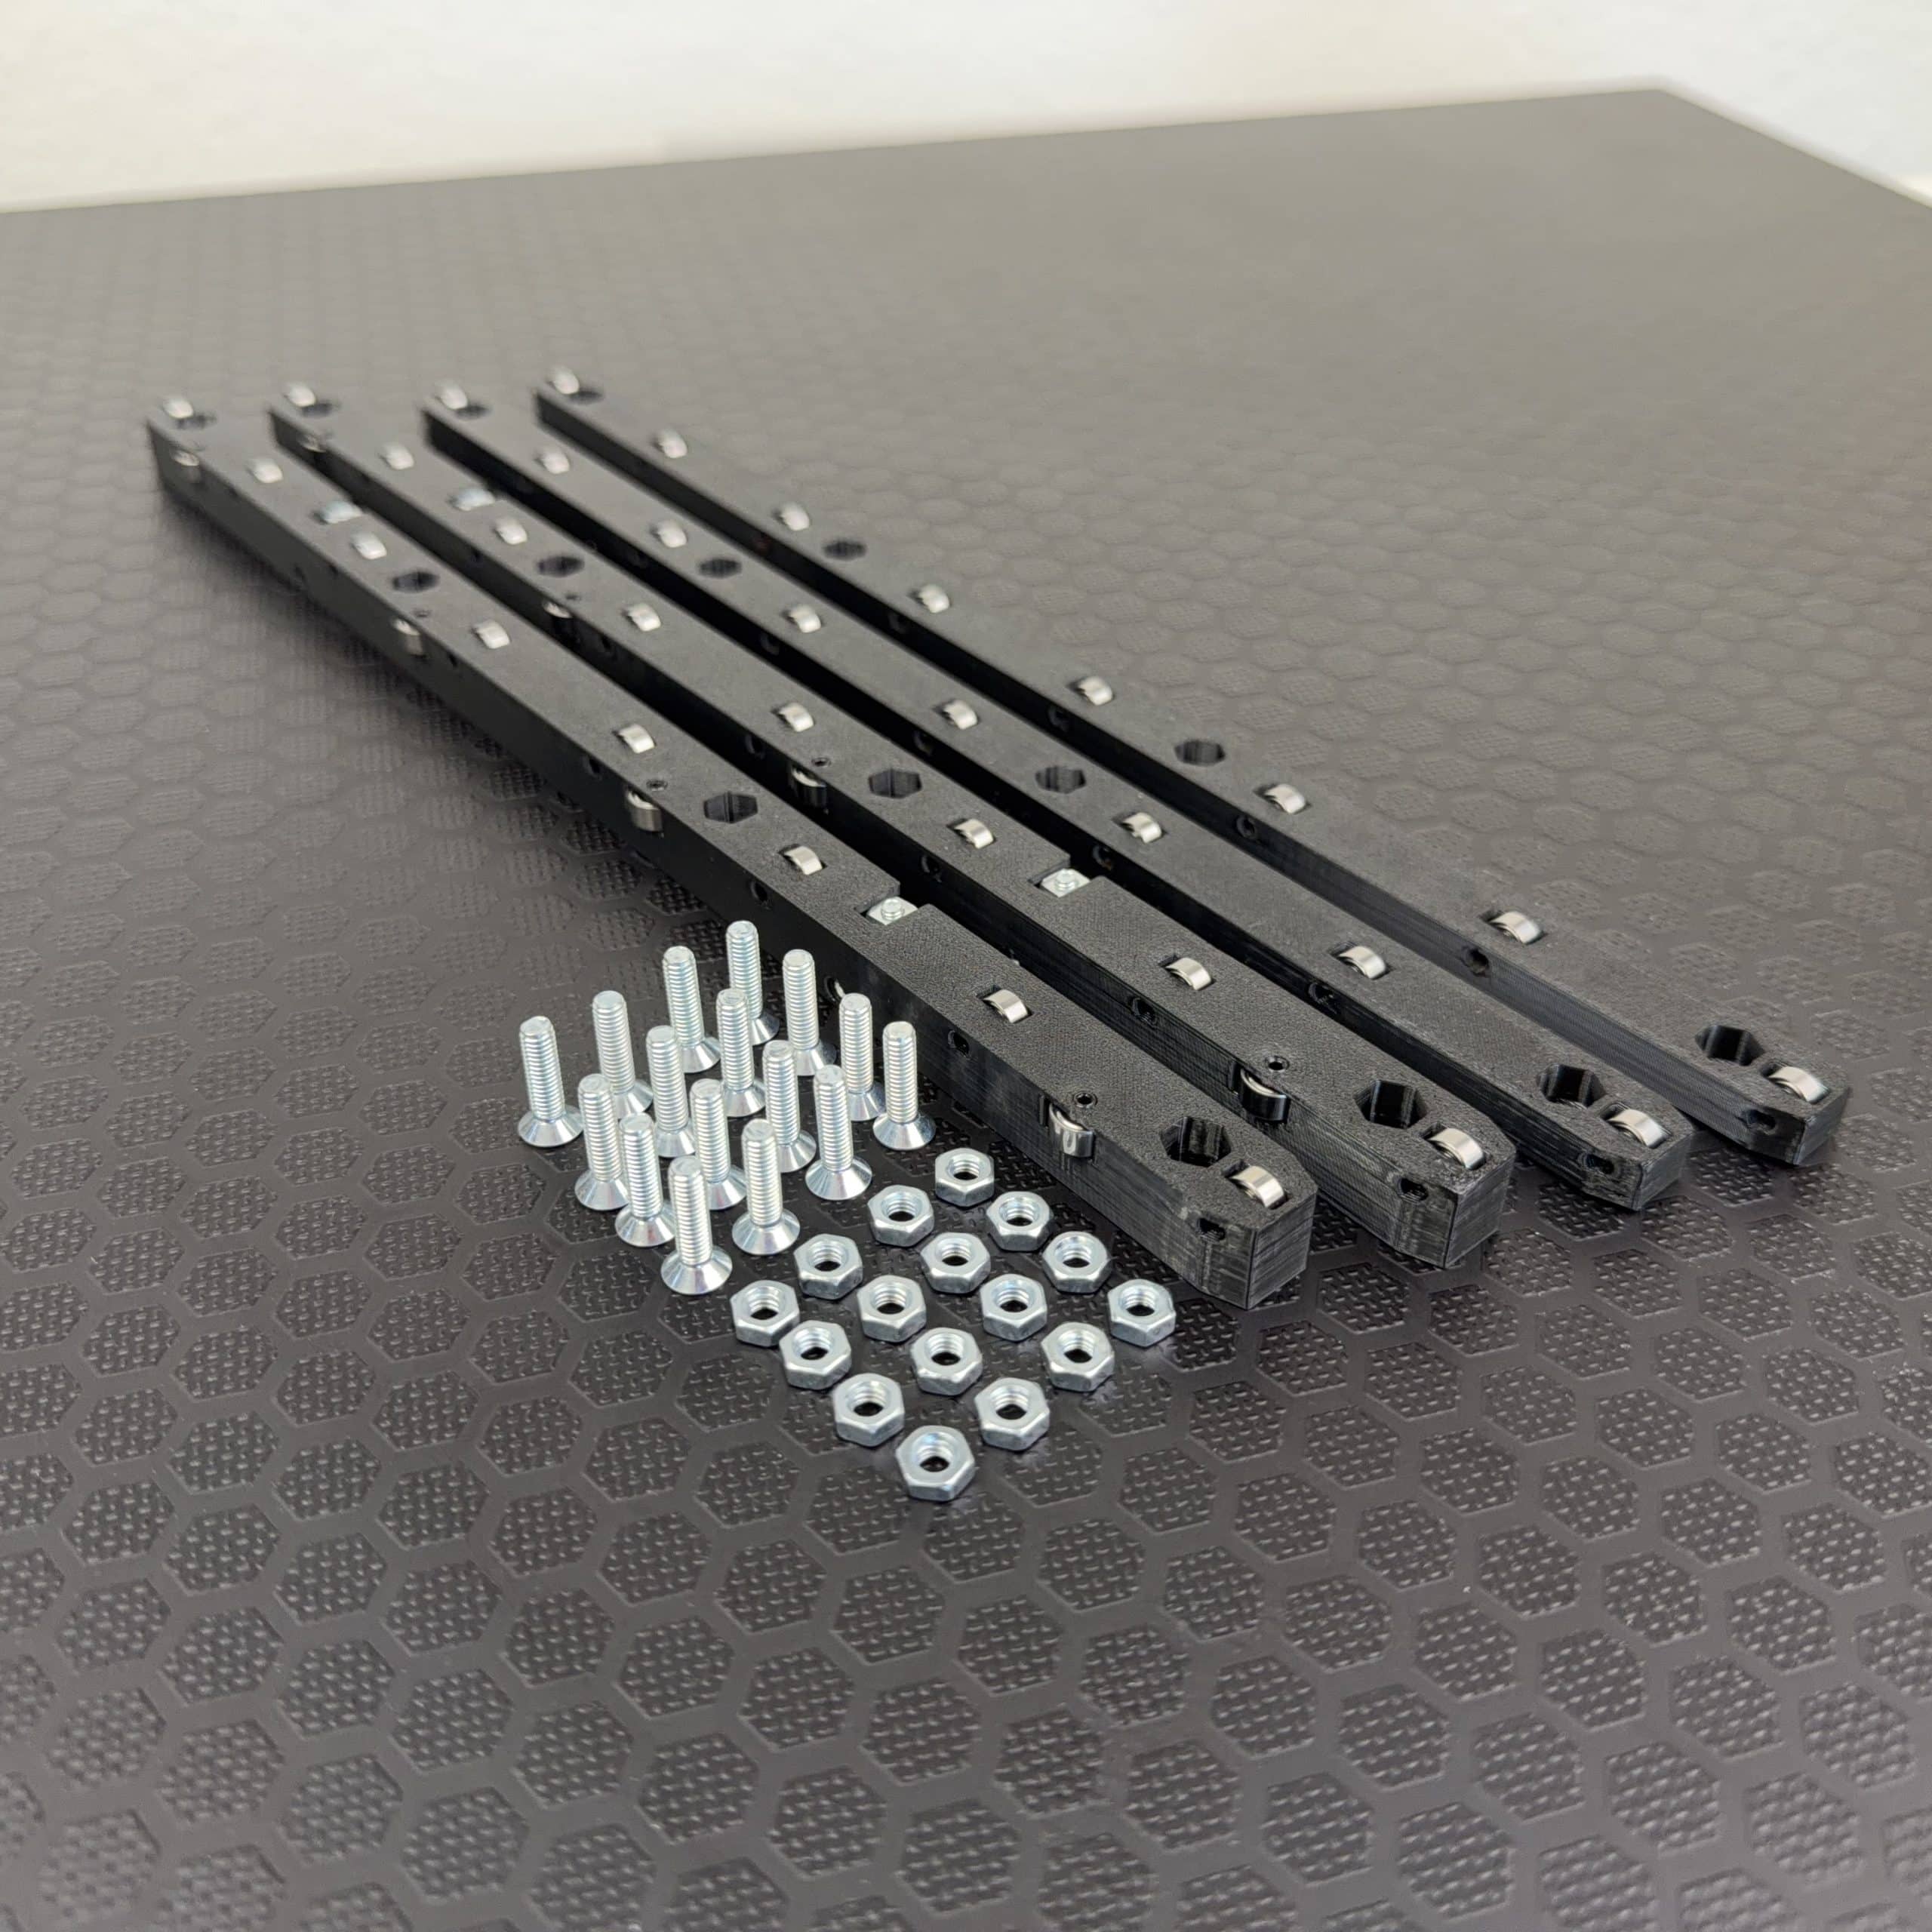
Problems with an imprecise sliding carriage? Our precision sliding carriage bundle is the solution! With precise
Adjustable, backlash-free rails and easy adaptation to existing aluminum profiles ensure maximum precision in your cuts. Installation is effortless thanks to the easy-to-understand, step-by-step assembly instructions.
Light
- 1.5mm and 4mm Allen keys
- PH2 screwdriver
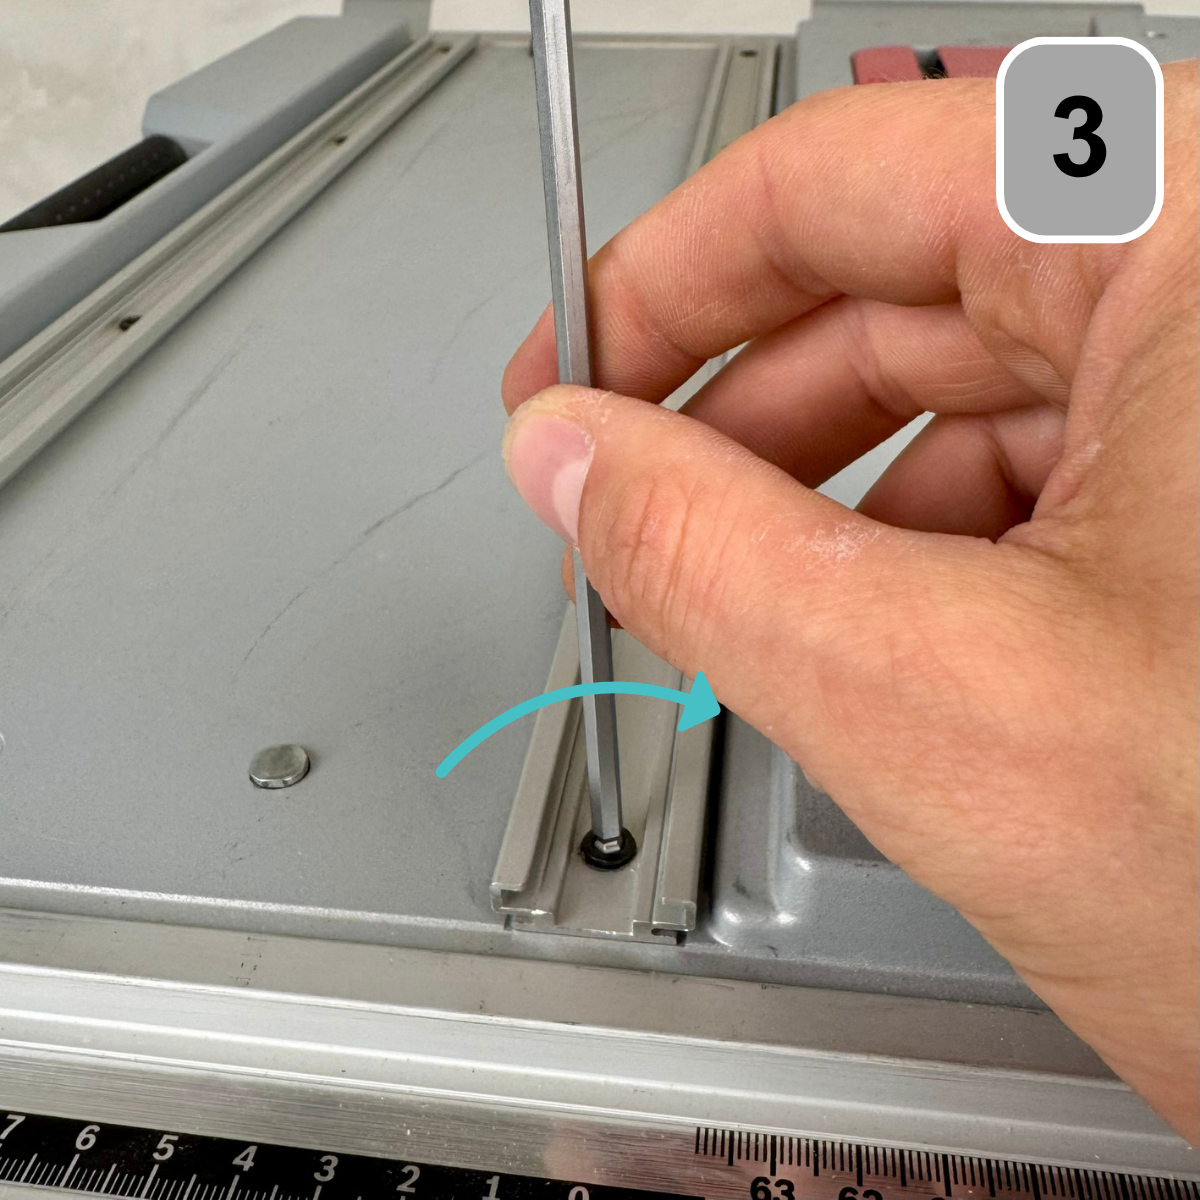
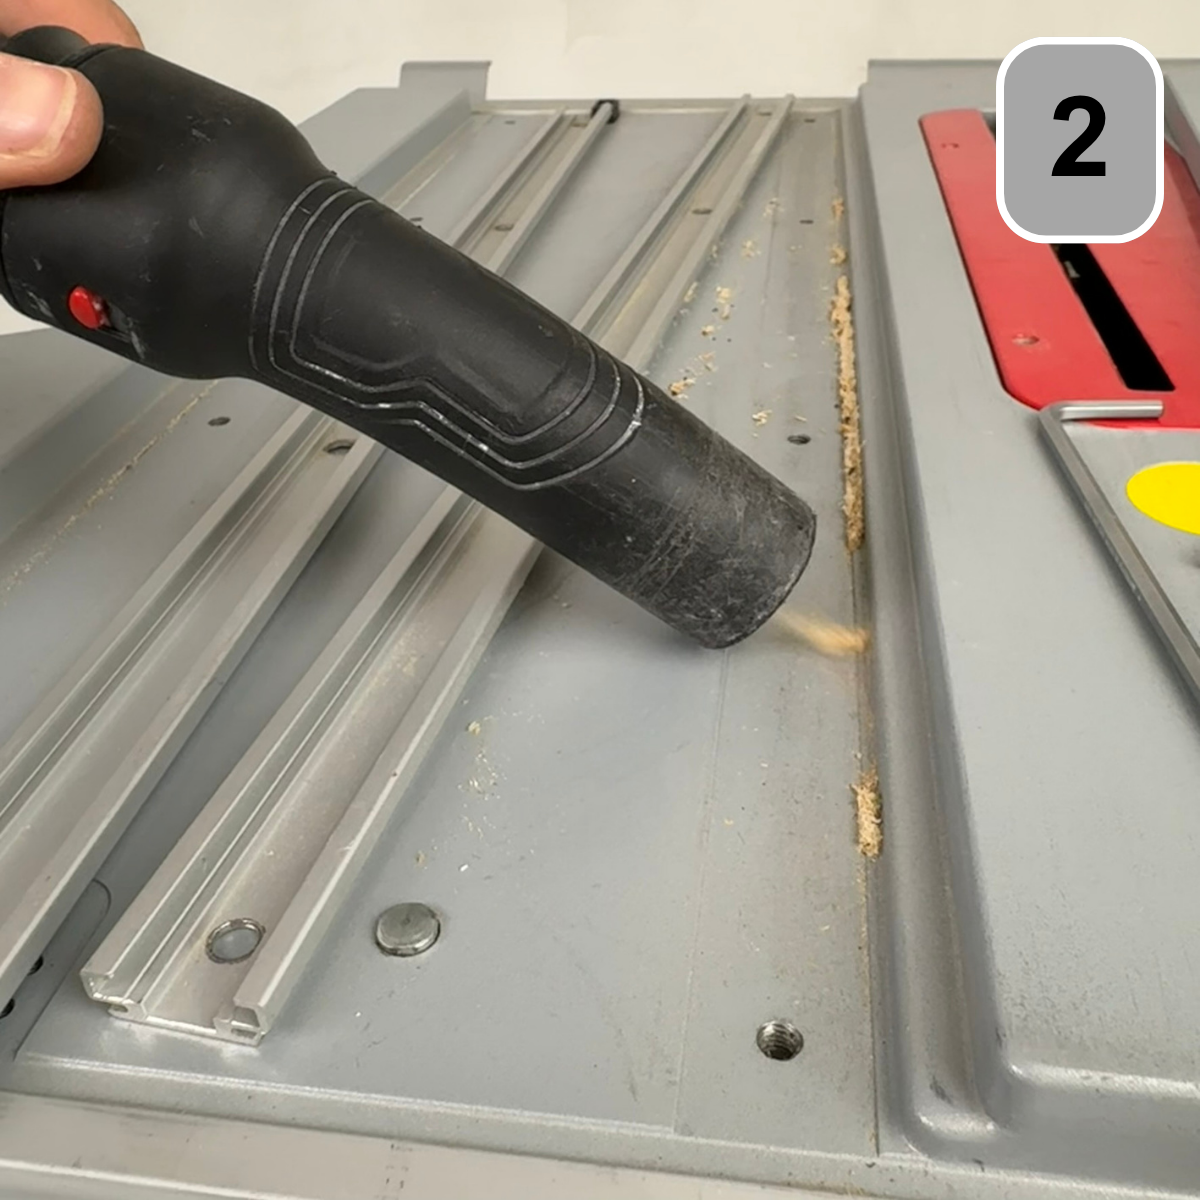
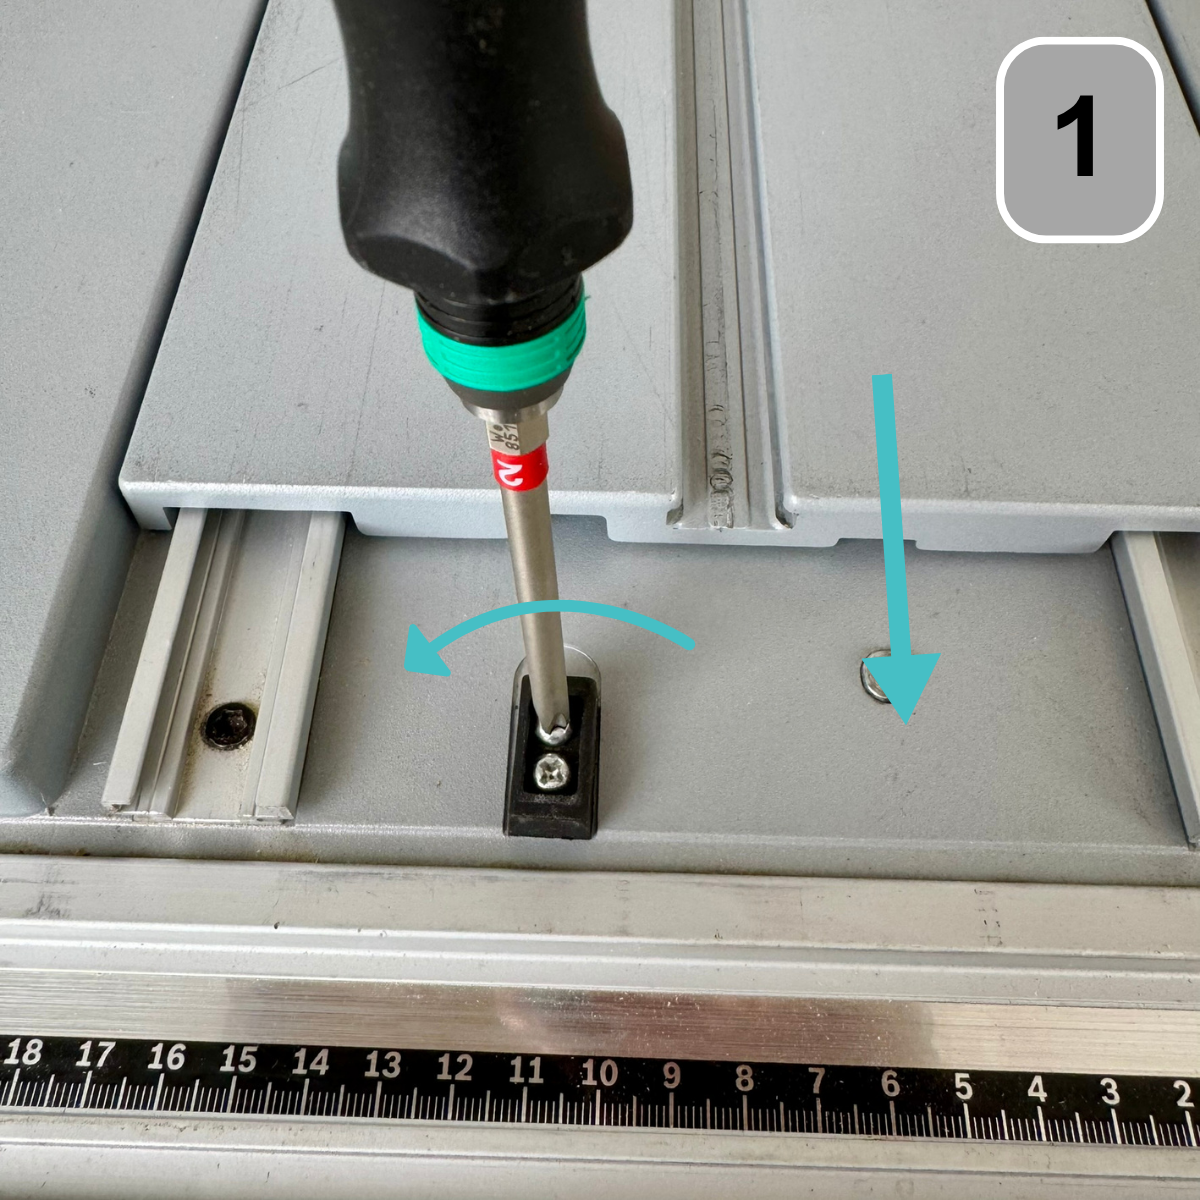
Step 1: Preparatory work
Remove the stopper from the sliding carriage and then pull the integrated sliding carriage out completely.
Step 2: Preparatory work
Loosen the eight screws to remove both aluminum profiles in which the
The sliding carriage slides out. Thoroughly clean the rails and table of sawdust by vacuuming the surfaces.
Step 3: Preparatory work
Reassemble the aluminum profiles, but leave the screws loose for now.
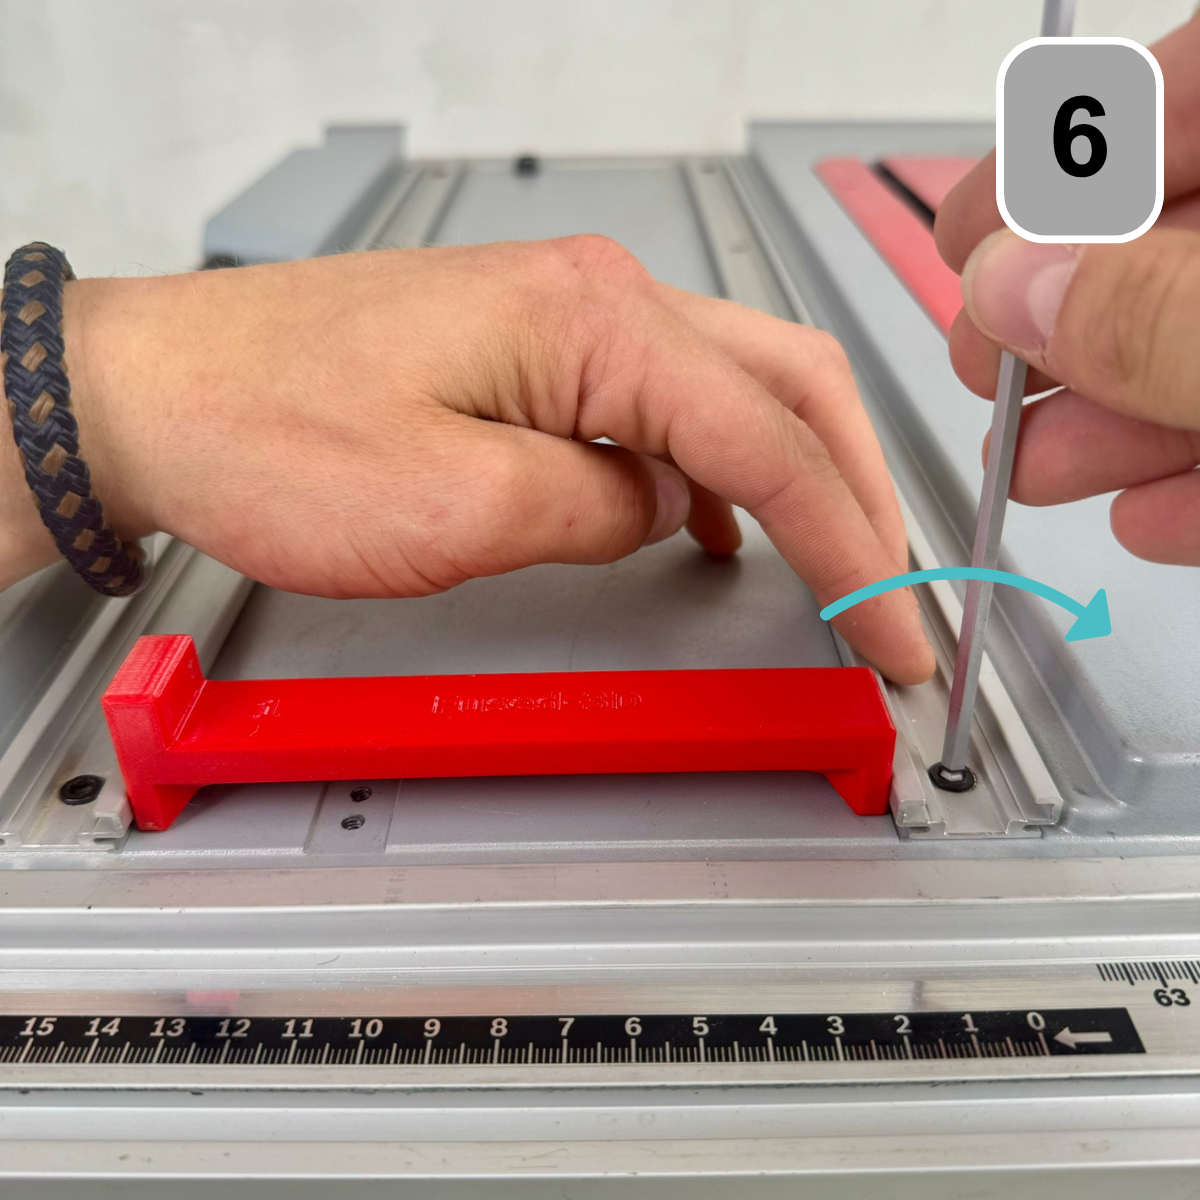
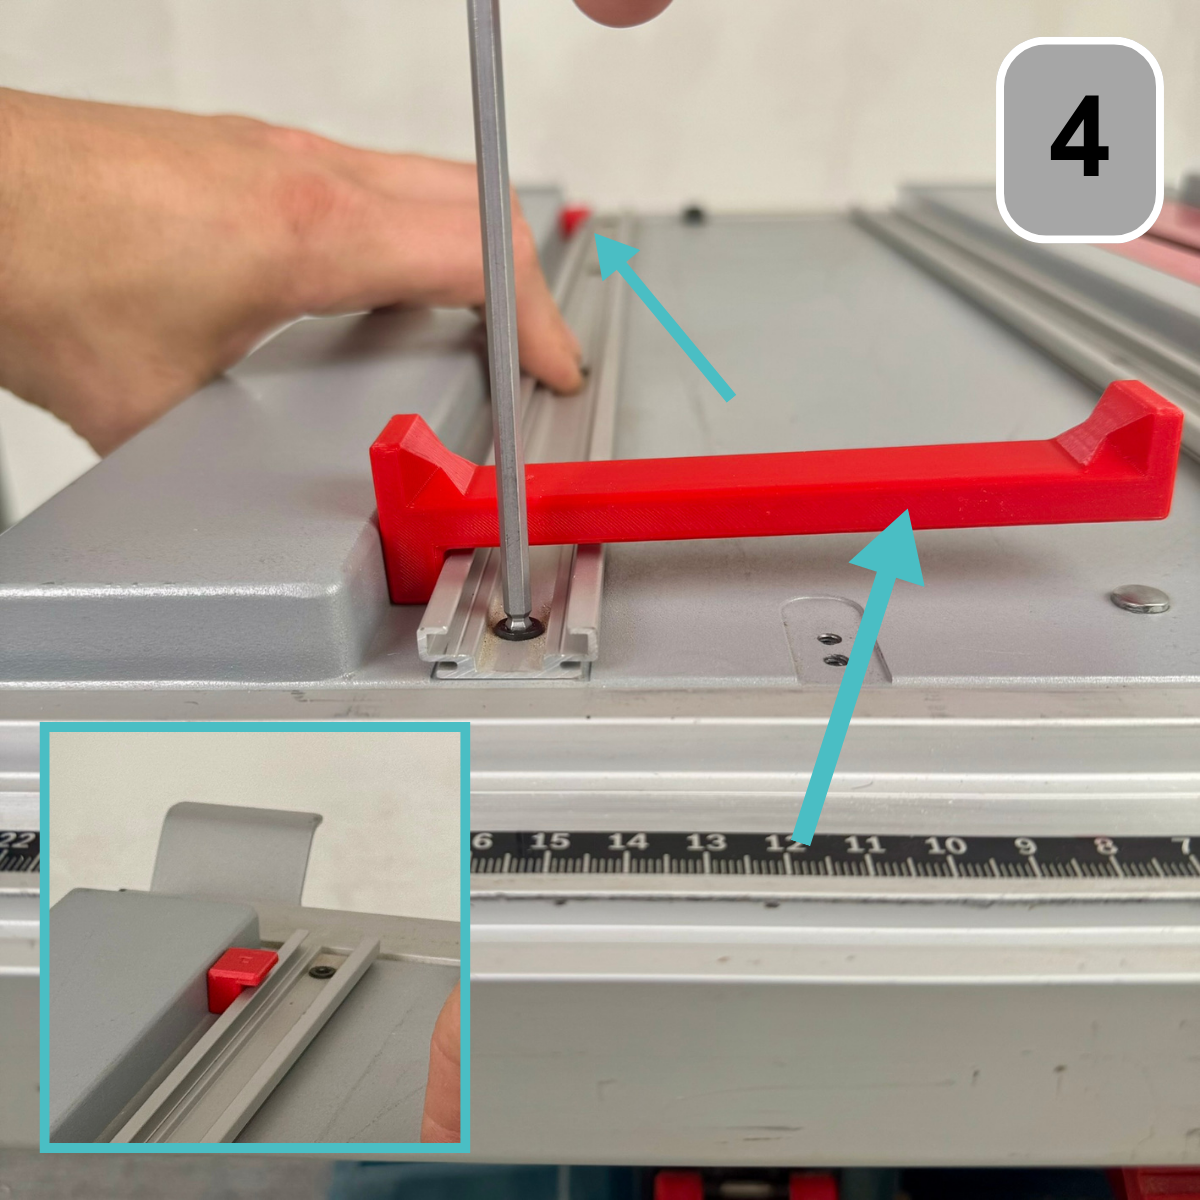
Step 4: Aligning the profiles on the saw
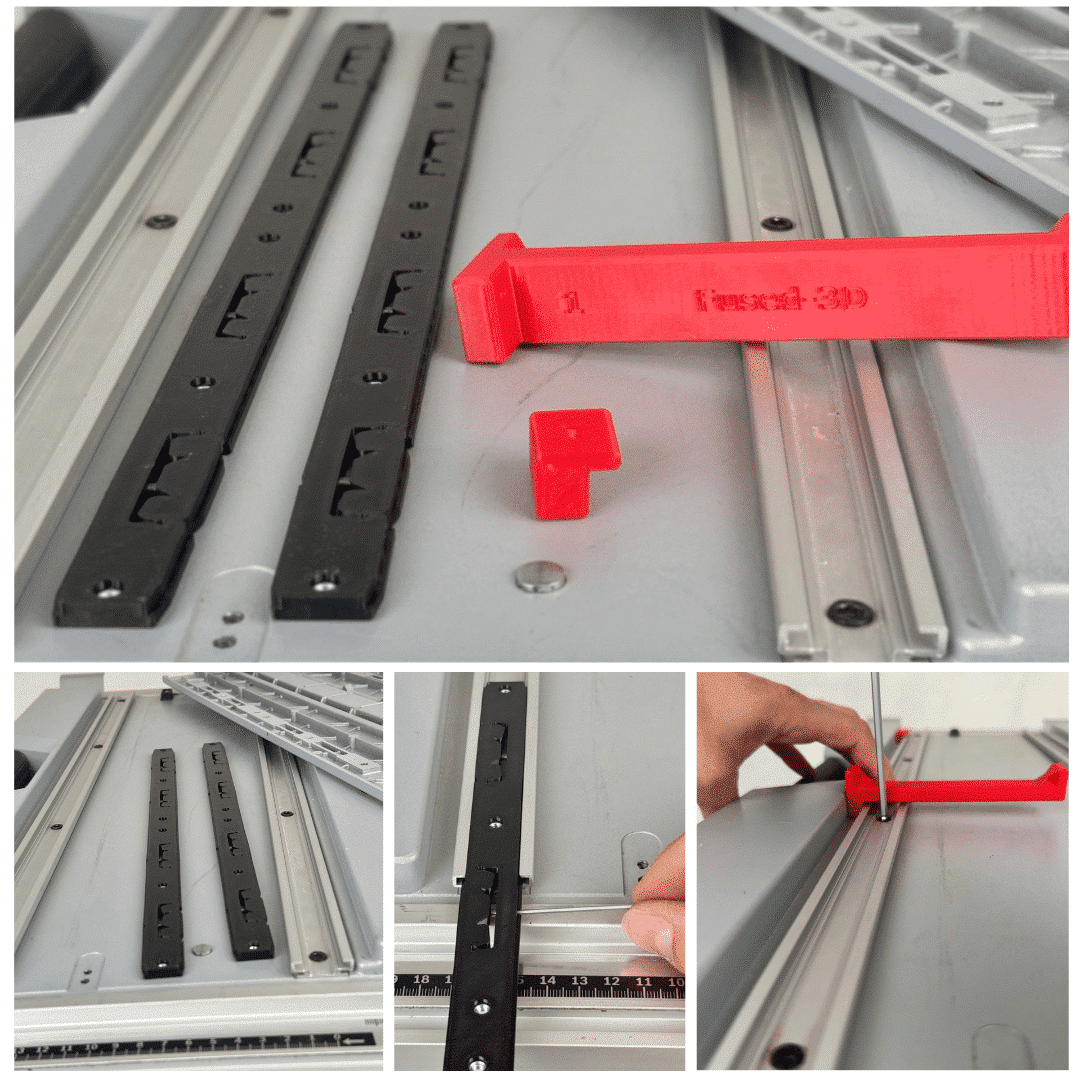
Insert the mounting device as shown in the illustration, with side numbered "2" facing upwards and side numbered "1" facing downwards. The rear block must also be inserted as shown in the illustration.
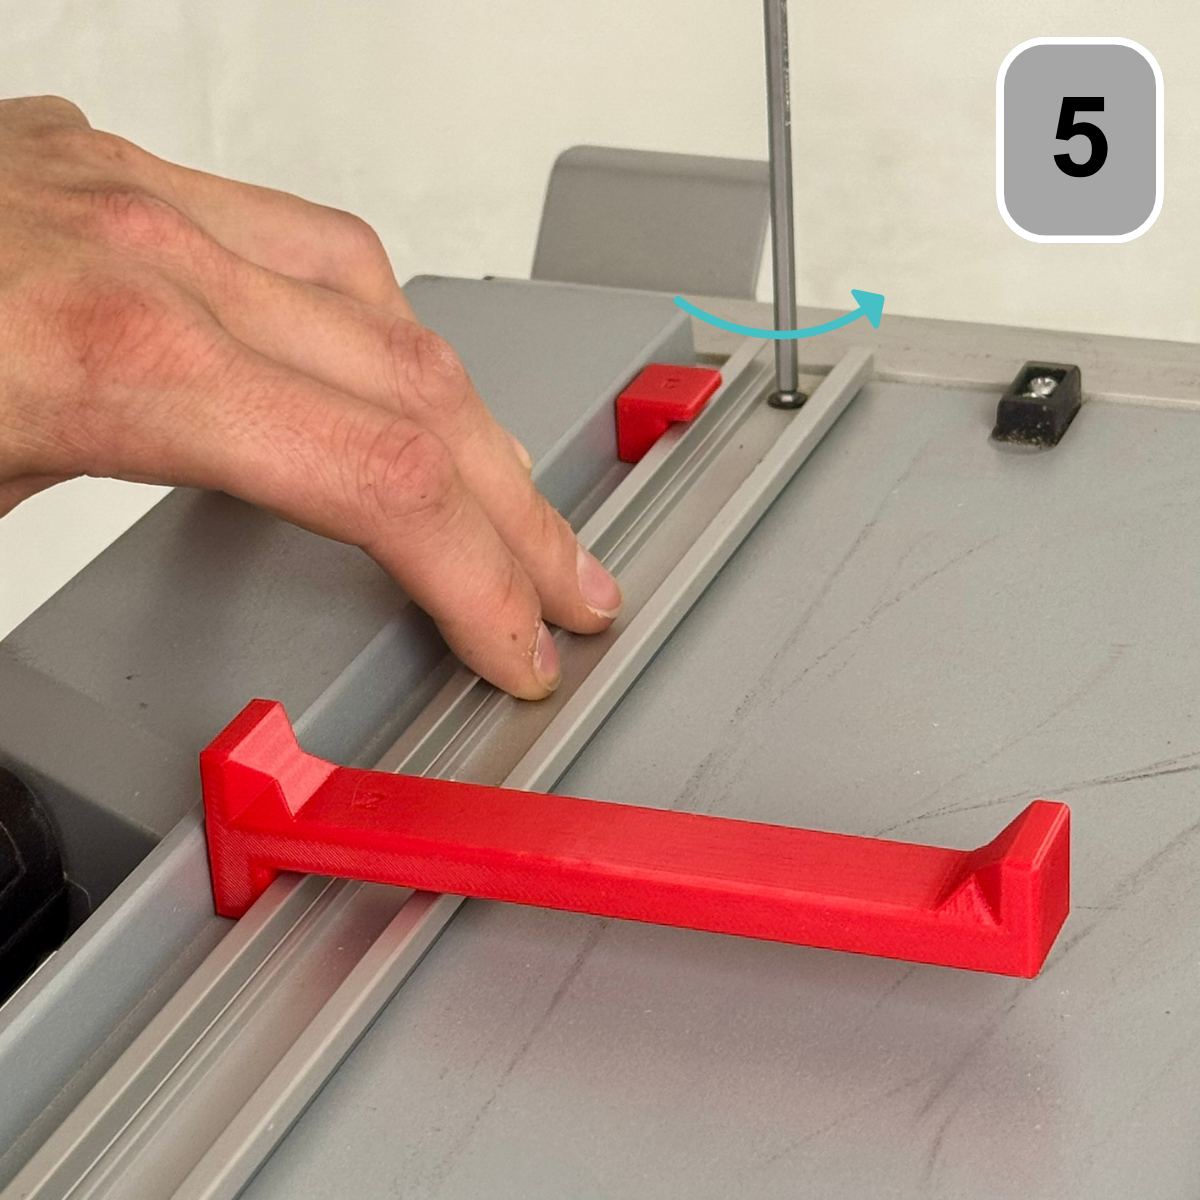
Step 5: Aligning the profiles on the saw
Tighten the screws of the left rail gradually by hand, while applying slight pressure to the left against the spacers.
Once all screws are hand-tight, tighten them one after the other to achieve the most parallel result possible.
Step 6: Aligning the profiles on the saw
Now use the mounting jig to attach the right rail. Turn the jig over so that the side marked "1" is facing up. Tighten the screws by hand, one at a time, while positioning the mounting jig at the level of the screw being tightened. Gently press the aluminum profile against the jig. Once all screws are hand-tight, tighten them fully using the mounting jig again.
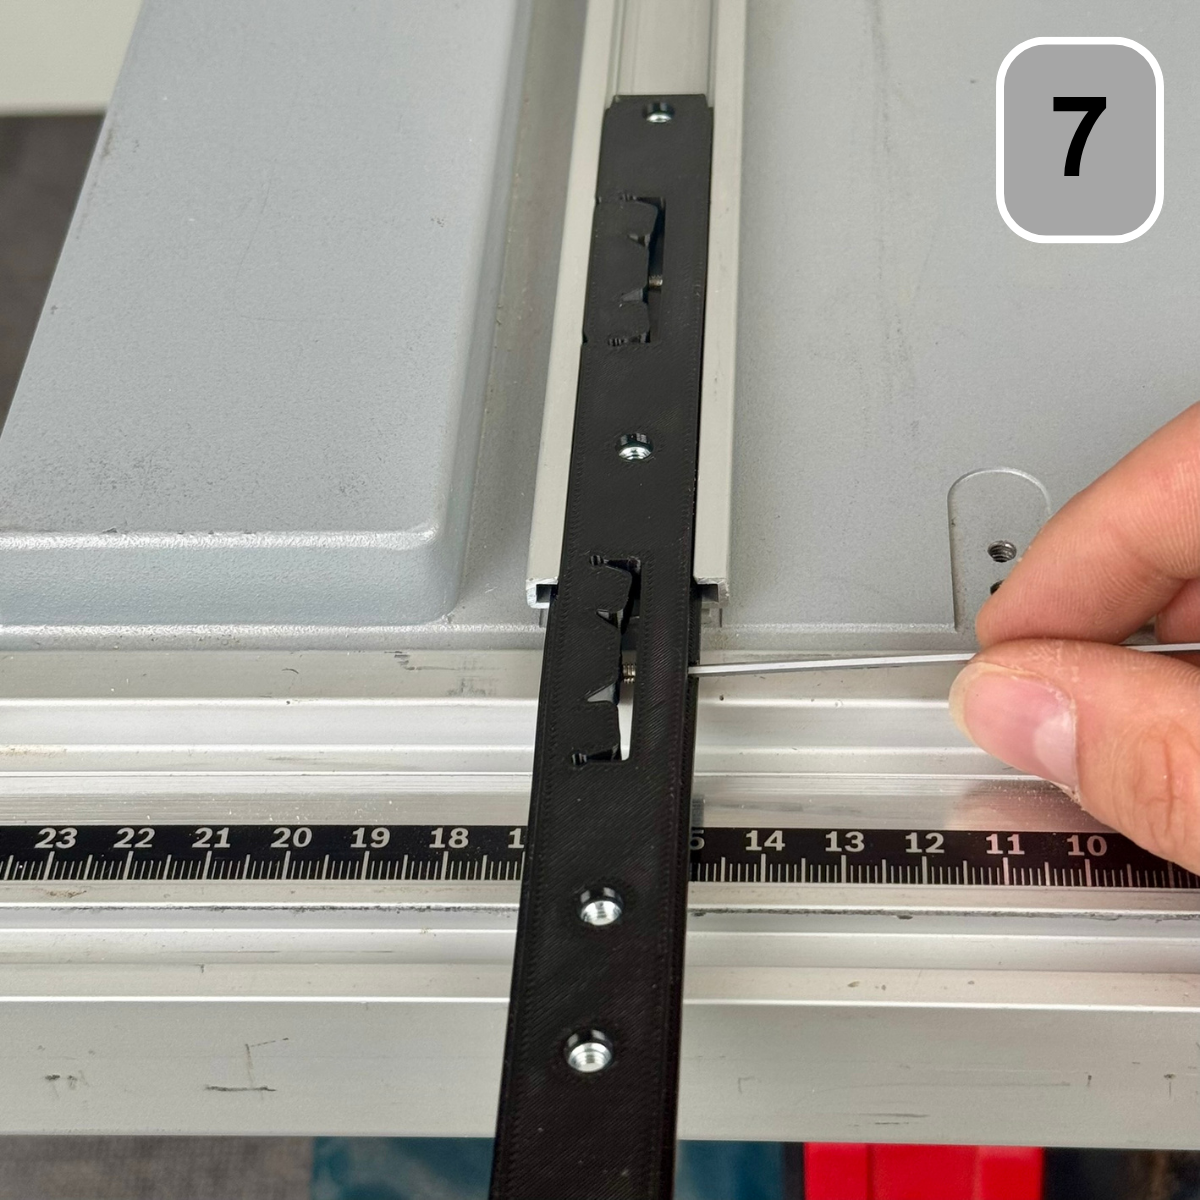
Step 7: Attach and Adjust the Rails
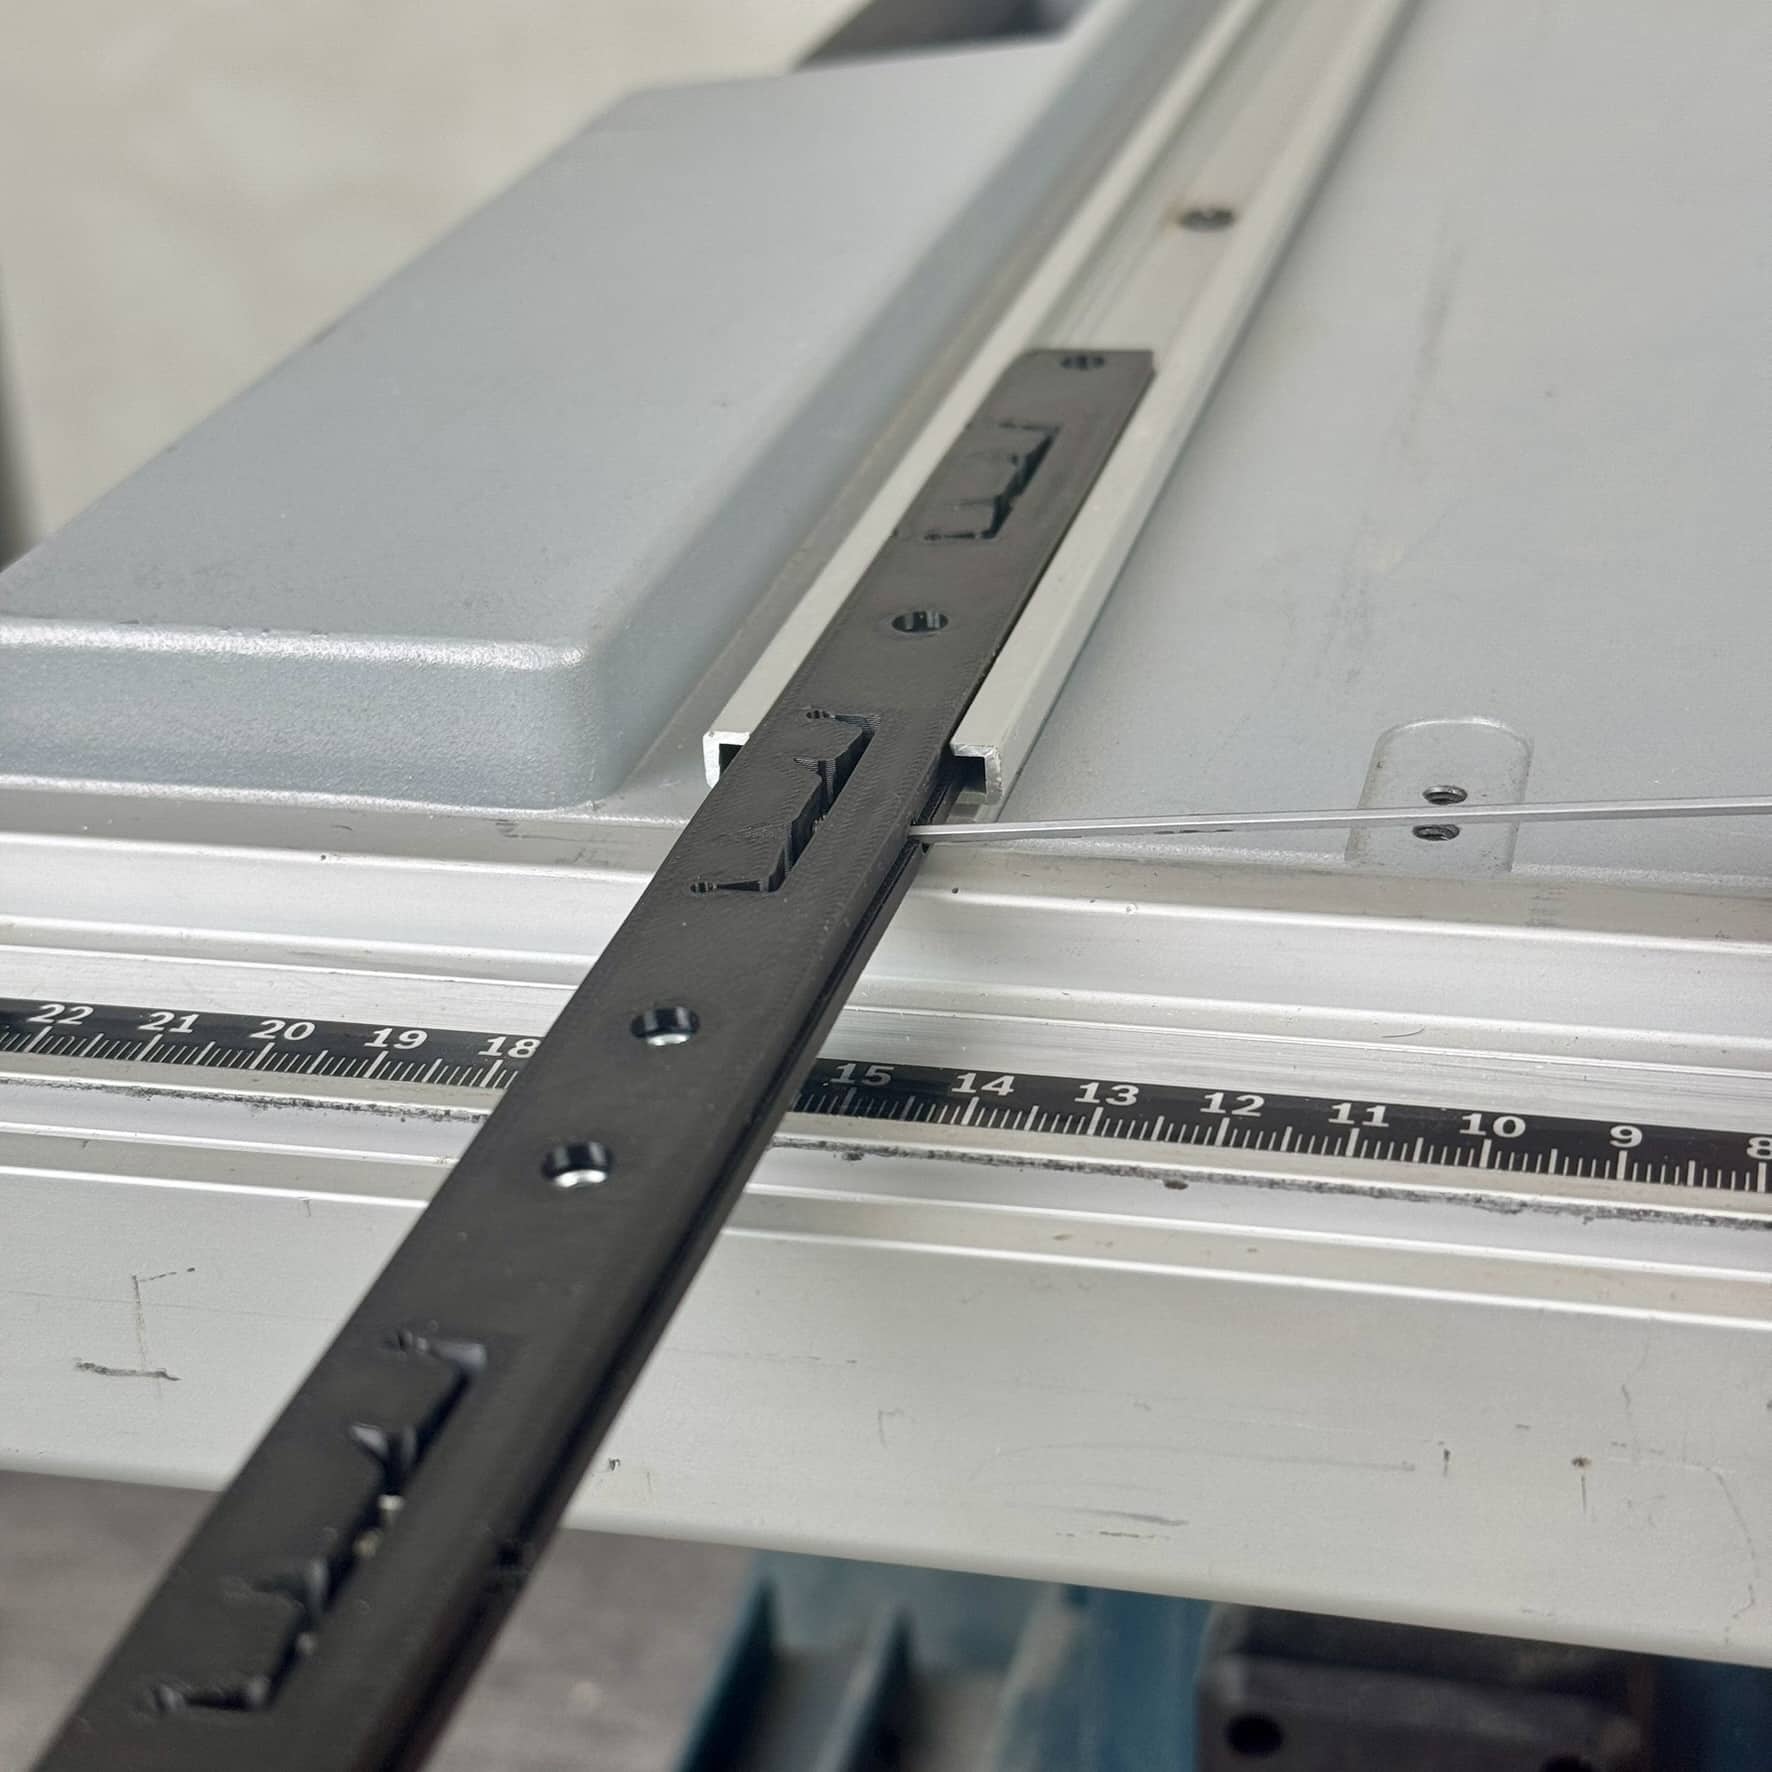
Adjust the sliding carriage rails to eliminate play. Slide the
Gradually insert the rail into the aluminum profile and use a 1.5mm Allen key to screw in the threaded stud until there is no play. Repeat this process at all four points along the rail until it moves smoothly within the profile. Perform this step for both rails (right and left).
Step 8: Attach and Adjust the Rails
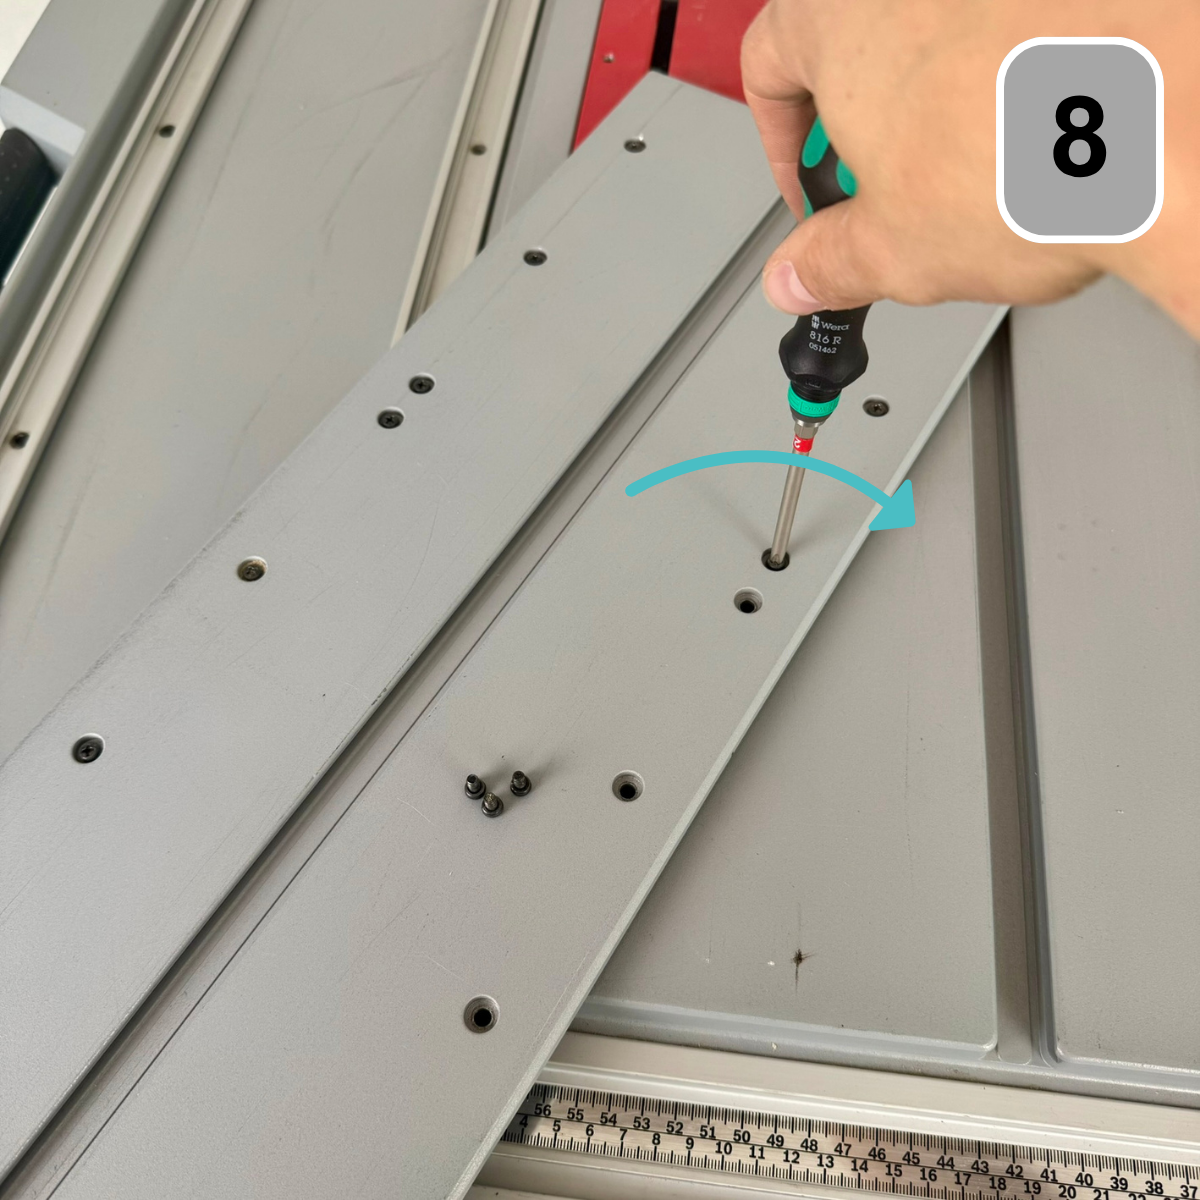
Once the rails are adjusted to eliminate play, remove the original rails by unscrewing the black screws. Use these screws to mount the new rails. It is recommended to mount the sliding table rails so that the 1.5 mm drive of the set screws points towards the saw blade.
allows for subsequent adjustment of the rails while installed.
Step 9: Attach and Adjust the Rails
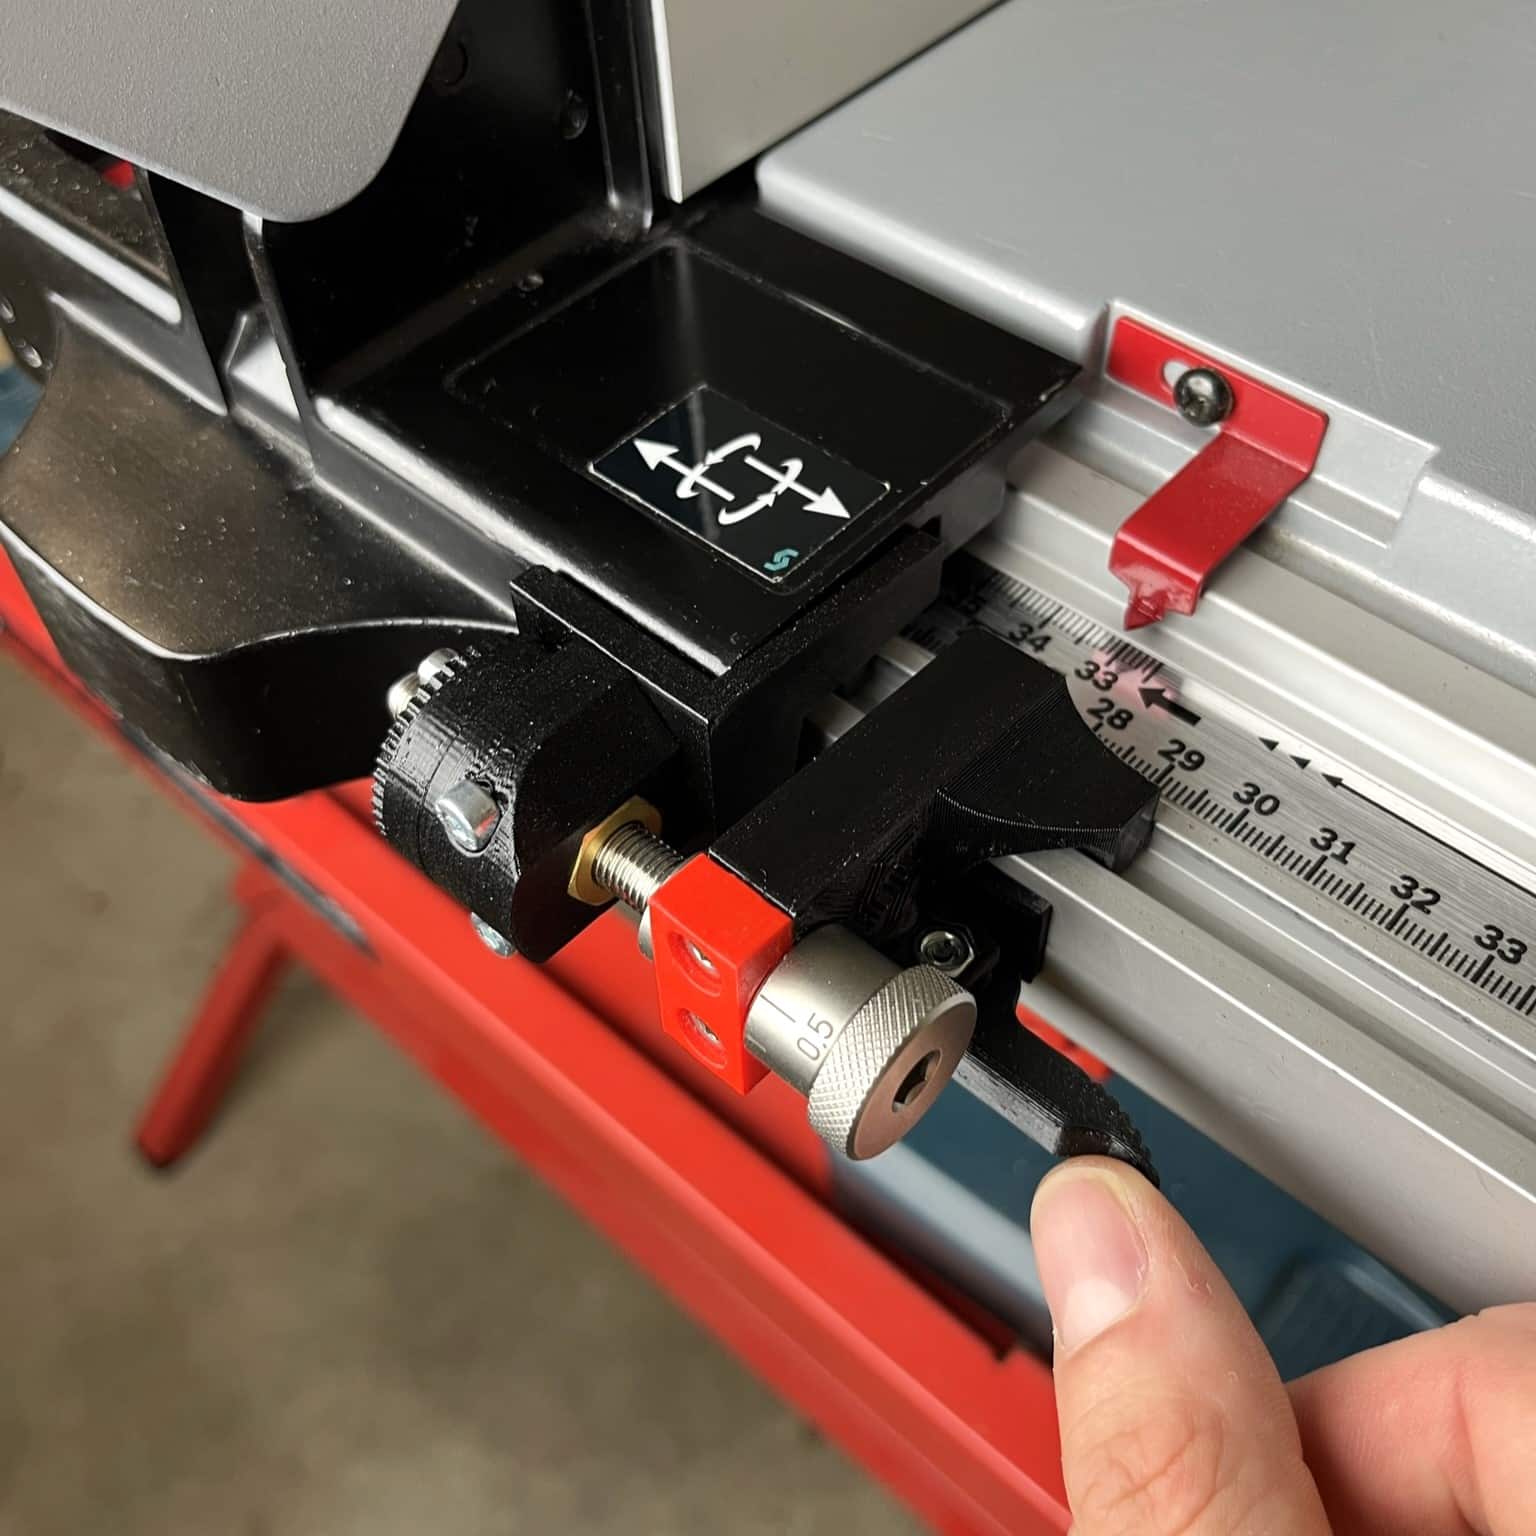
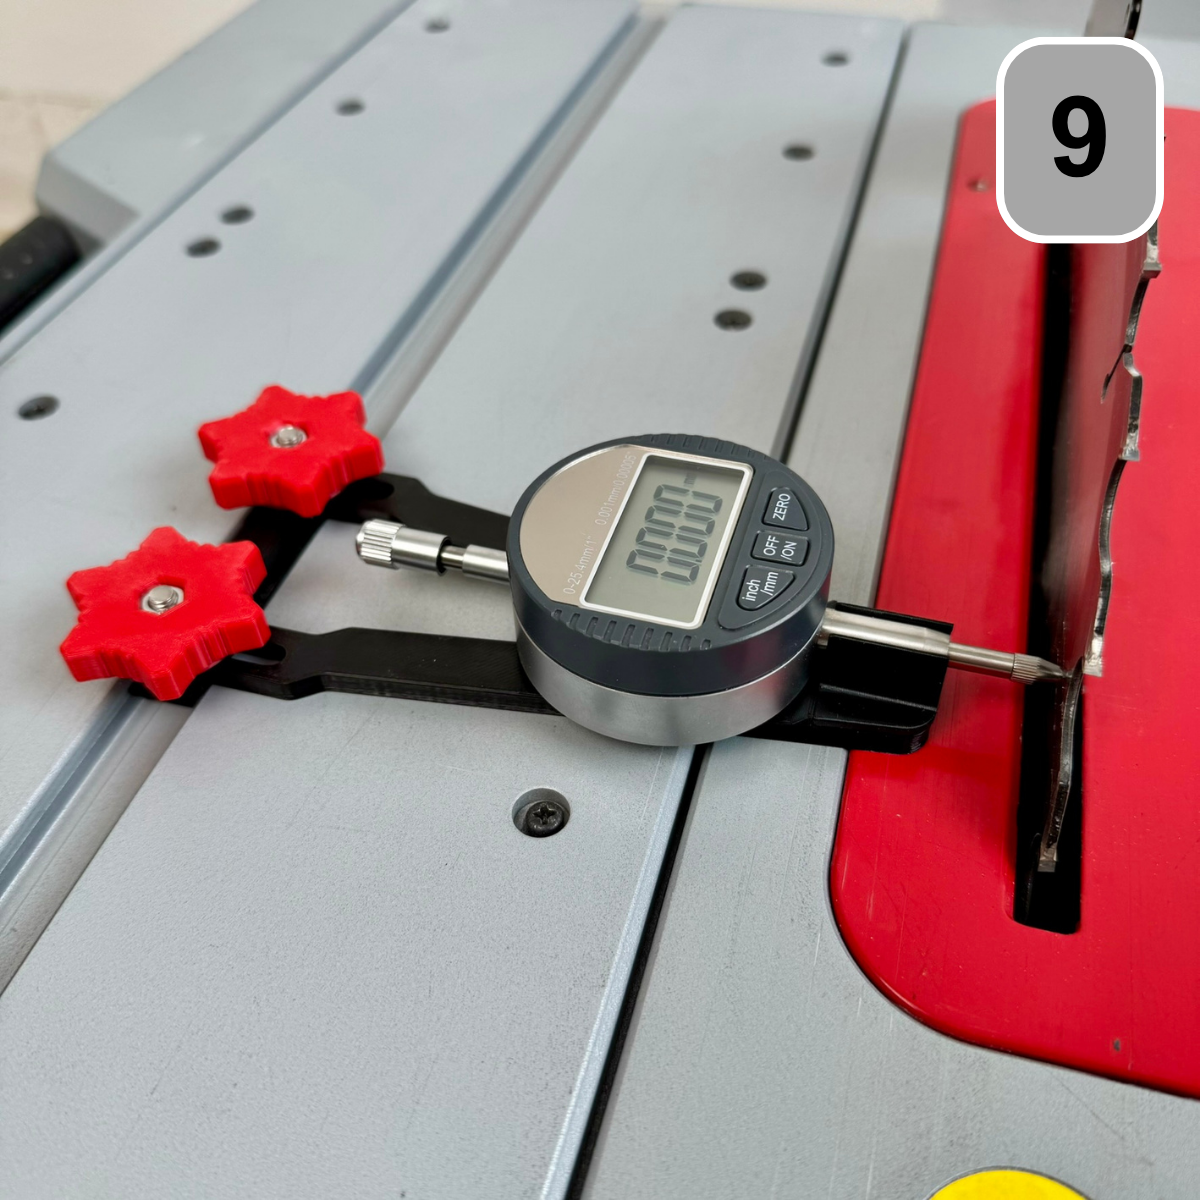
Slide the sliding carriage back into the saw table and tighten the black screws. To ensure the sliding carriage runs parallel to the saw blade, the use of the appropriate dial gauge holder is recommended. Dial gauge holder for Bosch GTS 10 XC.
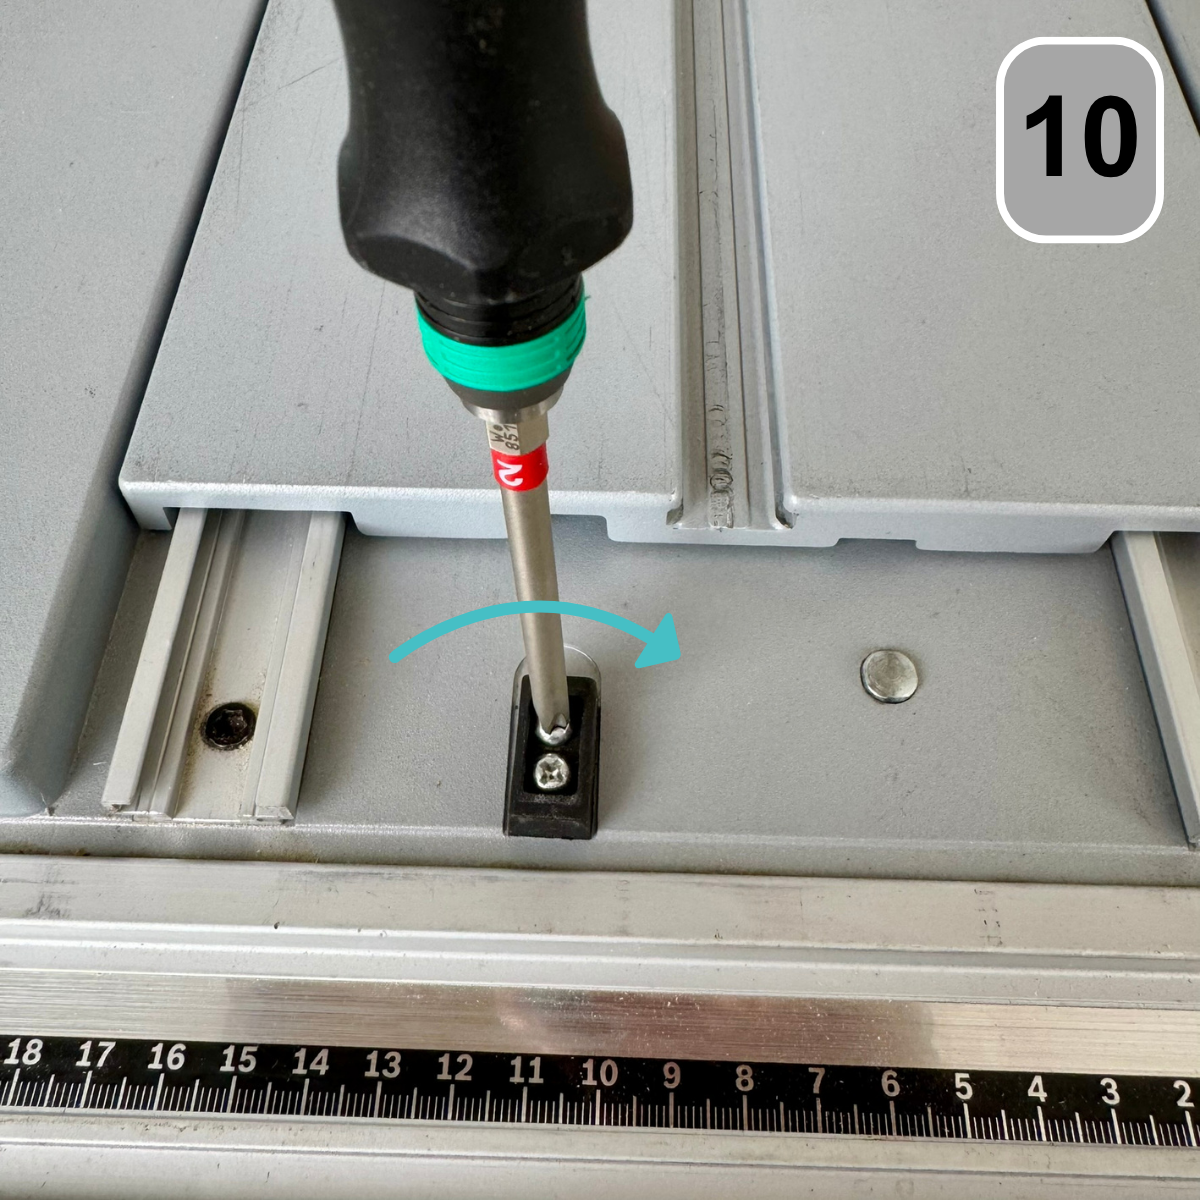
Step 10: Finishing
Finally, reinsert the stopper that was removed in the first step.
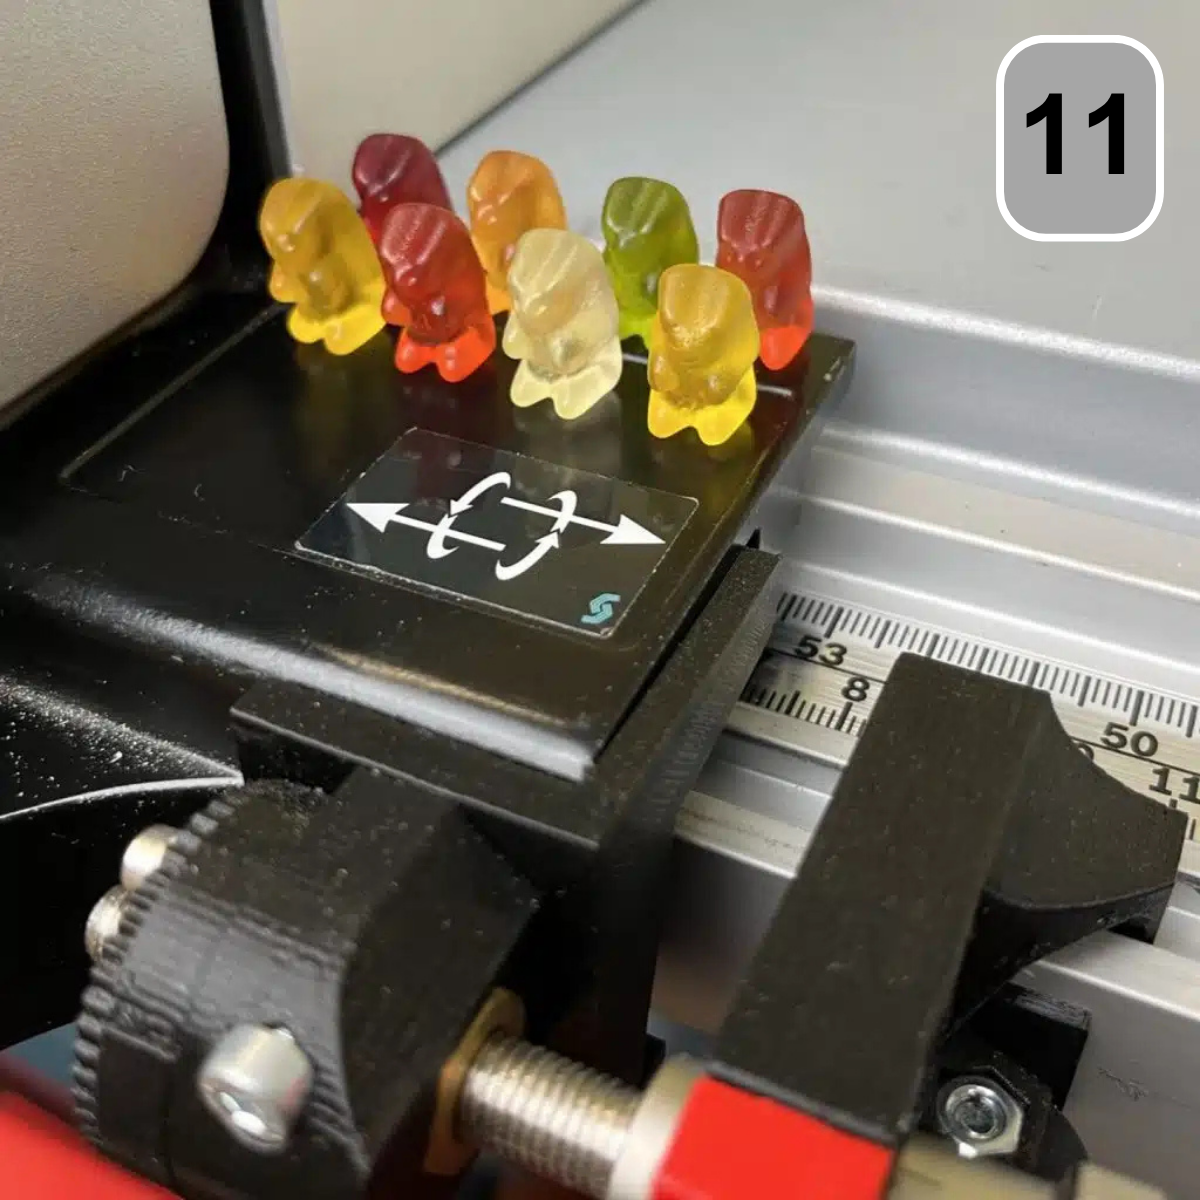
Step 11: Reward
Great job, you did it! Gummy bears are waiting for you as a reward. Enjoy!