Sichere Zahlungen
 Kostenloser Versand ab 85 € (DE, AT, FR)

Roller rails for a Bosch GTS 10xc sliding carriage
Assembly instructions
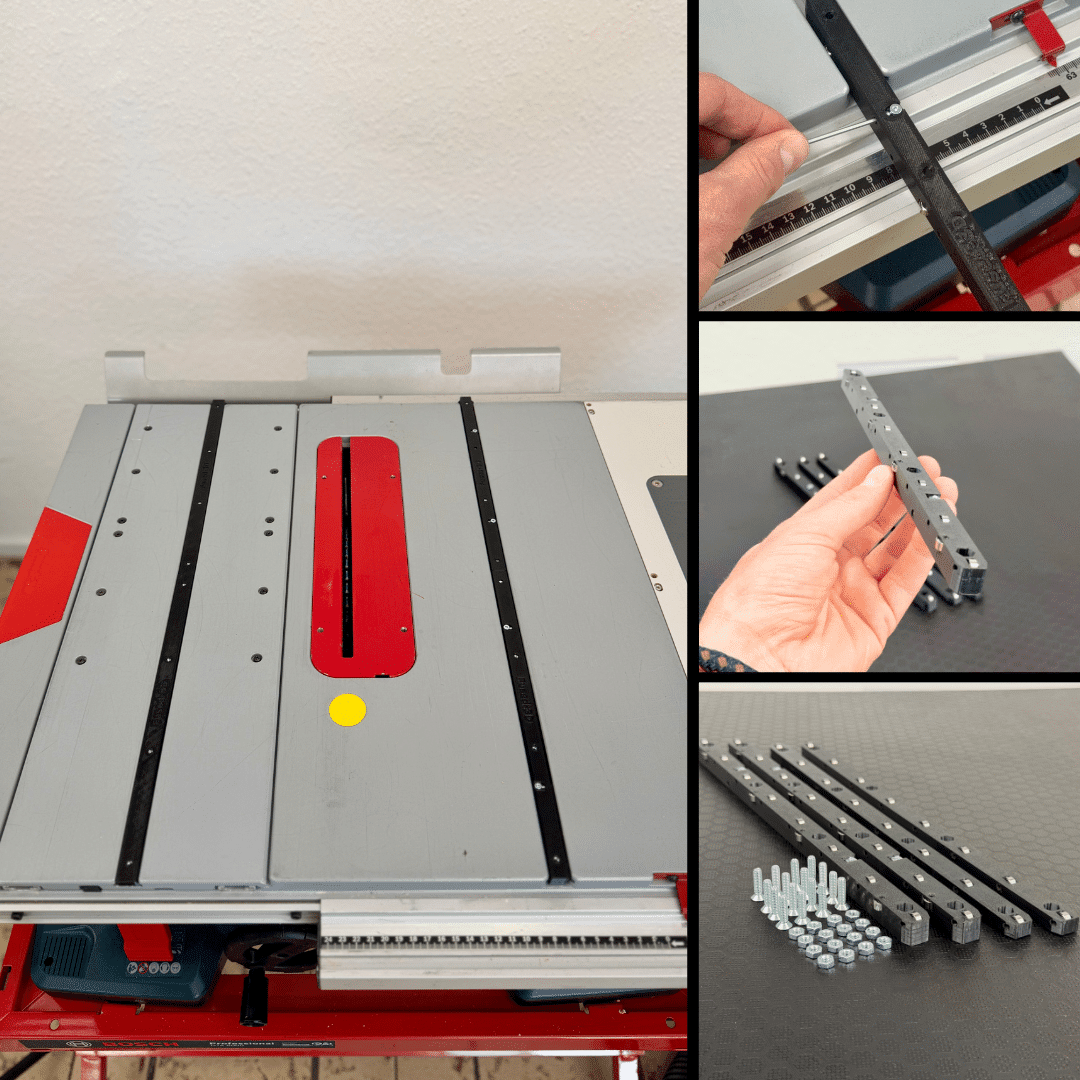
Want to build your own sliding table for the Bosch GTS 10 XC? With
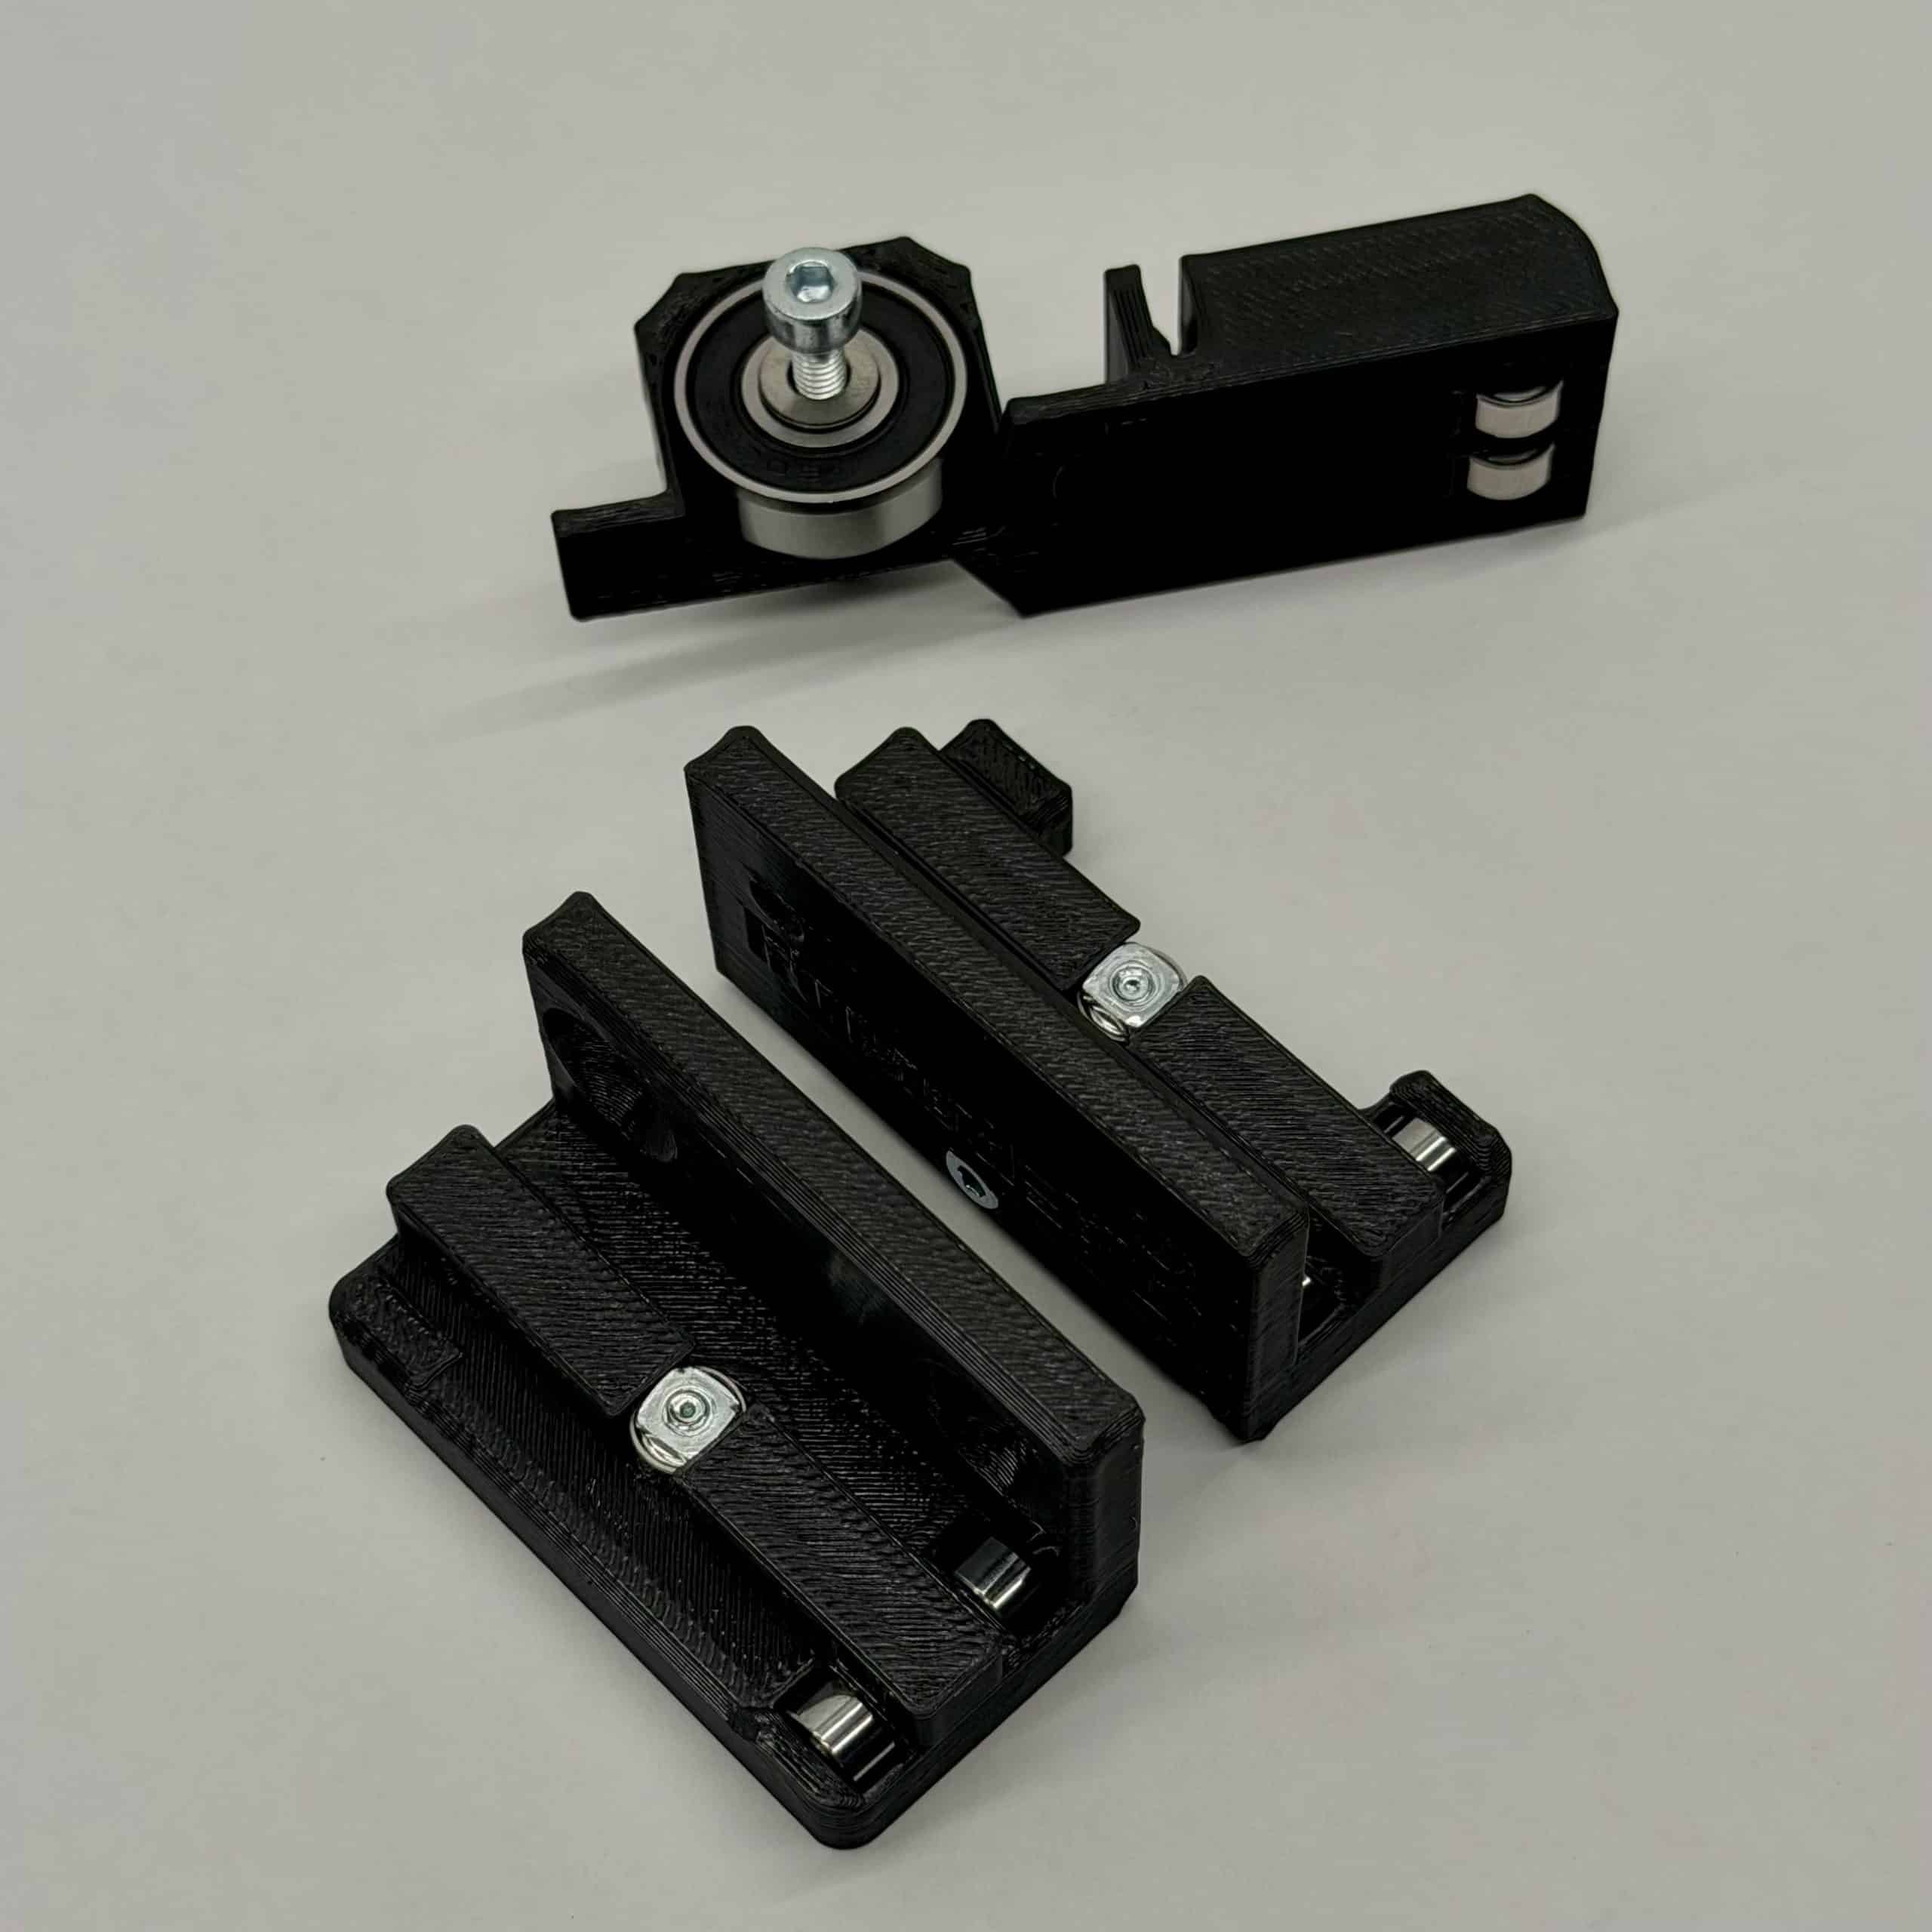
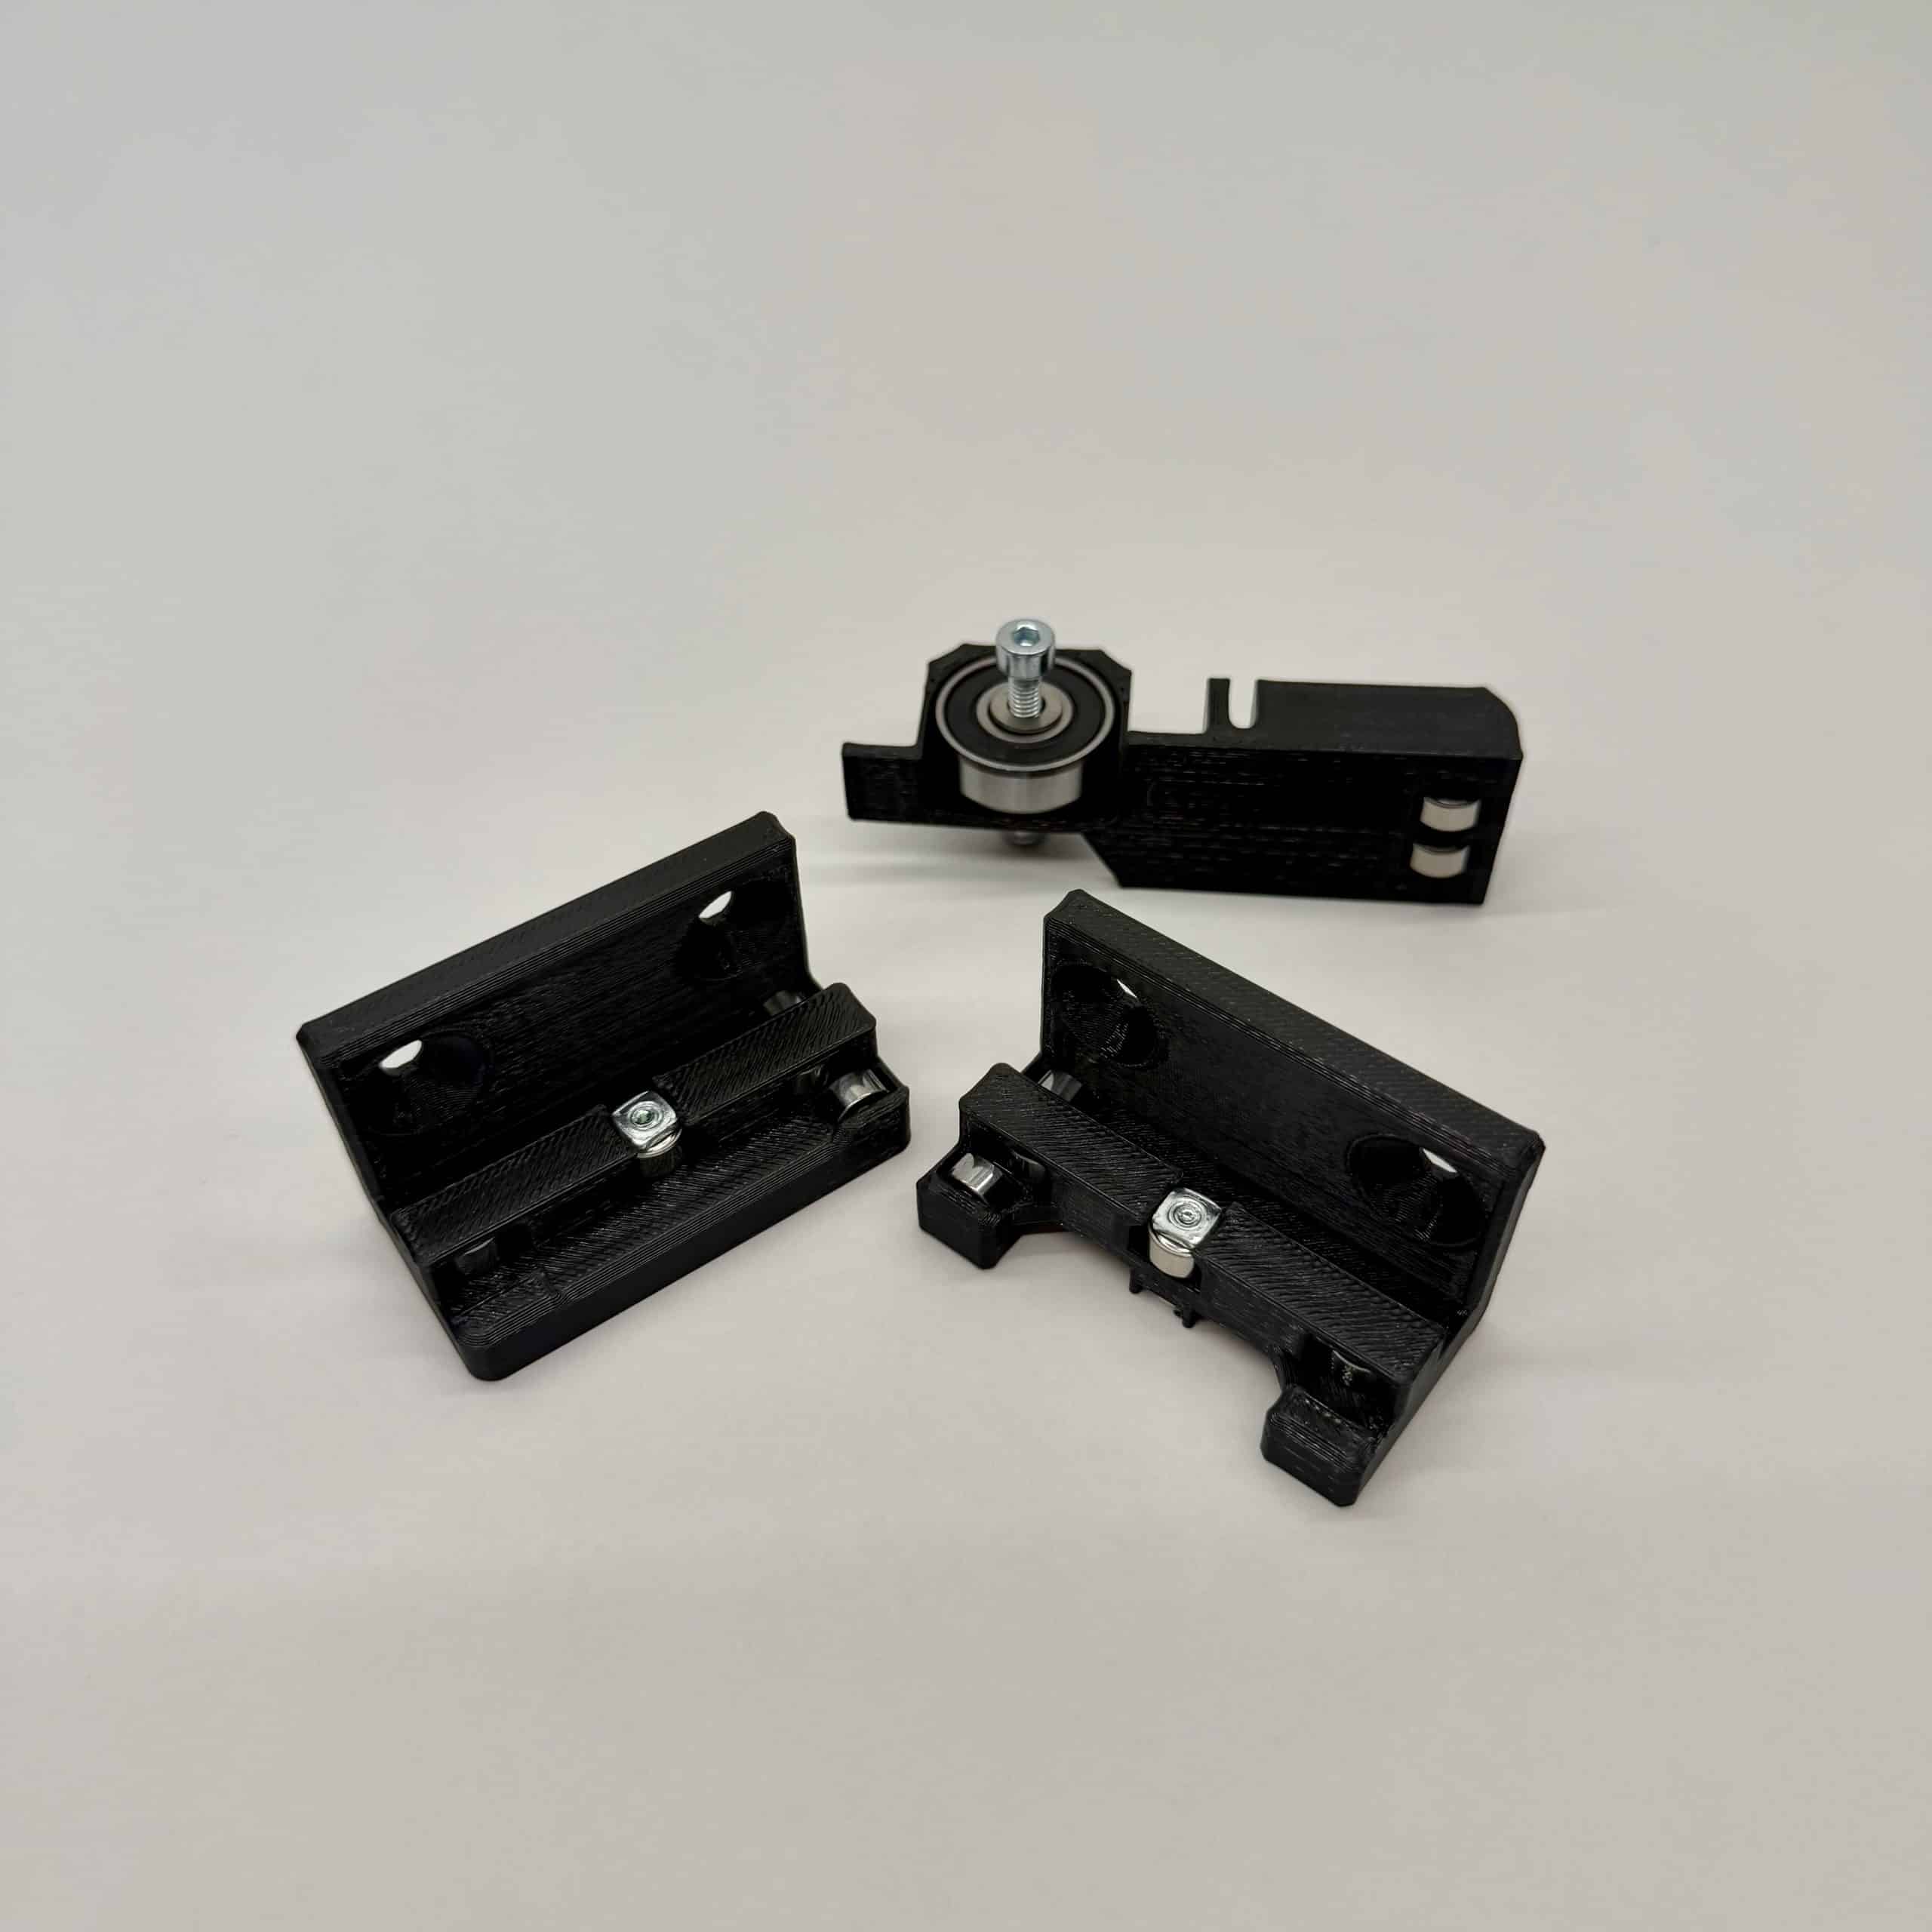
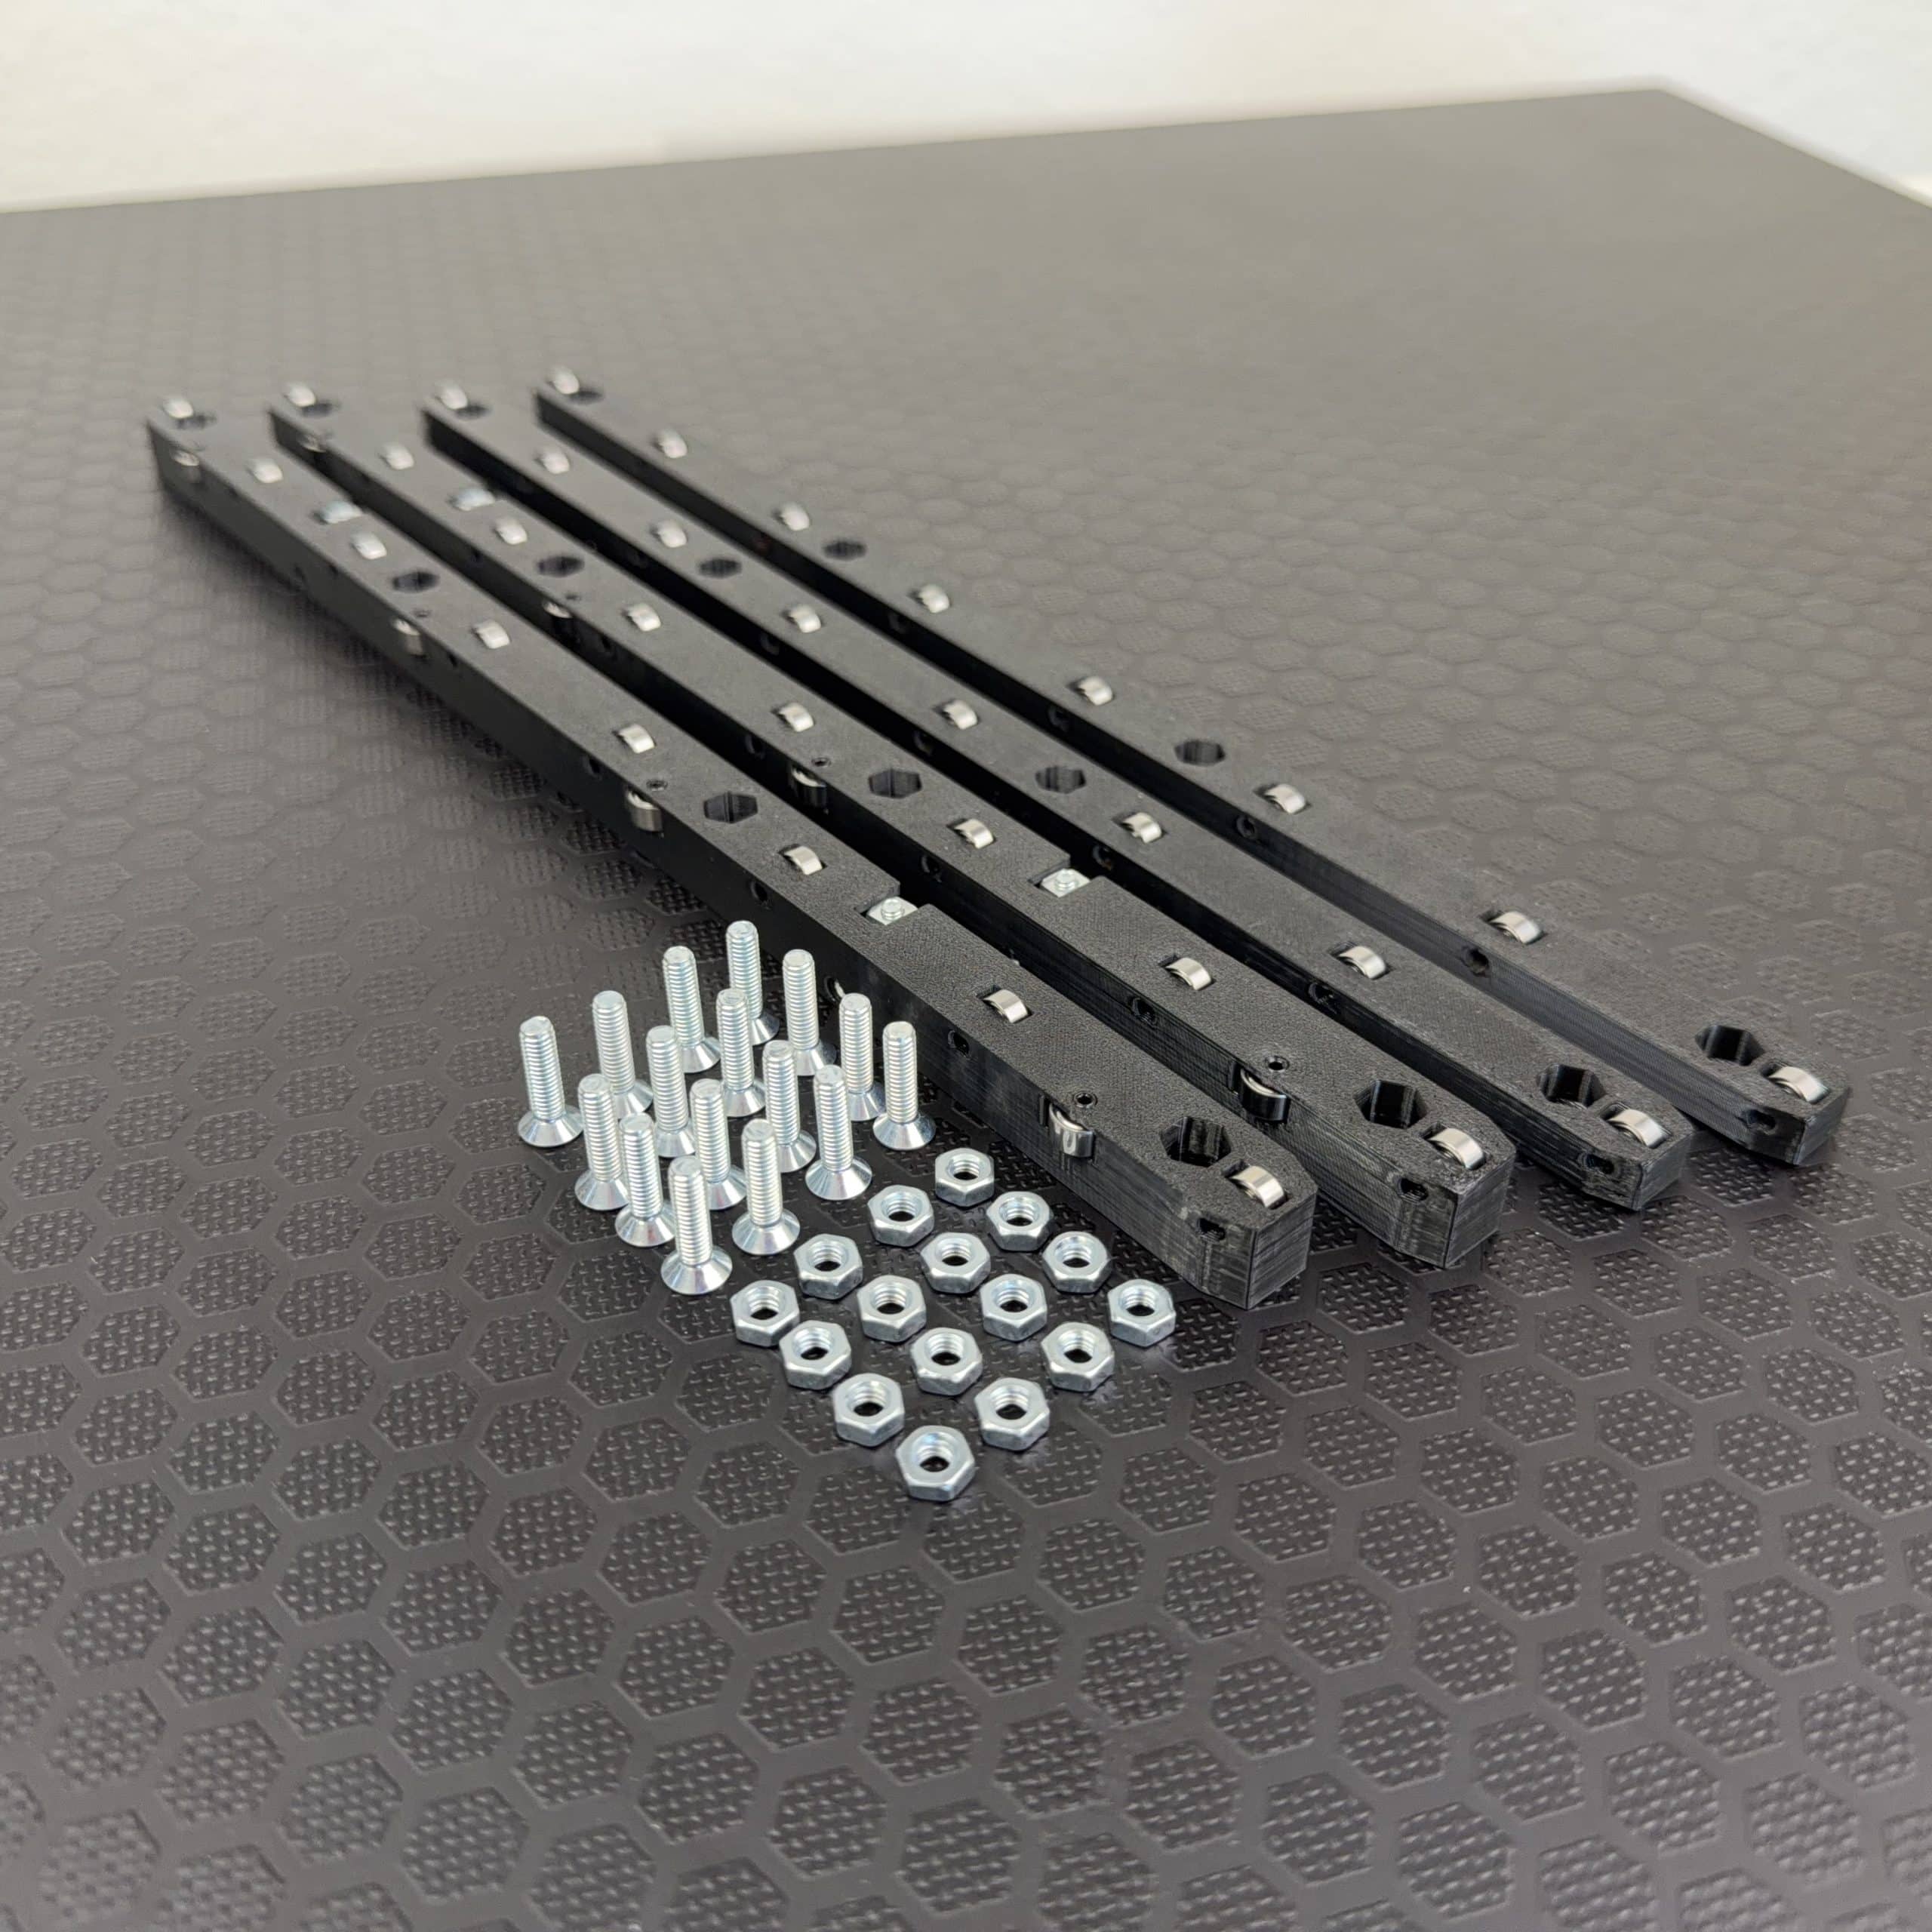
These ball-bearing roller rails make this quick and precise. The 4
The rails fit perfectly into the recessed grooves of the GTS 10 XC table.
and thanks to 44 ball bearings, ensure 100% play-free operation of your
Cross Cut Sleds. Installed in just a few steps, ready for immediate use.
Medium
- Assembly tool for Cross Cut Sled, ball bearing
- 2mm hex key
- 2.5mm hex key
- 4.5mm wood drill bit (recommendation: Famag Excellent wood drill bits)
- countersink
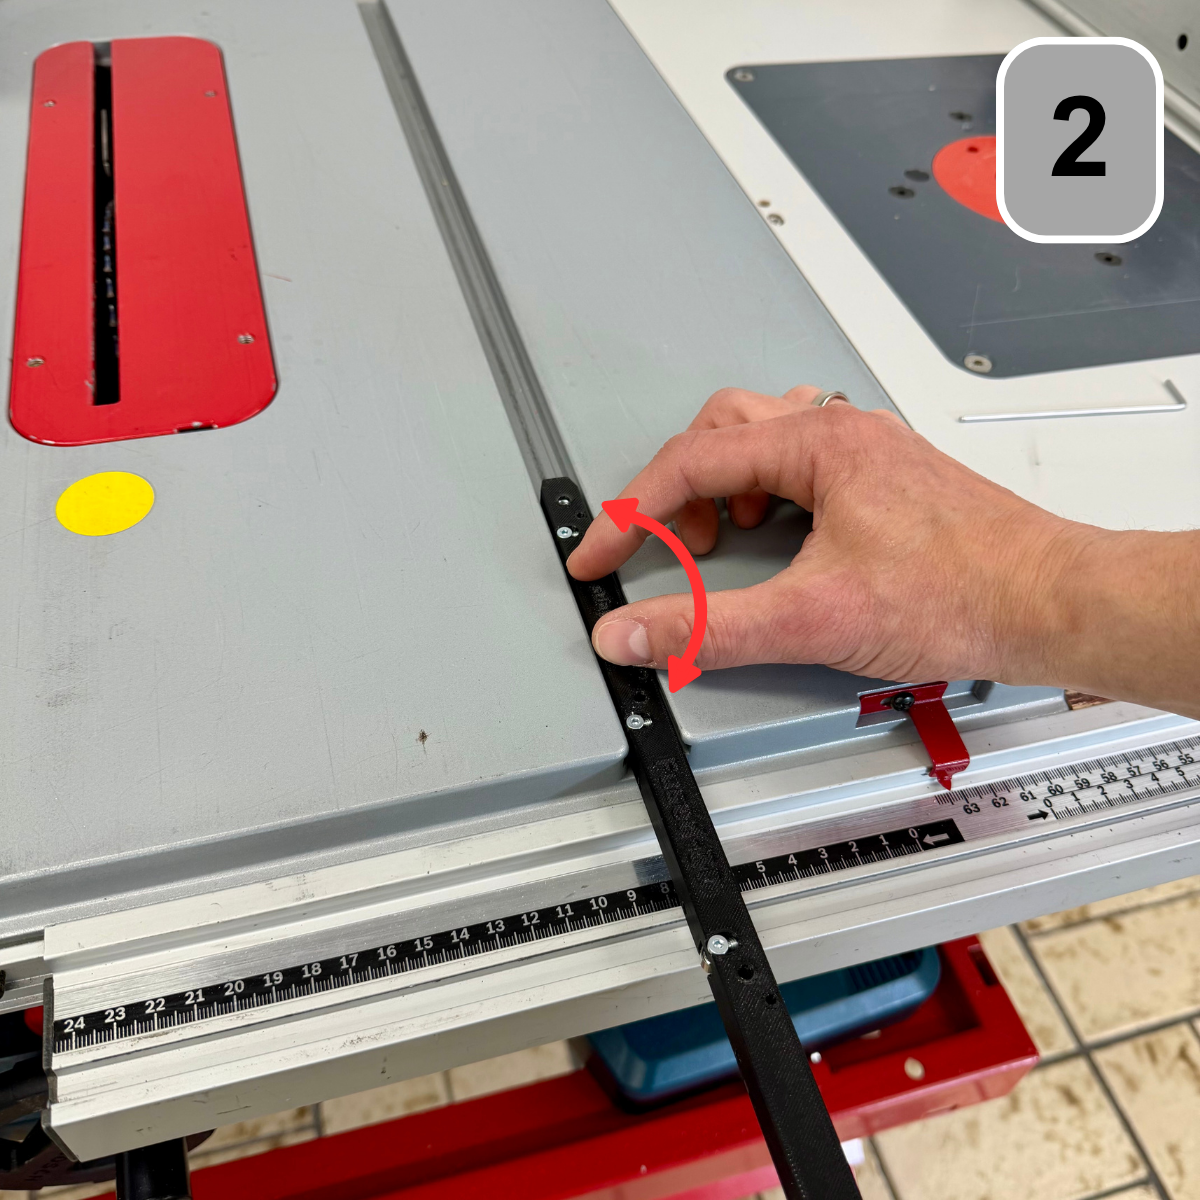
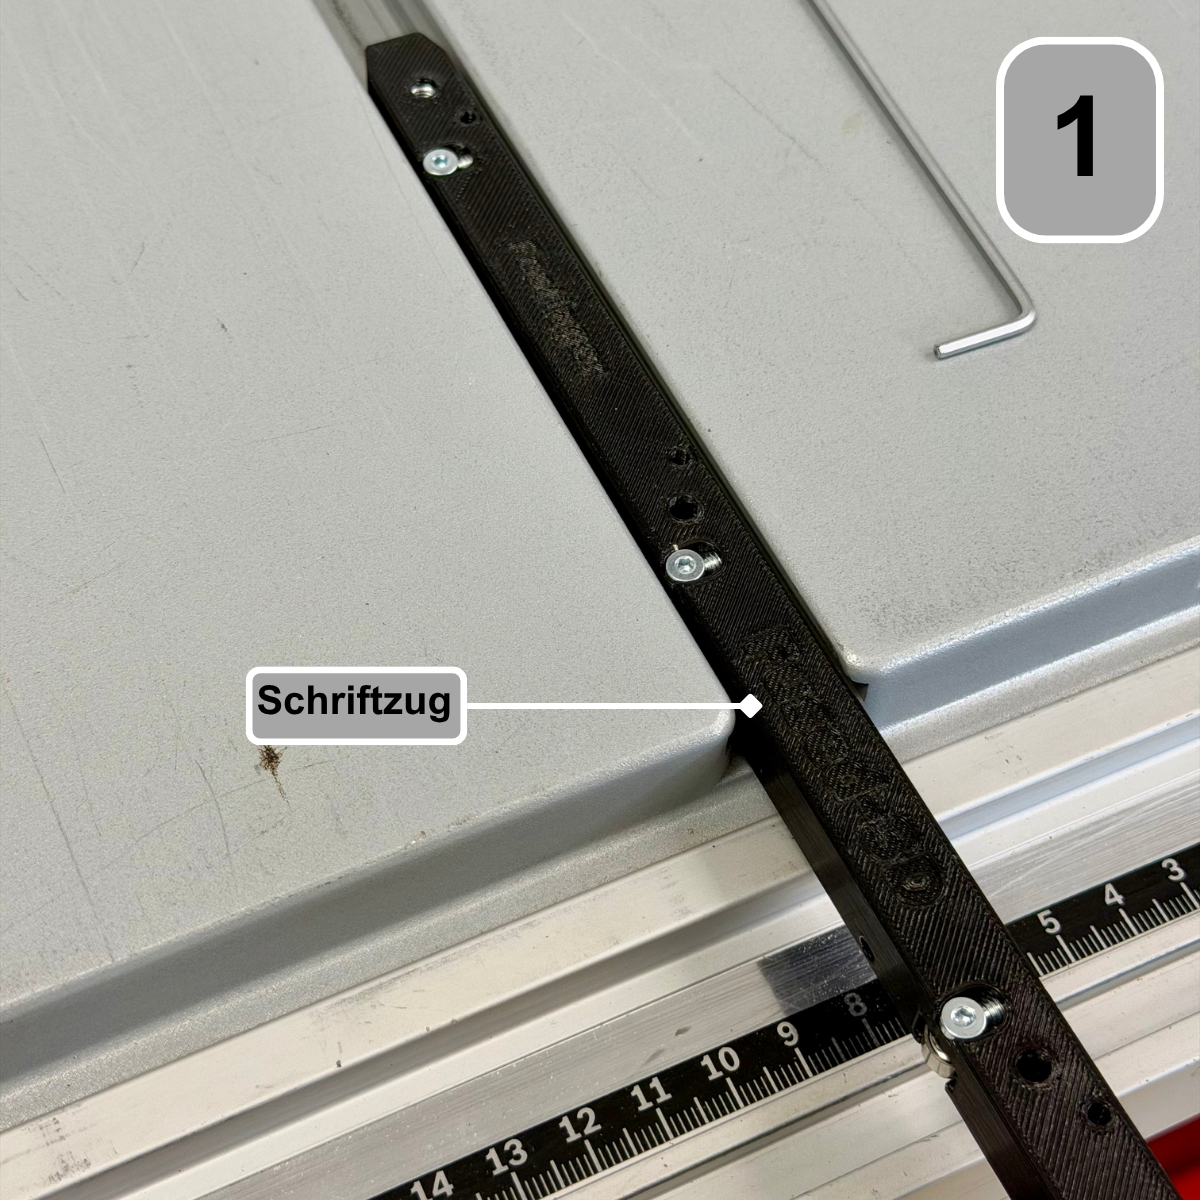
Step 1: Set the game
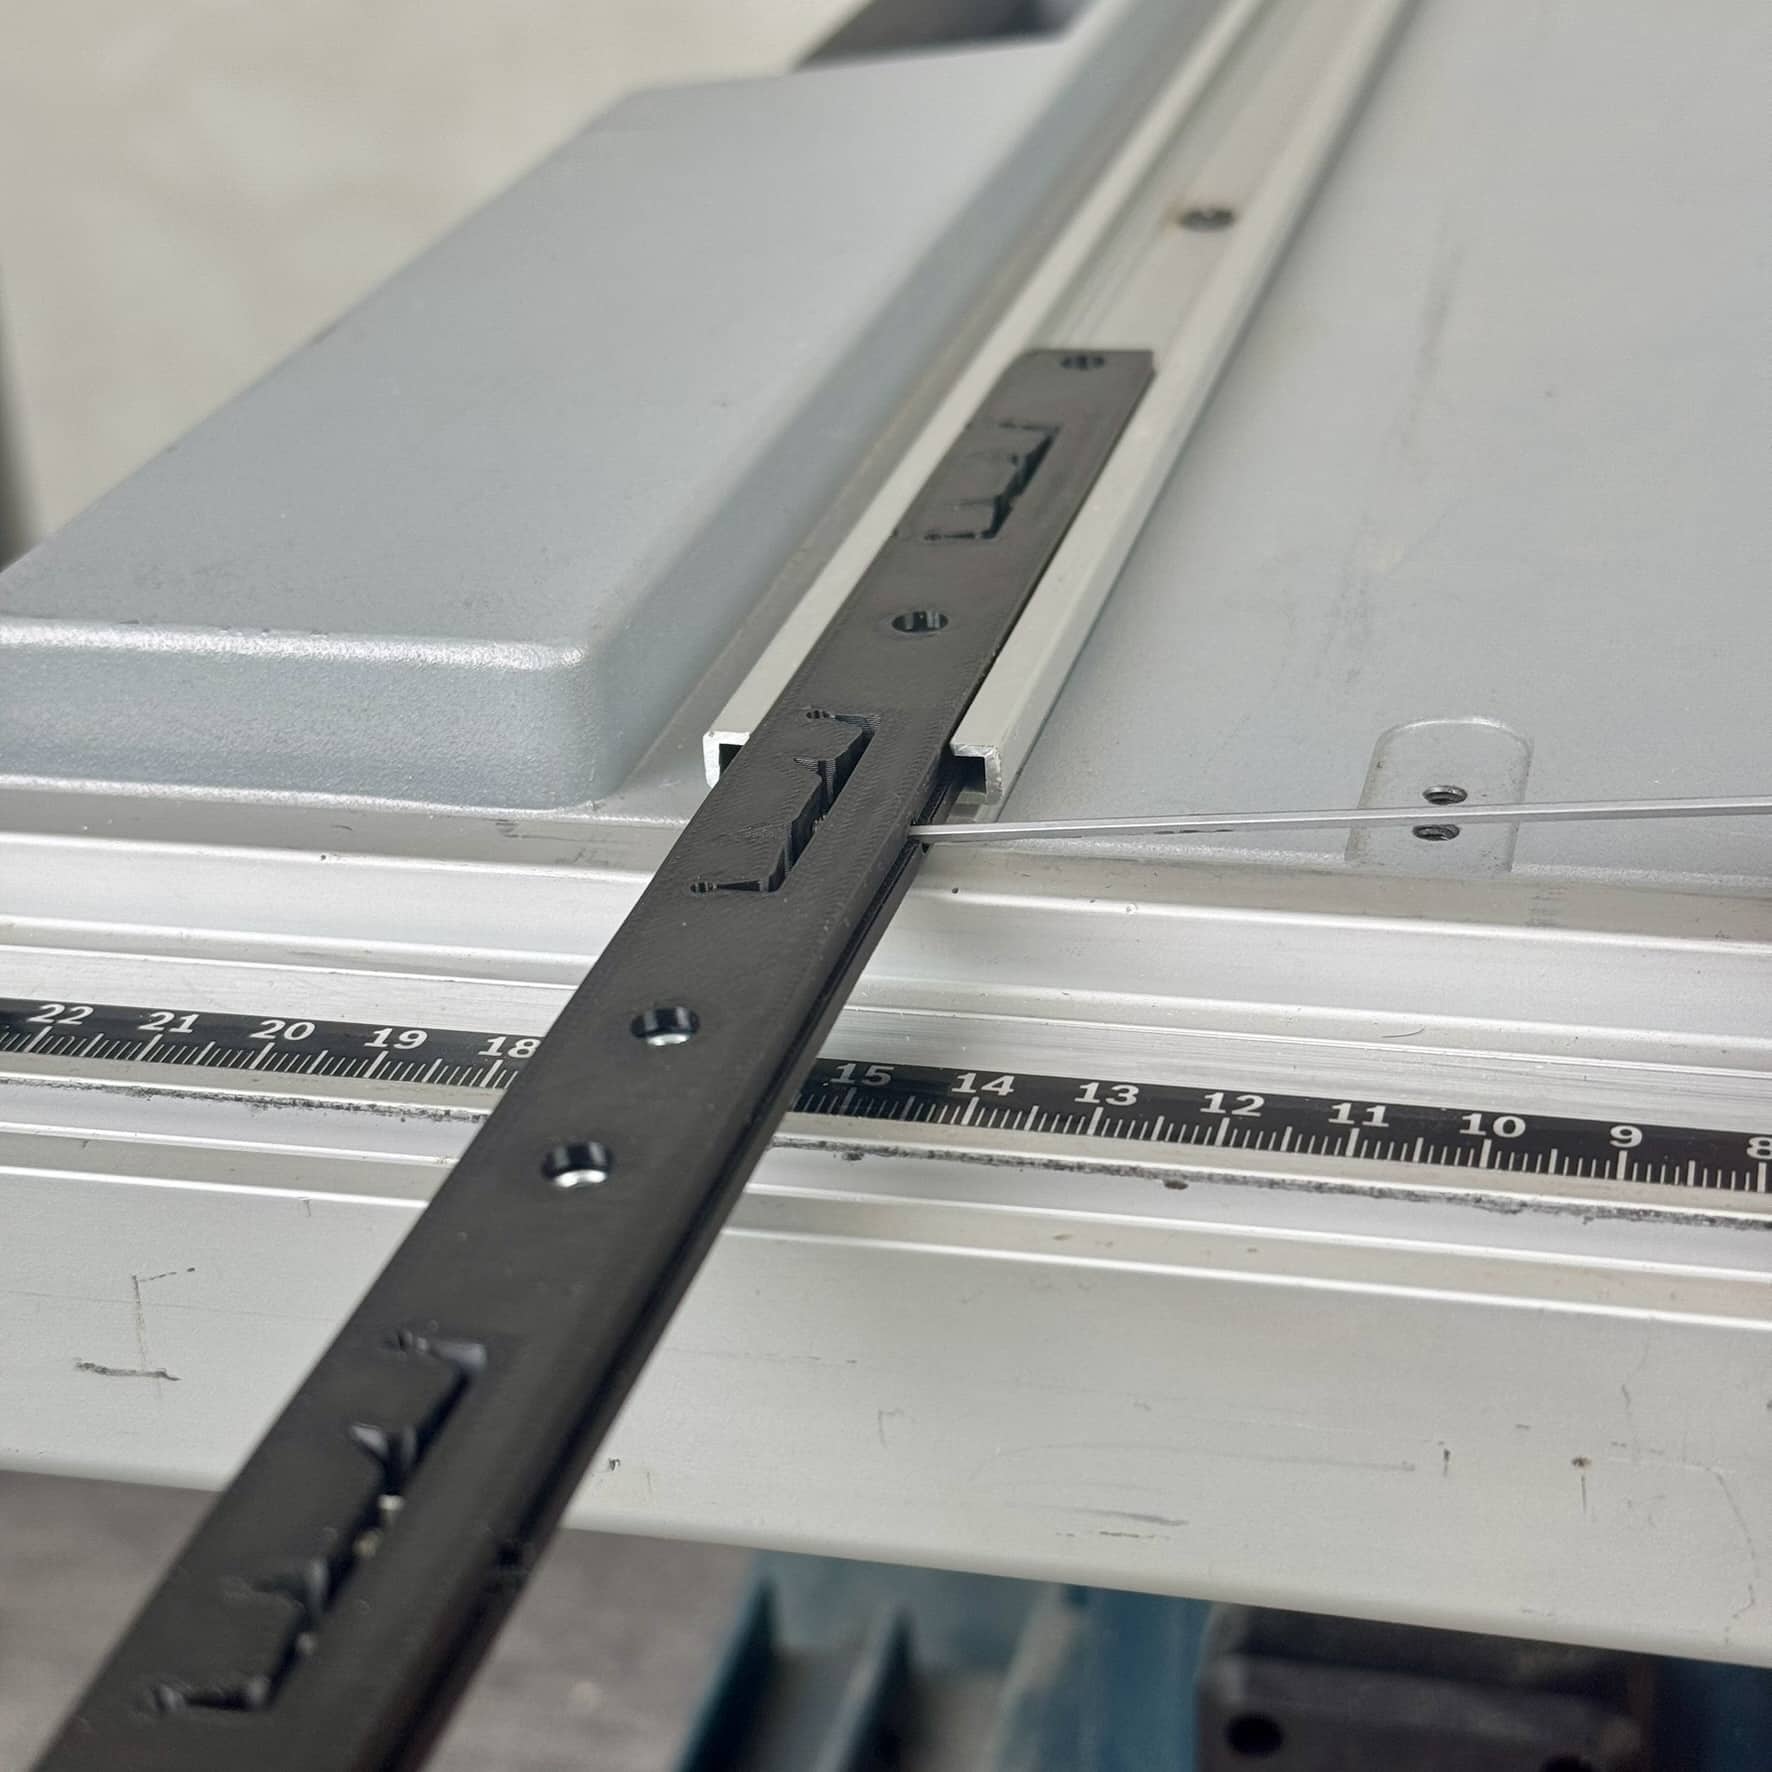
Insert the fixed bearing rail into the guide up to the beginning of the lettering.
Step 2: Set game
Check the play in the rail by gently swiveling it back and forth.
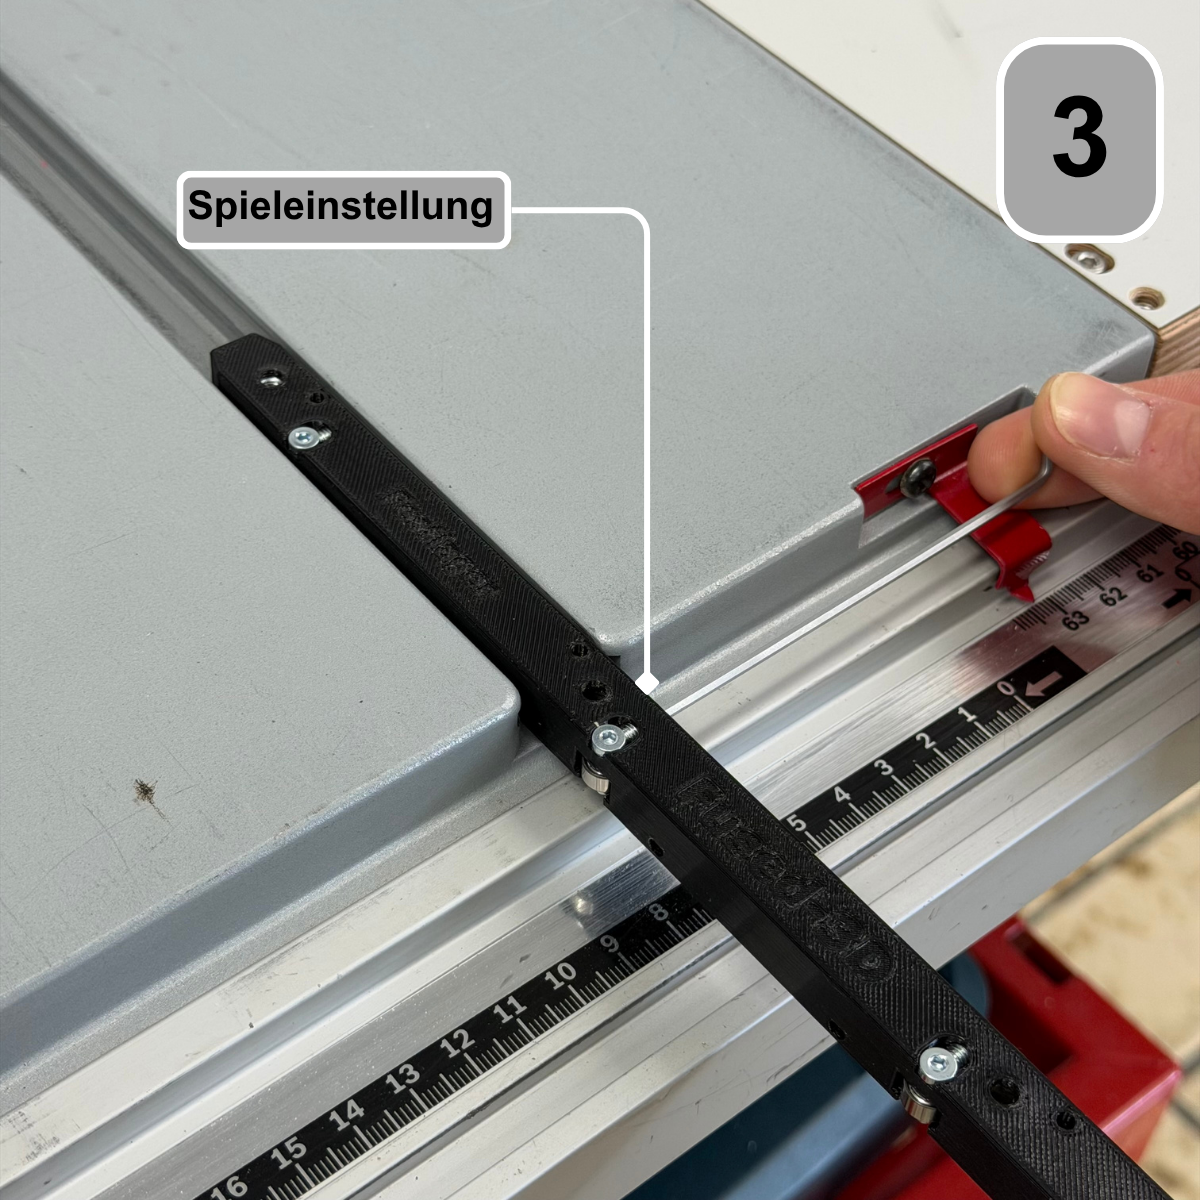
Step 3: Set game
Adjust the play by carefully screwing the threaded studs in evenly using a 2mm Allen key until the ball bearings eliminate any play. If the rail is too tight, unscrew the threaded studs slightly and press the ball bearings in manually. Then repeat step 2 until the rail runs without play. Note: The play can be adjusted after installation.
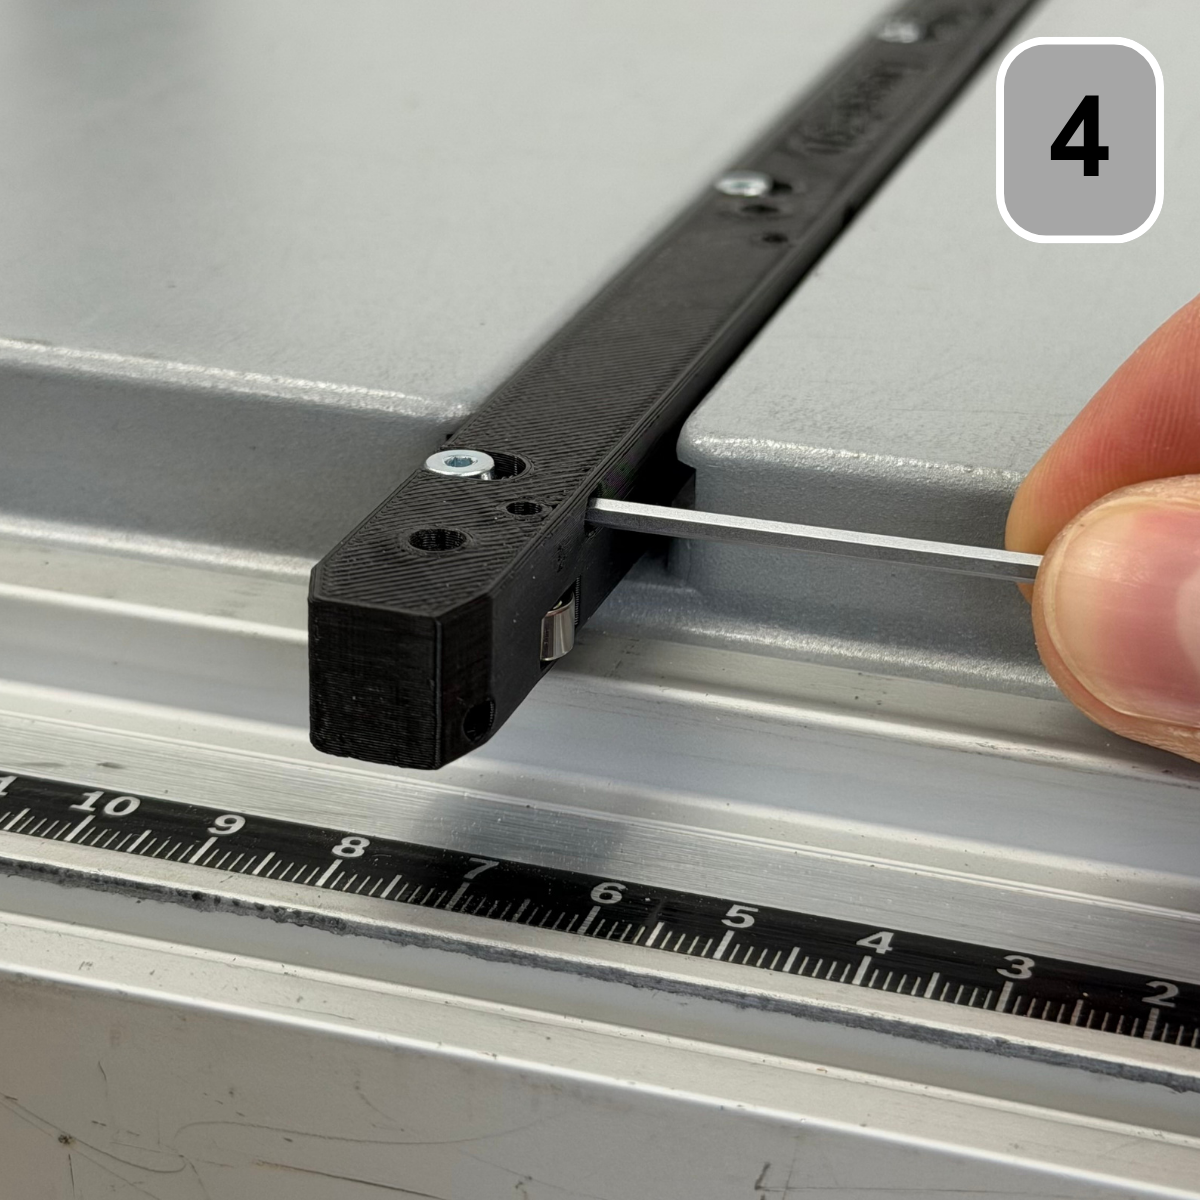
Step 4: Set game
Rotate the rail 180° and repeat steps 1.2 and 1.3 for the second half. Finally, check that the entire rail moves smoothly.
Set the play of the second fixed bearing identically to the first rail.
Step 5: Preparation for work
Cut a base plate for your sliding table. We recommend a plywood sheet measuring 600 mm deep, 760 mm wide, and 12-15 mm thick. This size is ideal for the Bosch GTS 10 XC and provides ample surface area for precise crosscuts.
Step 7: Preparation for work
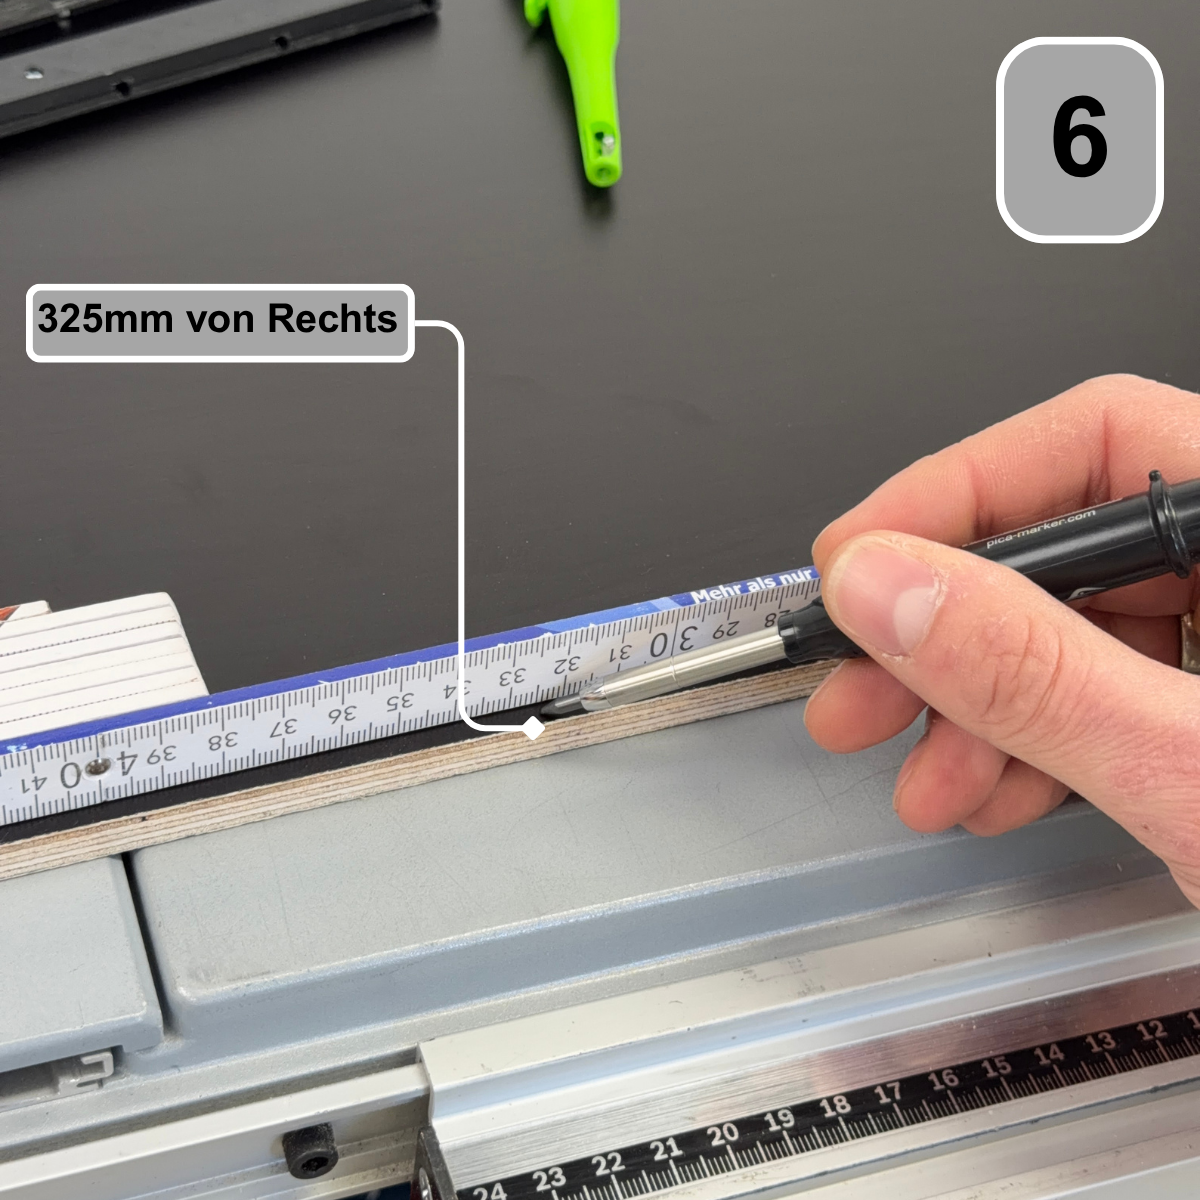
From the cutting area marking, go 160 mm to the left and 151 mm to the right and mark the center line of the roller rails there. Transfer these markings to the opposite side as well.
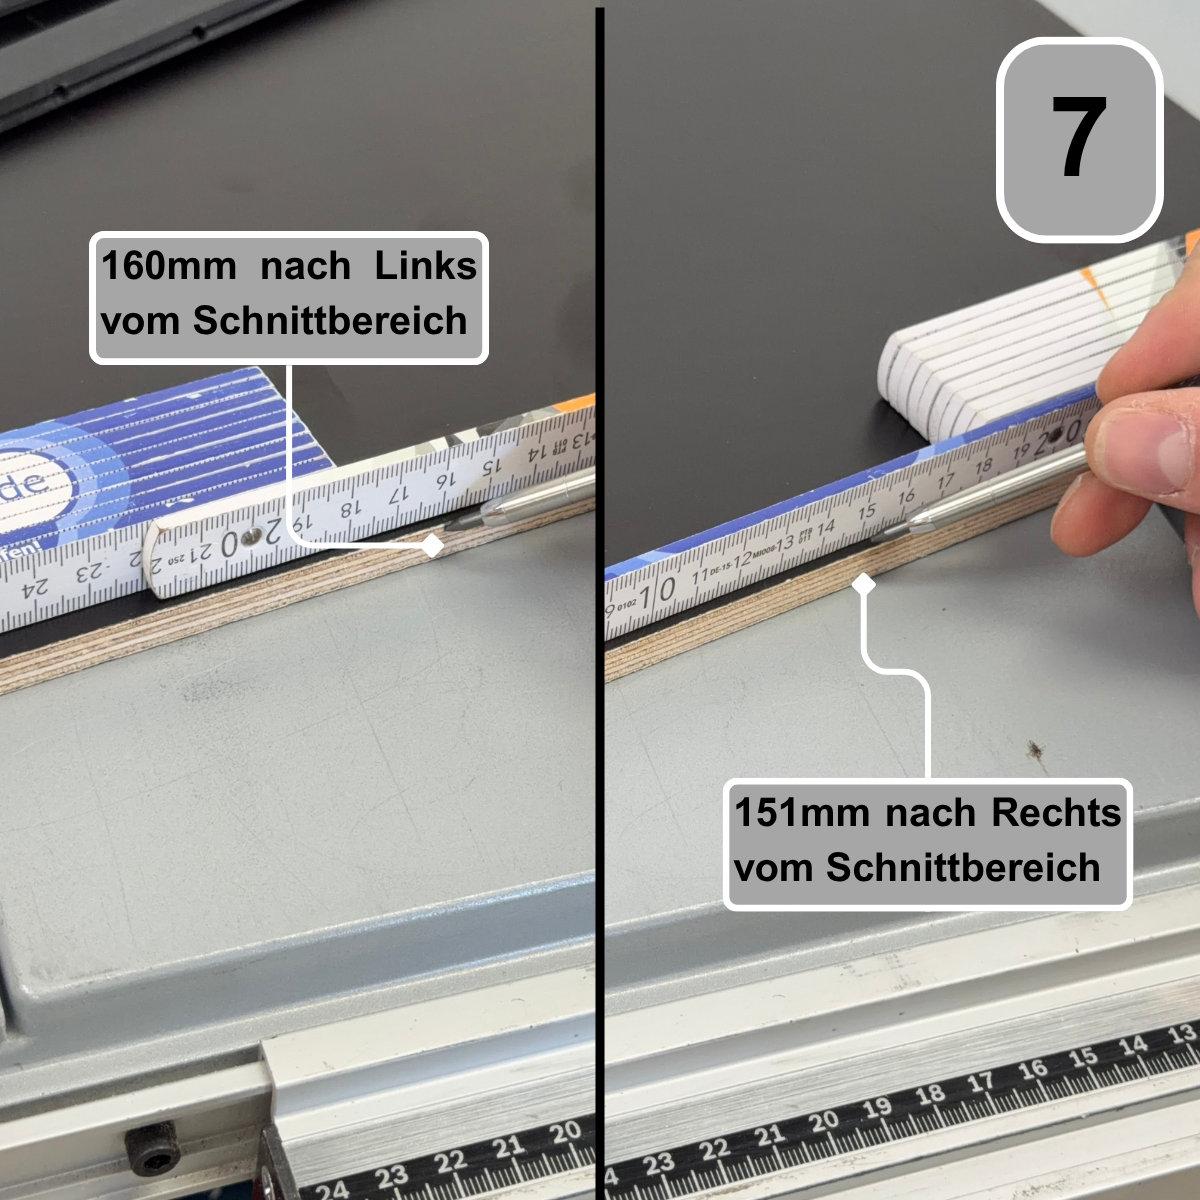
Step 7: Preparation for work
From the cutting area marking, go 160 mm to the left and 151 mm to the right and mark the center line of the roller rails there. Transfer these markings to the opposite side as well.
Step 8: Preparation for work
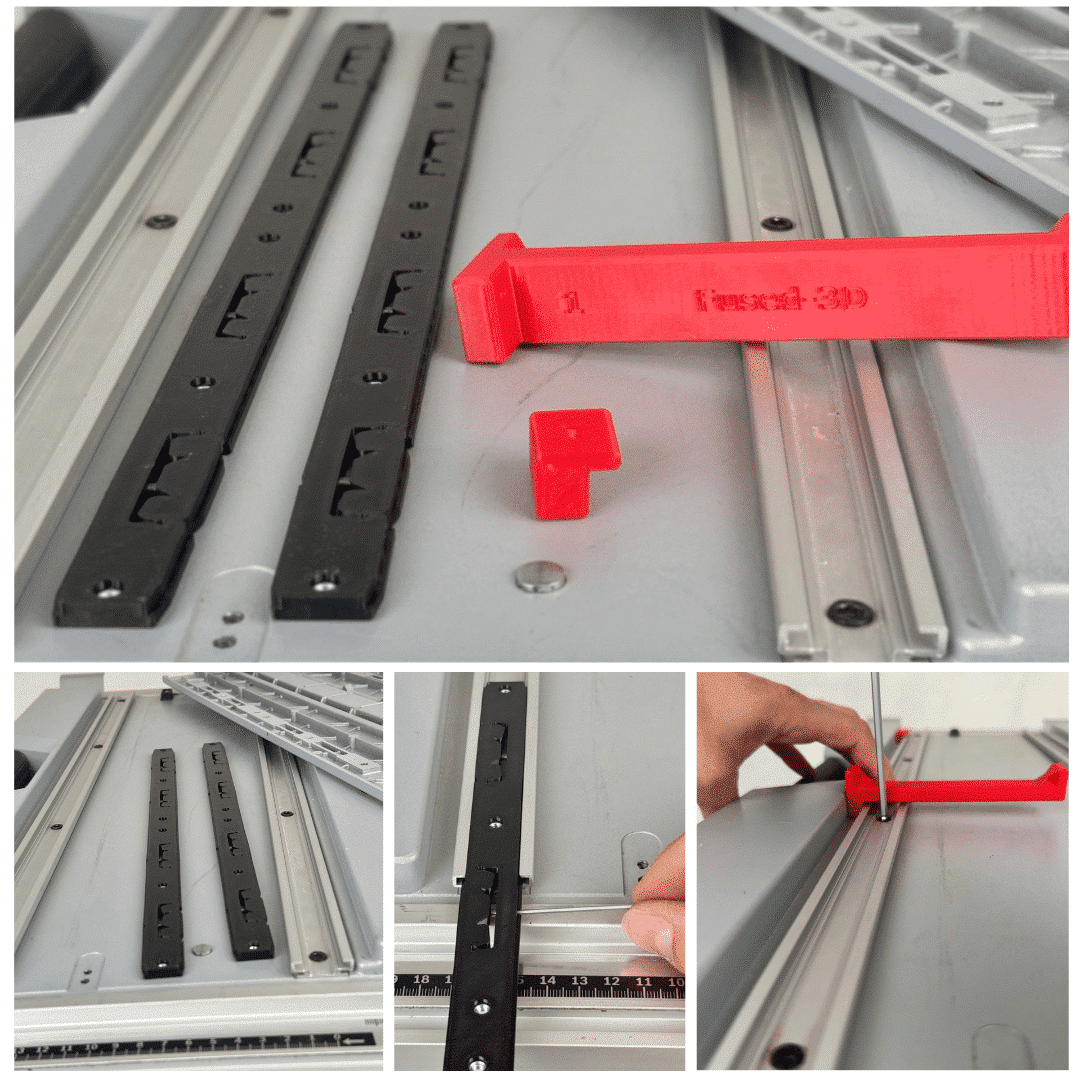
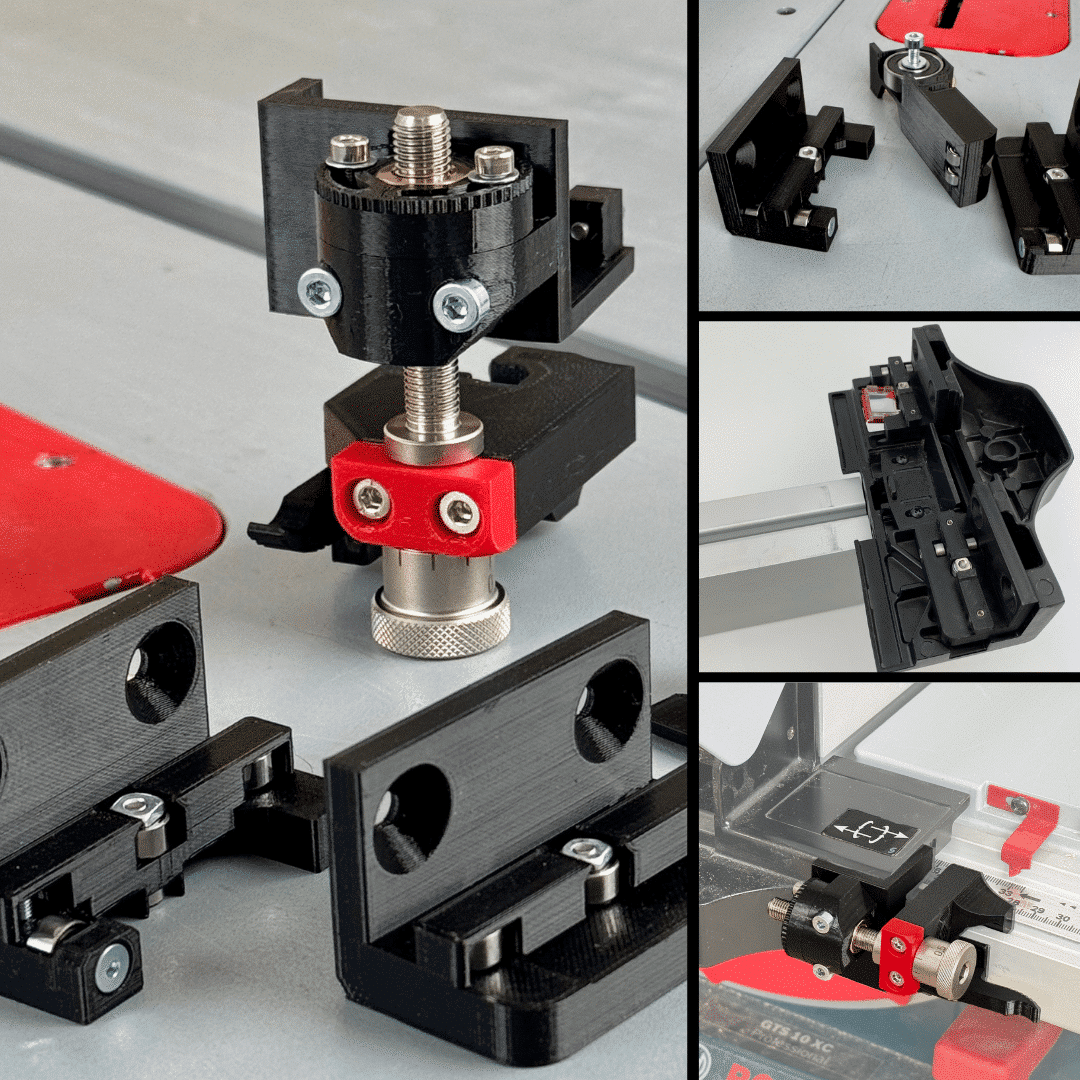
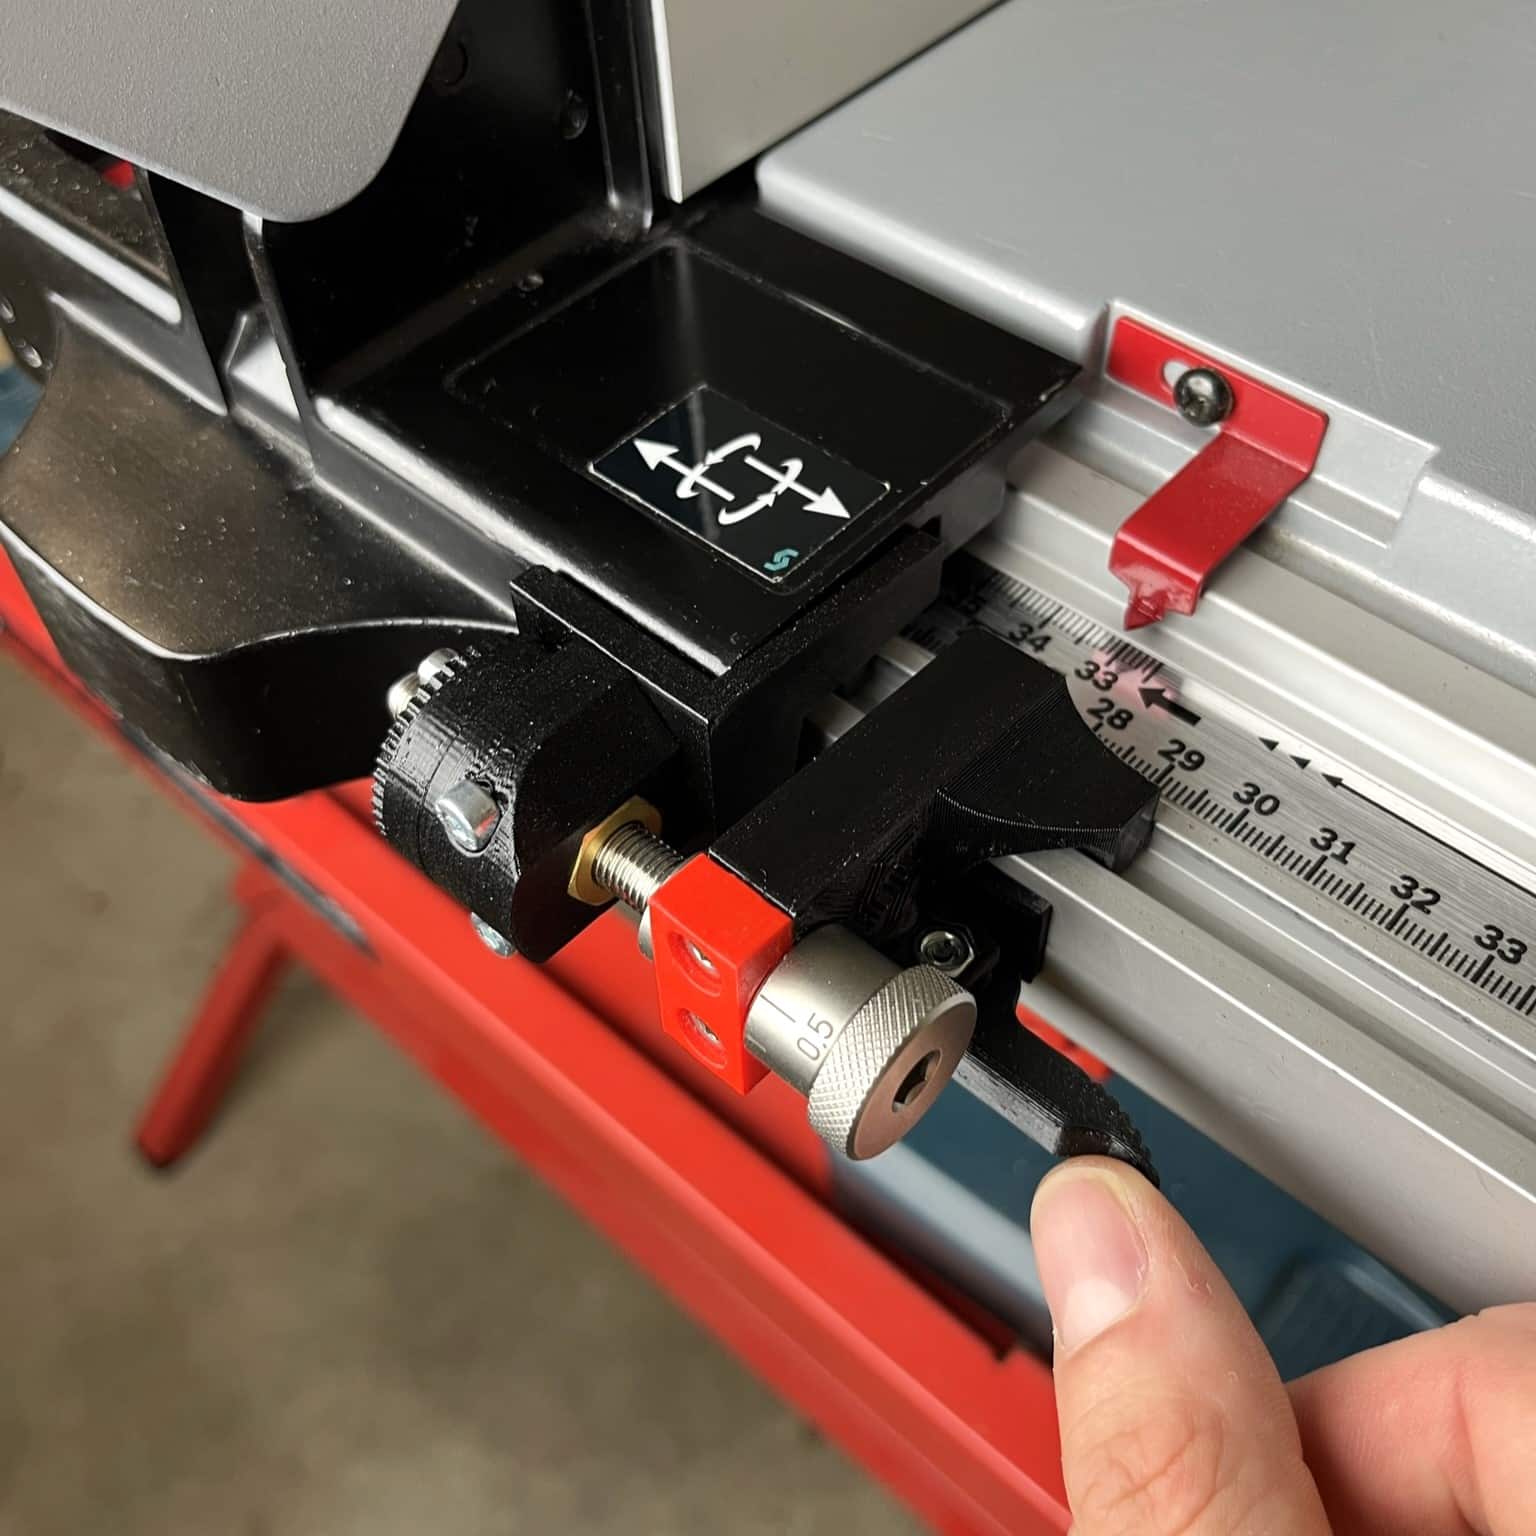
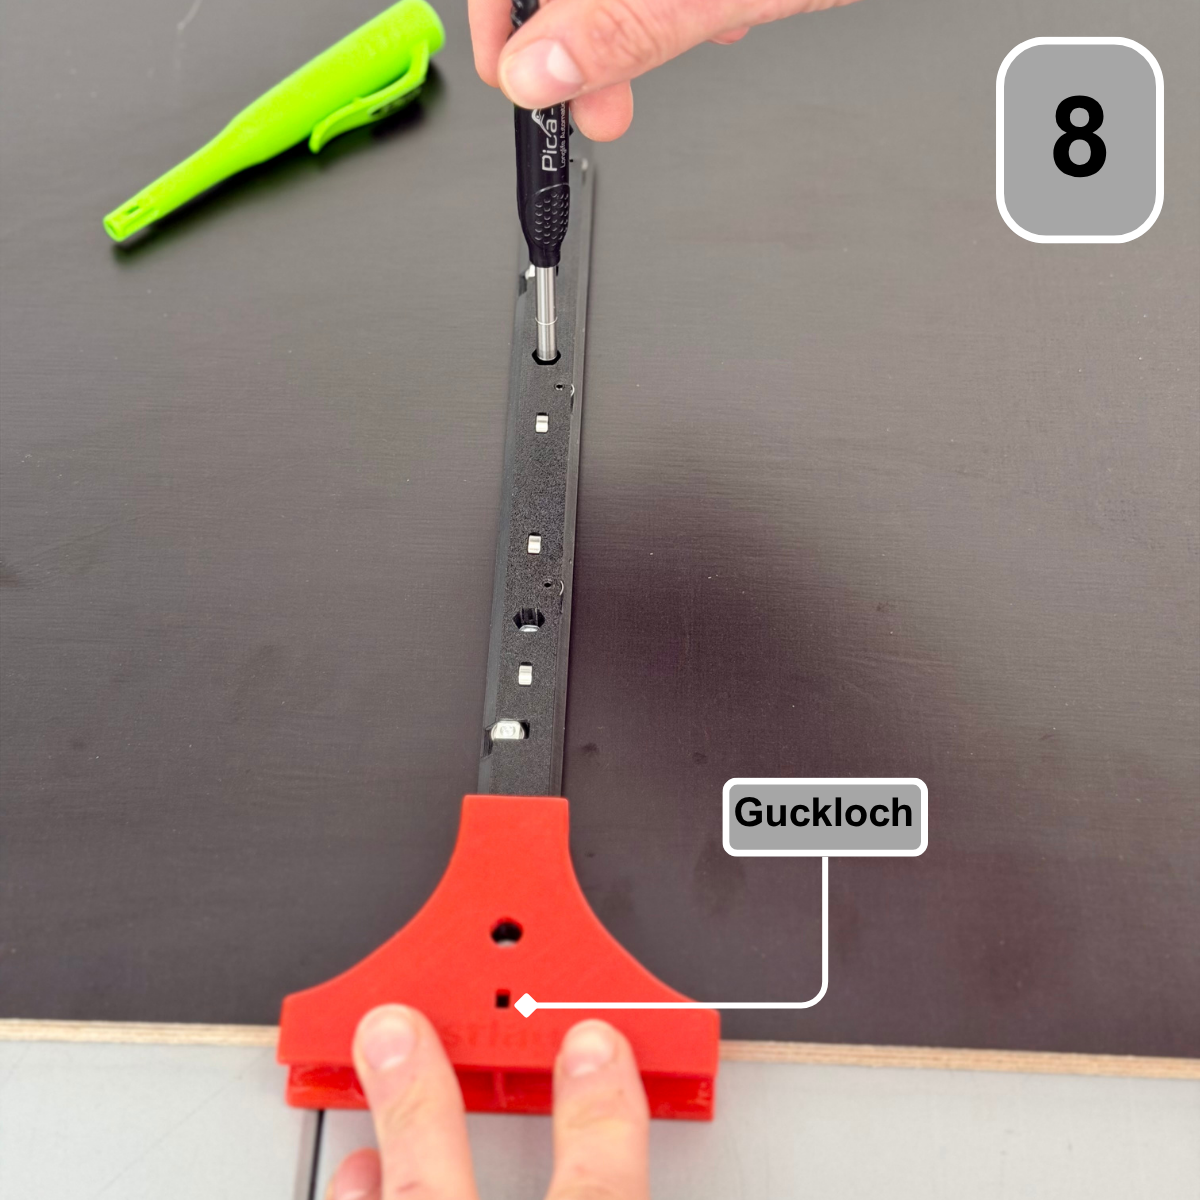
Use this Assembly tool for the Cross Cut Sled, to position the rails at right angles and at the correct distance from the front edge
to align the base plate. Use the viewing hole to align the mounting device at the correct height on the plate.DANGER! (If you are working on the underside, the fixed bearing is on the left and the loose bearing is on the right.)
Mark the drill holes through the rails on the base plate.
Attention! If you are working on the underside, then the Fixed berth on the left page and the Loose bearing on the right.
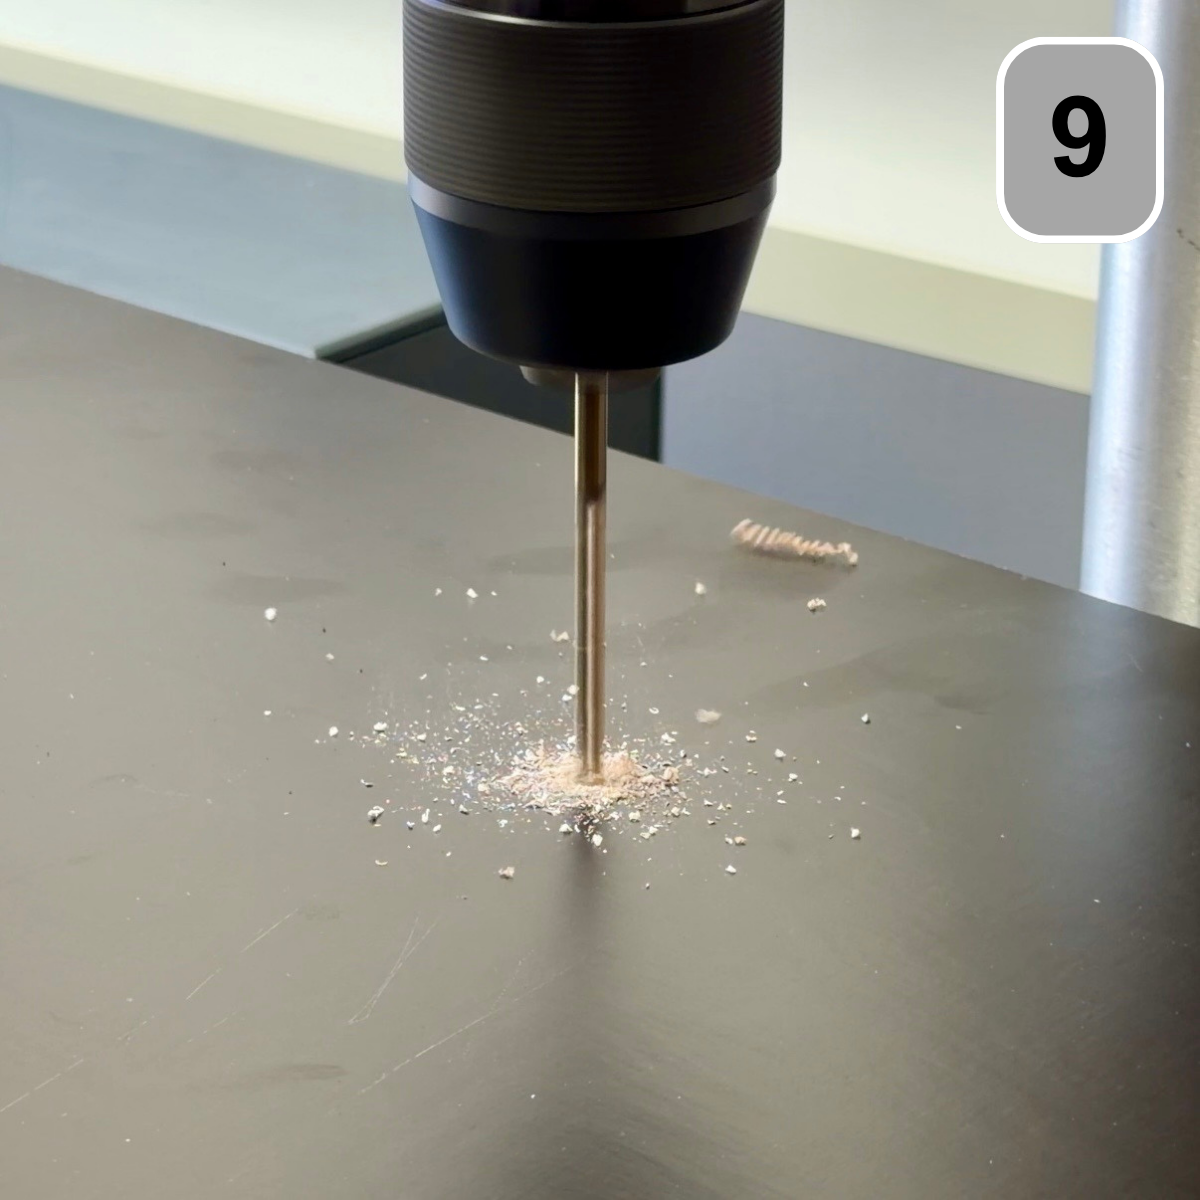
Step 9: Drilling
Drill the marked holes with a 4.5 mm drill bit. We recommend the Famag Excellent wood drill bits for precise work.
Step 10: Lowering
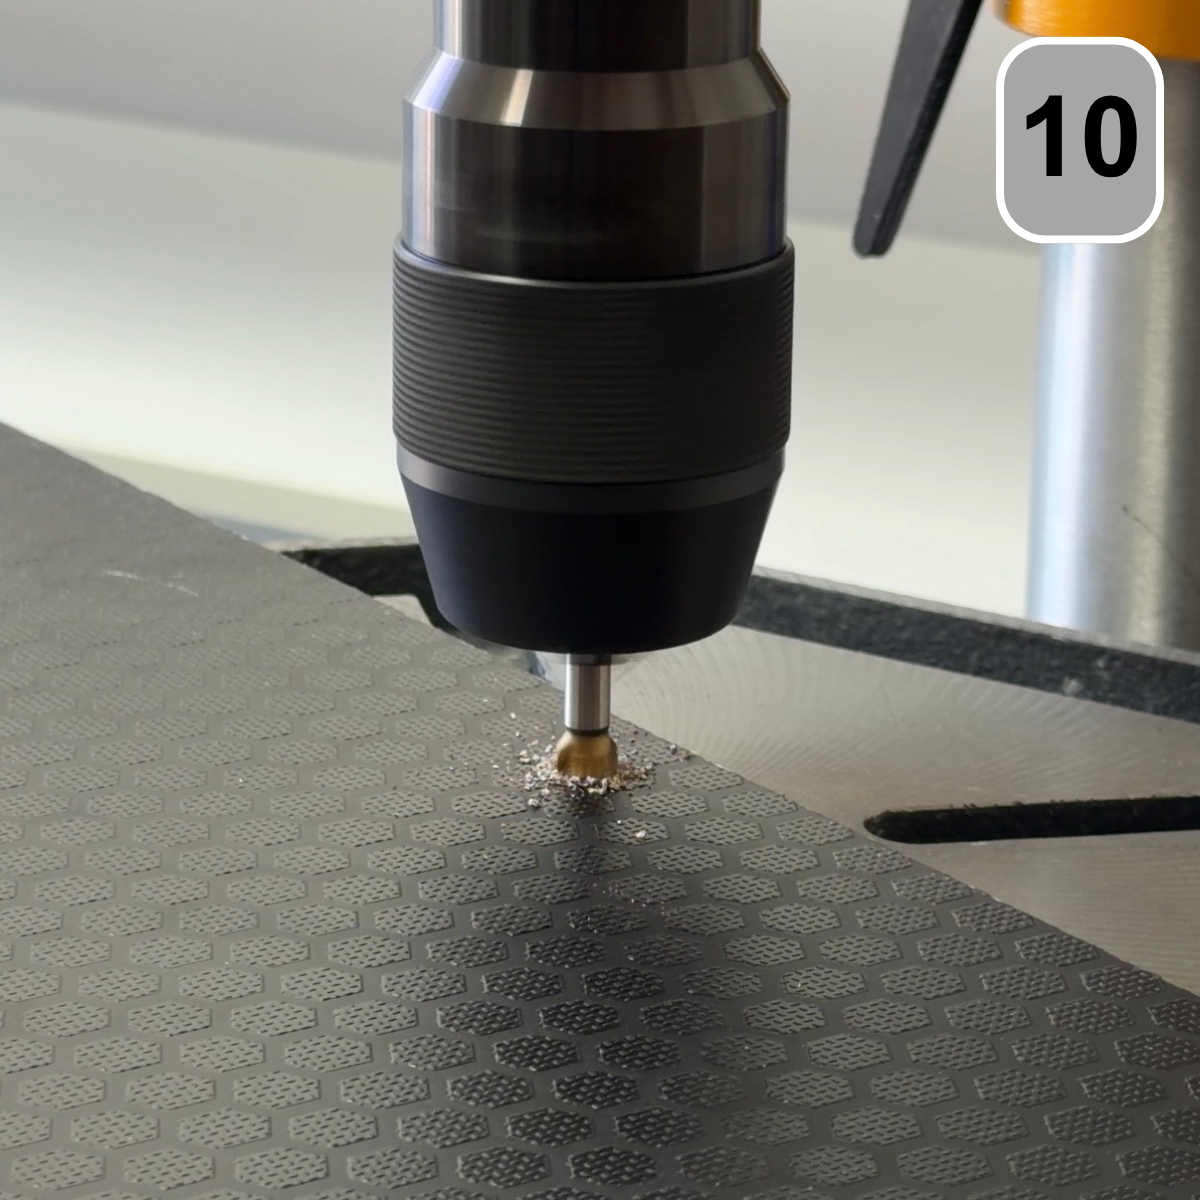
Turn the plate over and countersink the drilled holes at a 90° angle.
Countersink the countersink until the heads of the supplied countersunk screws are flush with the surface of the plate.
Step 11: Assembly
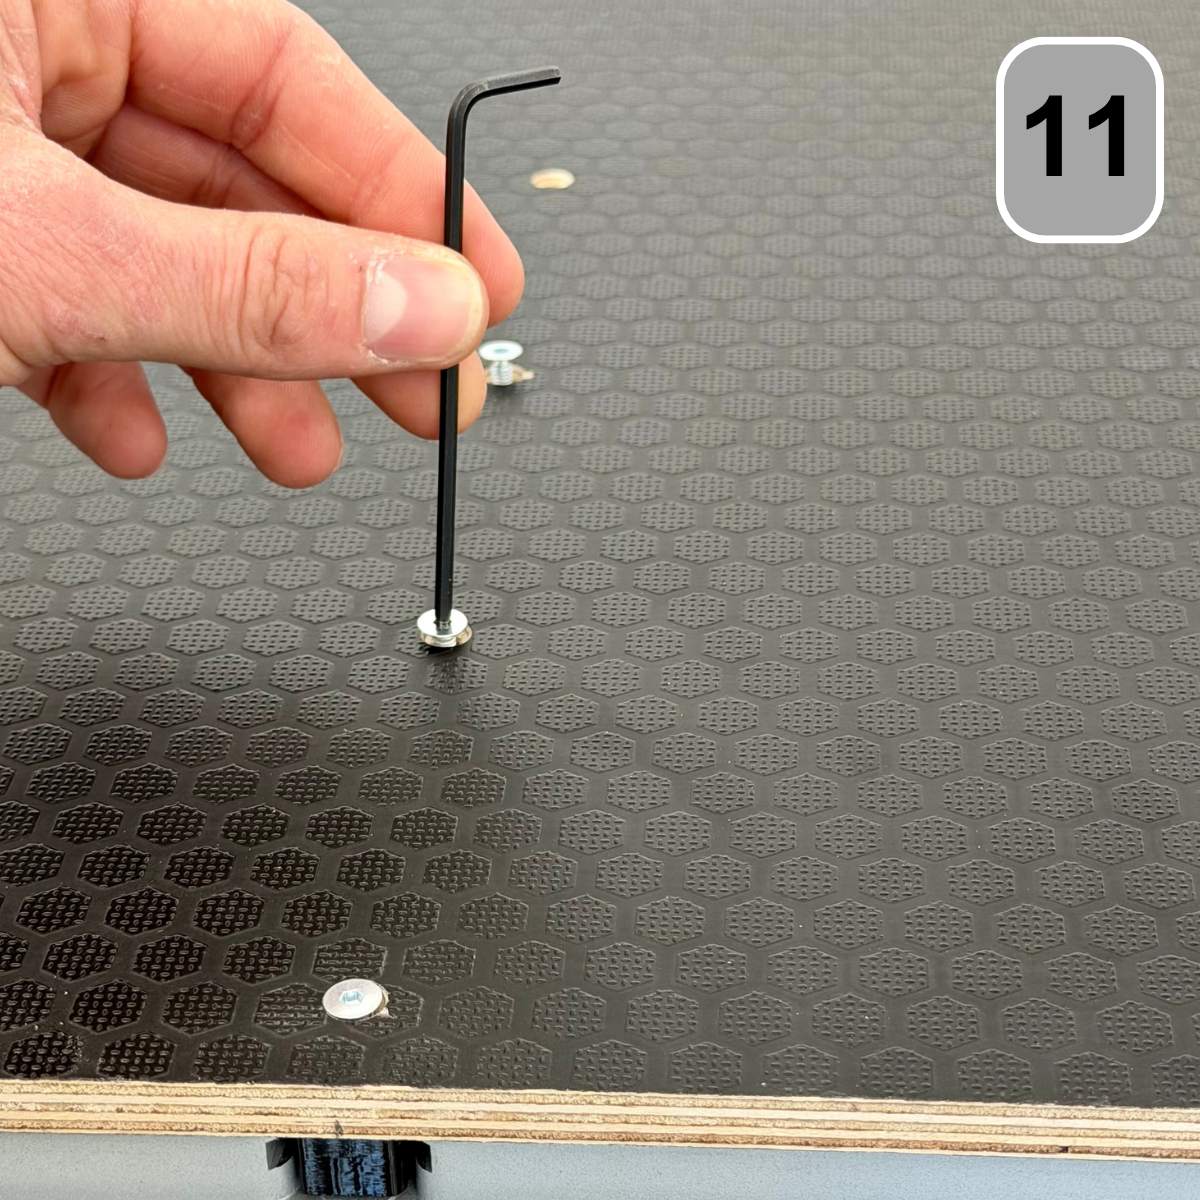
Insert the M4 nuts into the rails to be mounted and then screw them in from below using the supplied countersunk screws.
You will need a 2.5mm hex key for this.
Step 12: Assembly
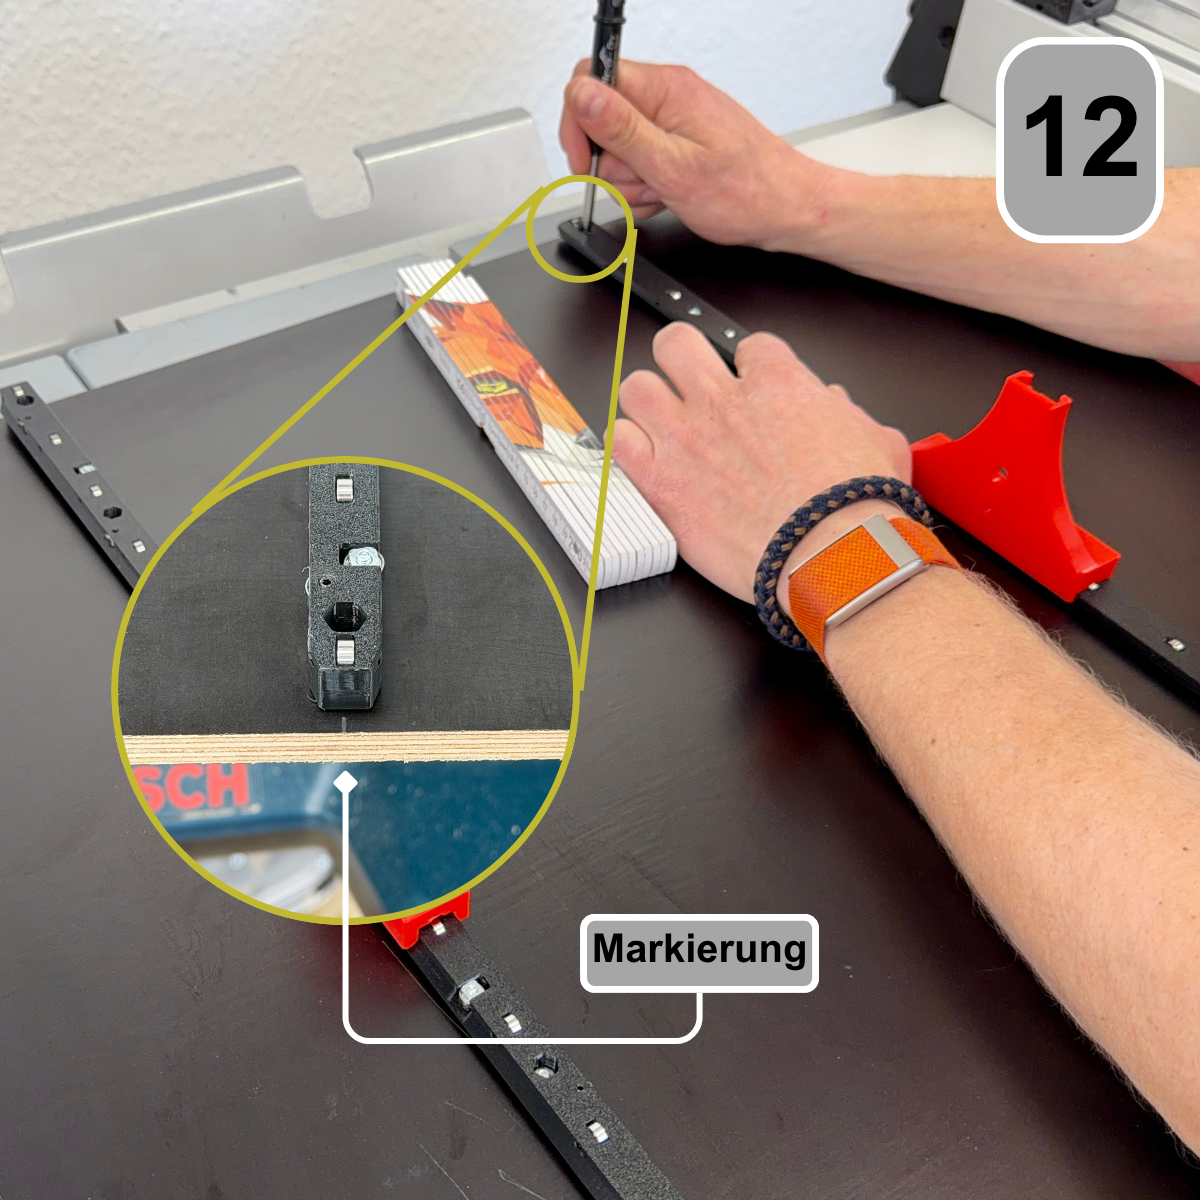
Turn the plate over and use the other side of the mounting tool to align the rails at the correct distance and collinear with each other. Then mark the drill holes. To ensure they are truly collinear, use the marker from step 7 and align your rail in the center of it.
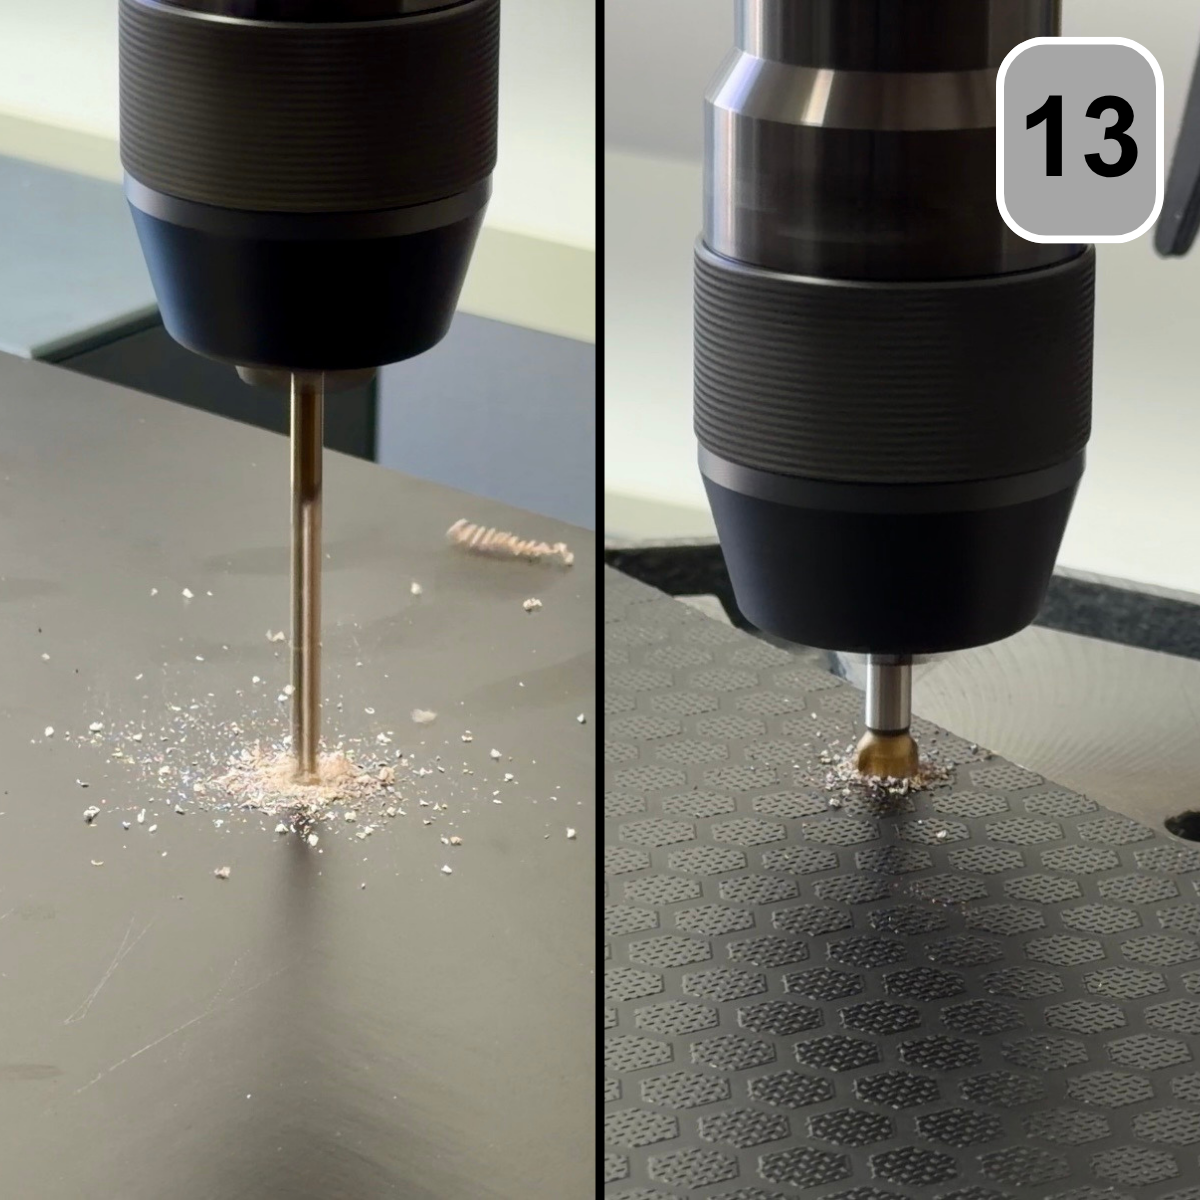
Step 13: Drill, Countersink
Repeat steps 10 and 11 to drill and countersink the holes for the second pair of rails.
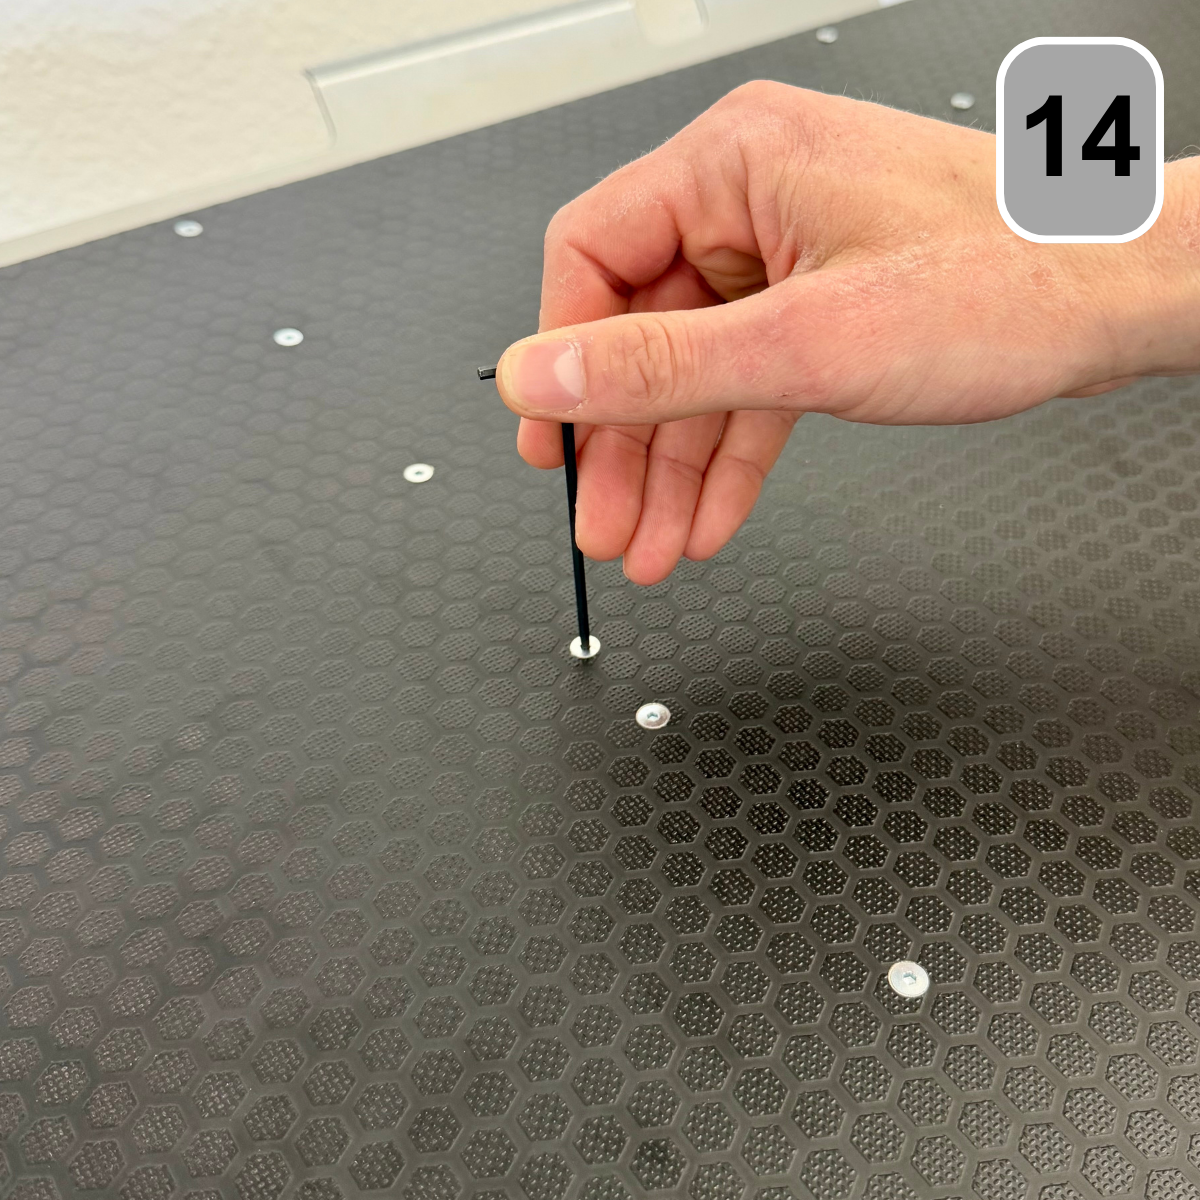
Step 14: Assembly
Insert the M4 nuts into the rails to be mounted and then screw them in from below using the supplied countersunk screws.
Step 12: Finishing
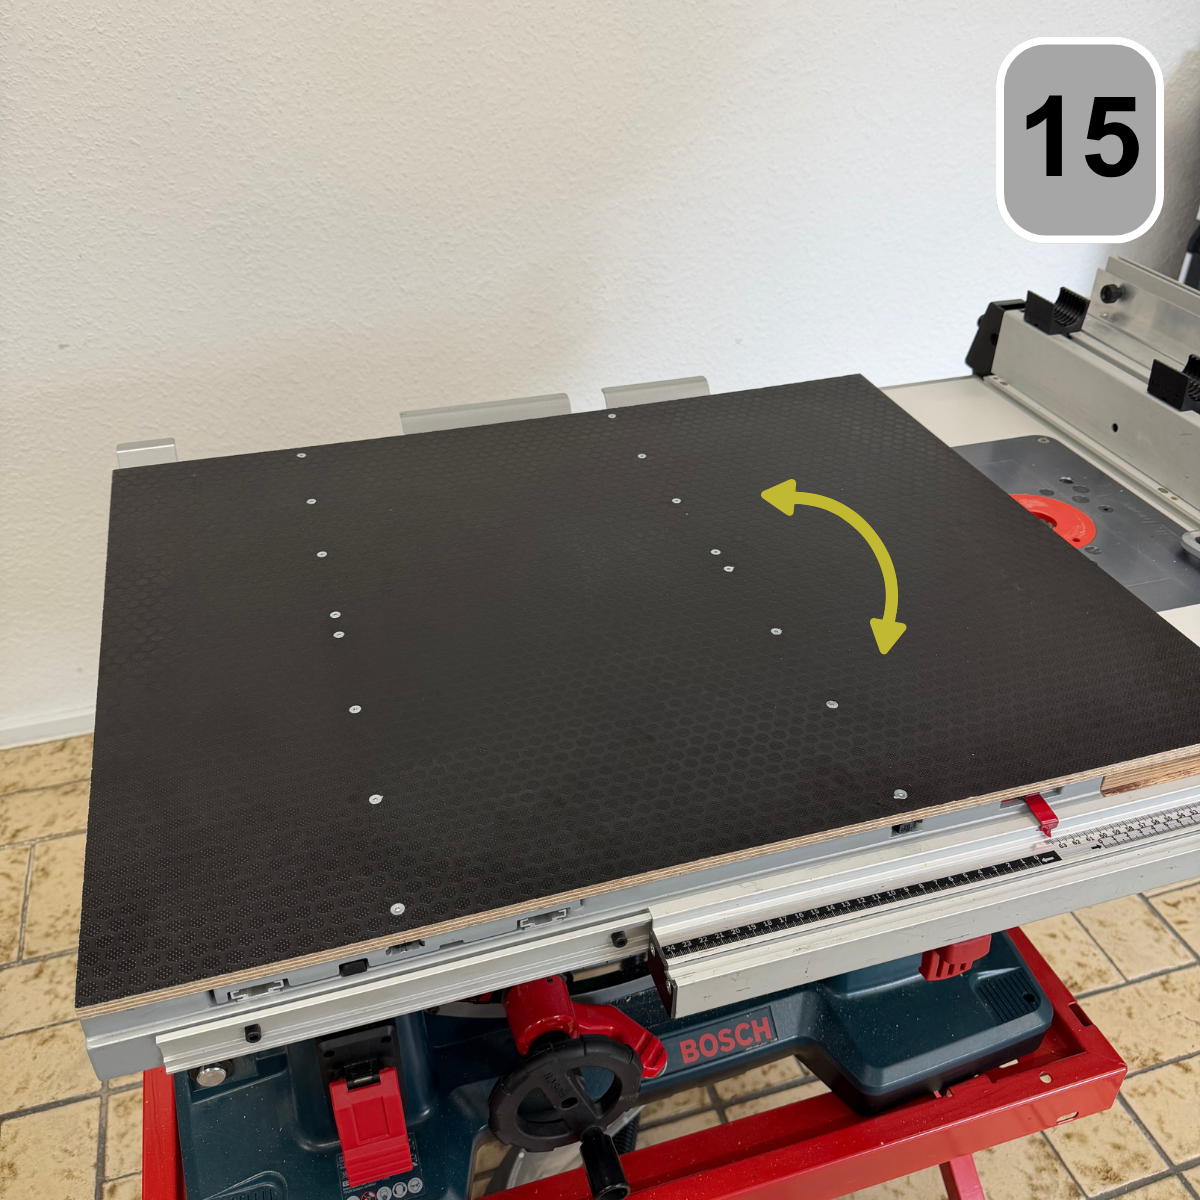
Turn the plate over again and insert it into the grooves of the saw.
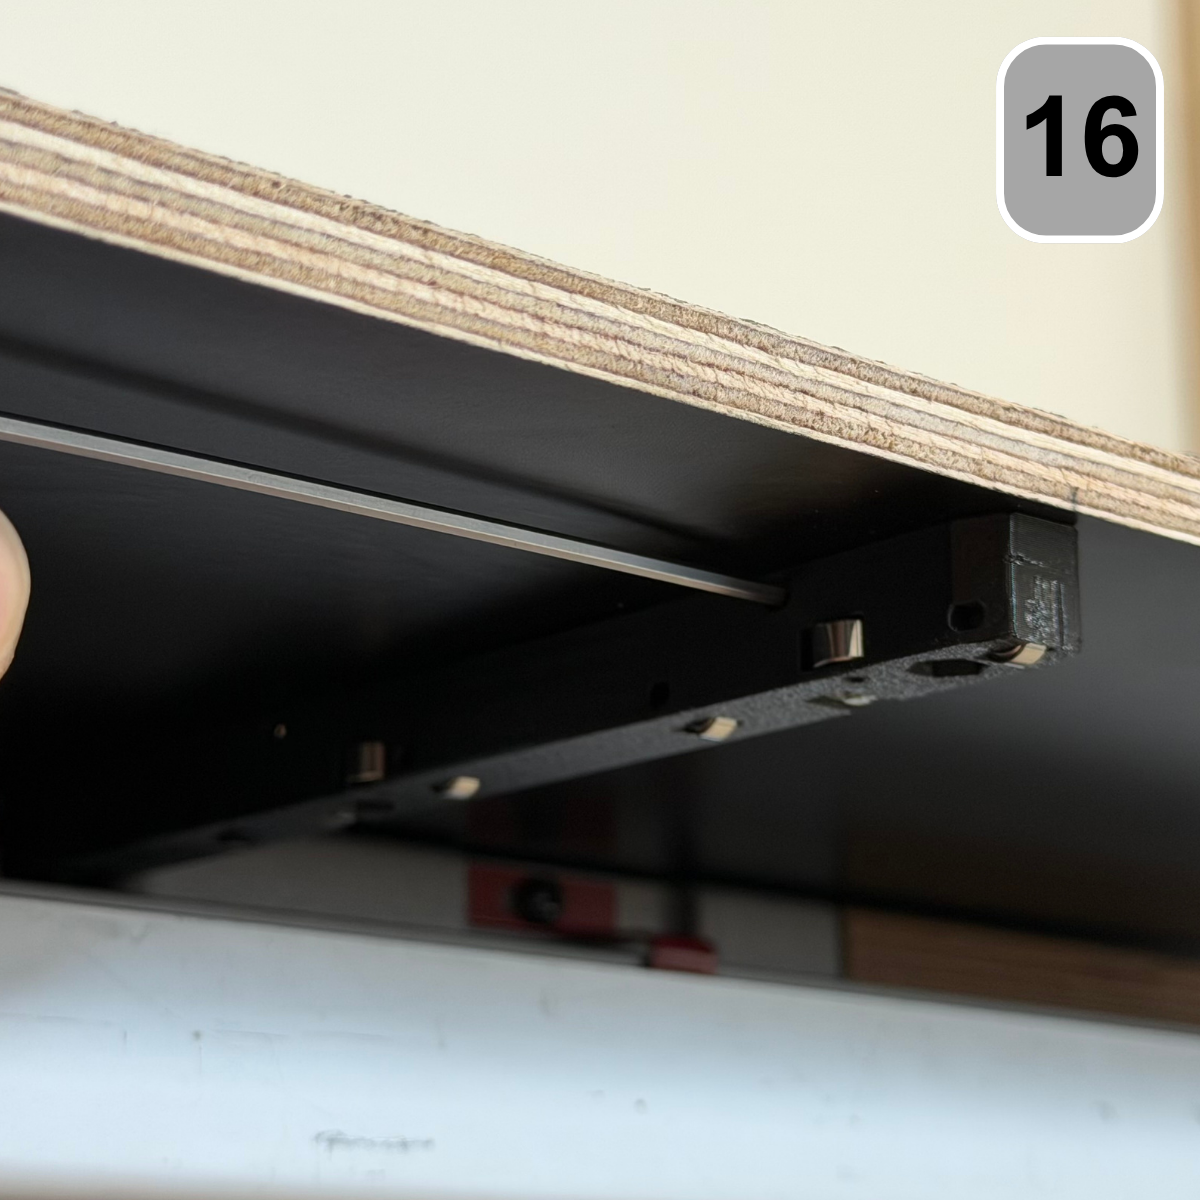
Step 16: Conclusion
Check the smoothness of movement and the amount of play. This can be readjusted afterwards using the 2mm Allen key.
Step 17: Reward
Great job, you did it! Gummy bears are waiting for you as a reward. Enjoy!