 Sichere Zahlungen
 Kostenloser Versand ab 85 € (DE, AT, FR)

Roller carriage conversion kit for Bosch GTS 10xc rip fence
Assembly instructions
Problems with a crooked parallel fence? Our registered
Utility model is the solution! The 11-bearing roller carriage for
The Bosch GTS 10 xc parallel guide guarantees straight cuts.
The adjustable roll angles ensure the stop runs without play.
Guide rail. An additional ball bearing keeps it permanently parallel.
to the saw blade.
Light
- 1.5mm and 3mm Allen keys
- 7mm open-end wrench
- PH2 screwdriver
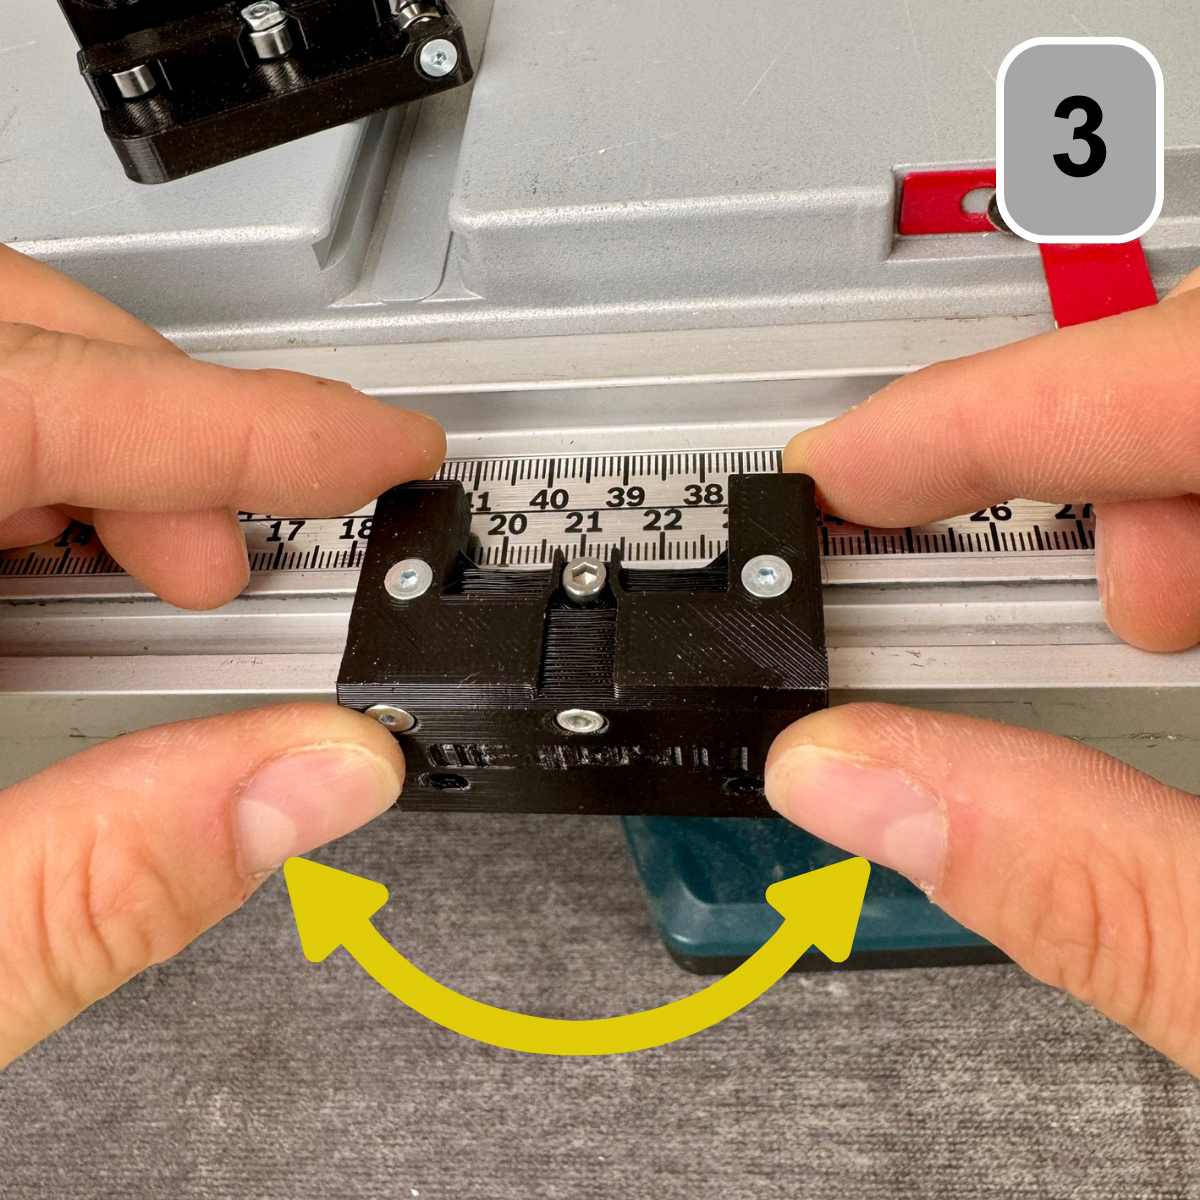
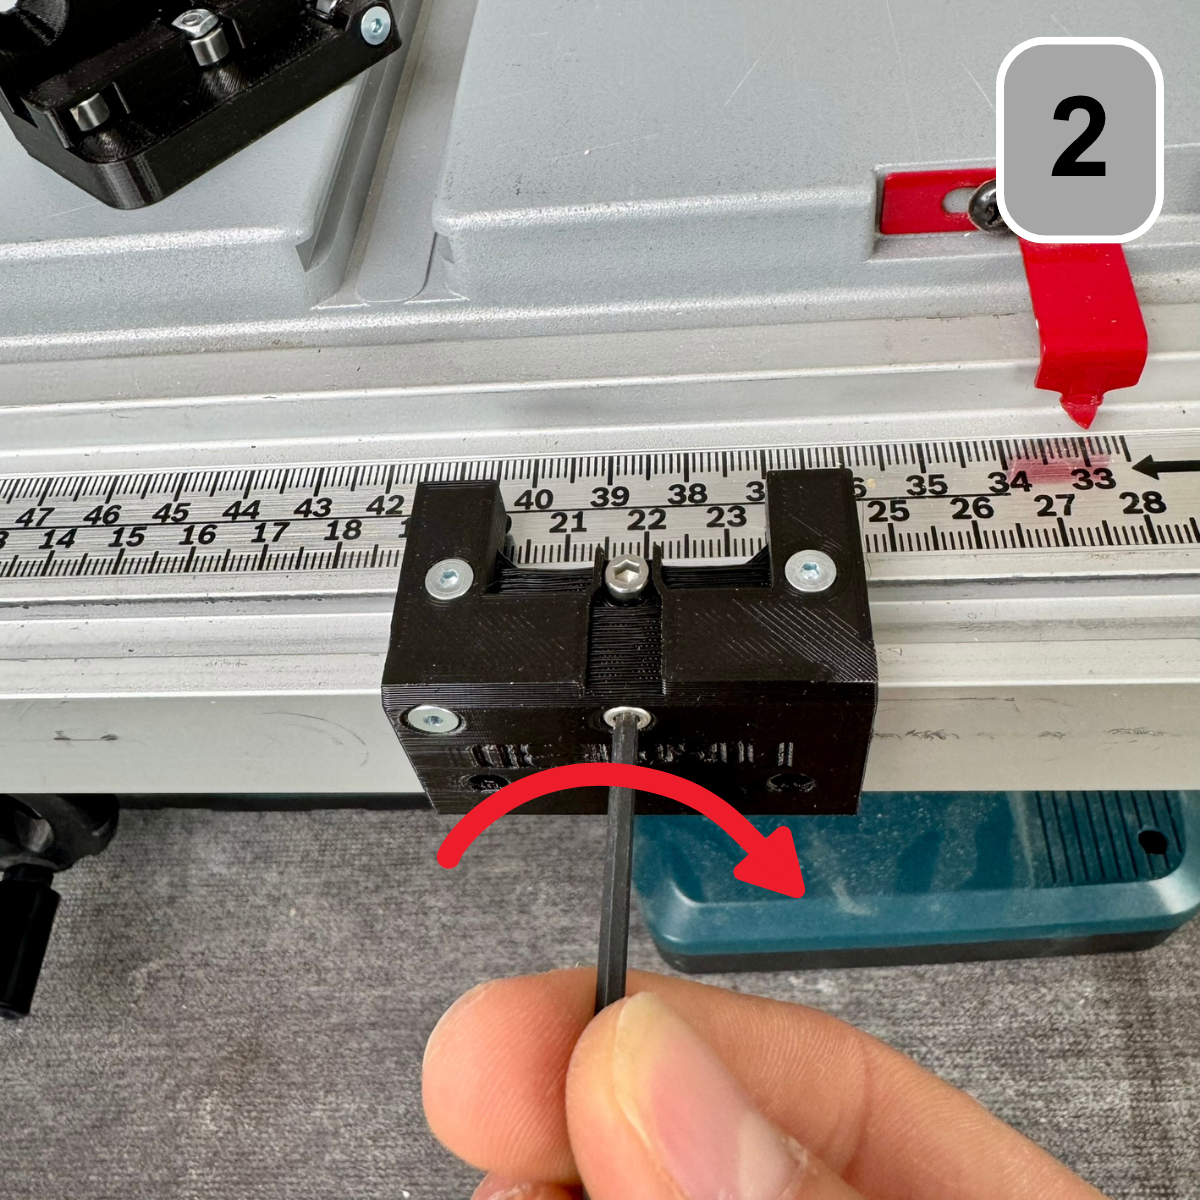
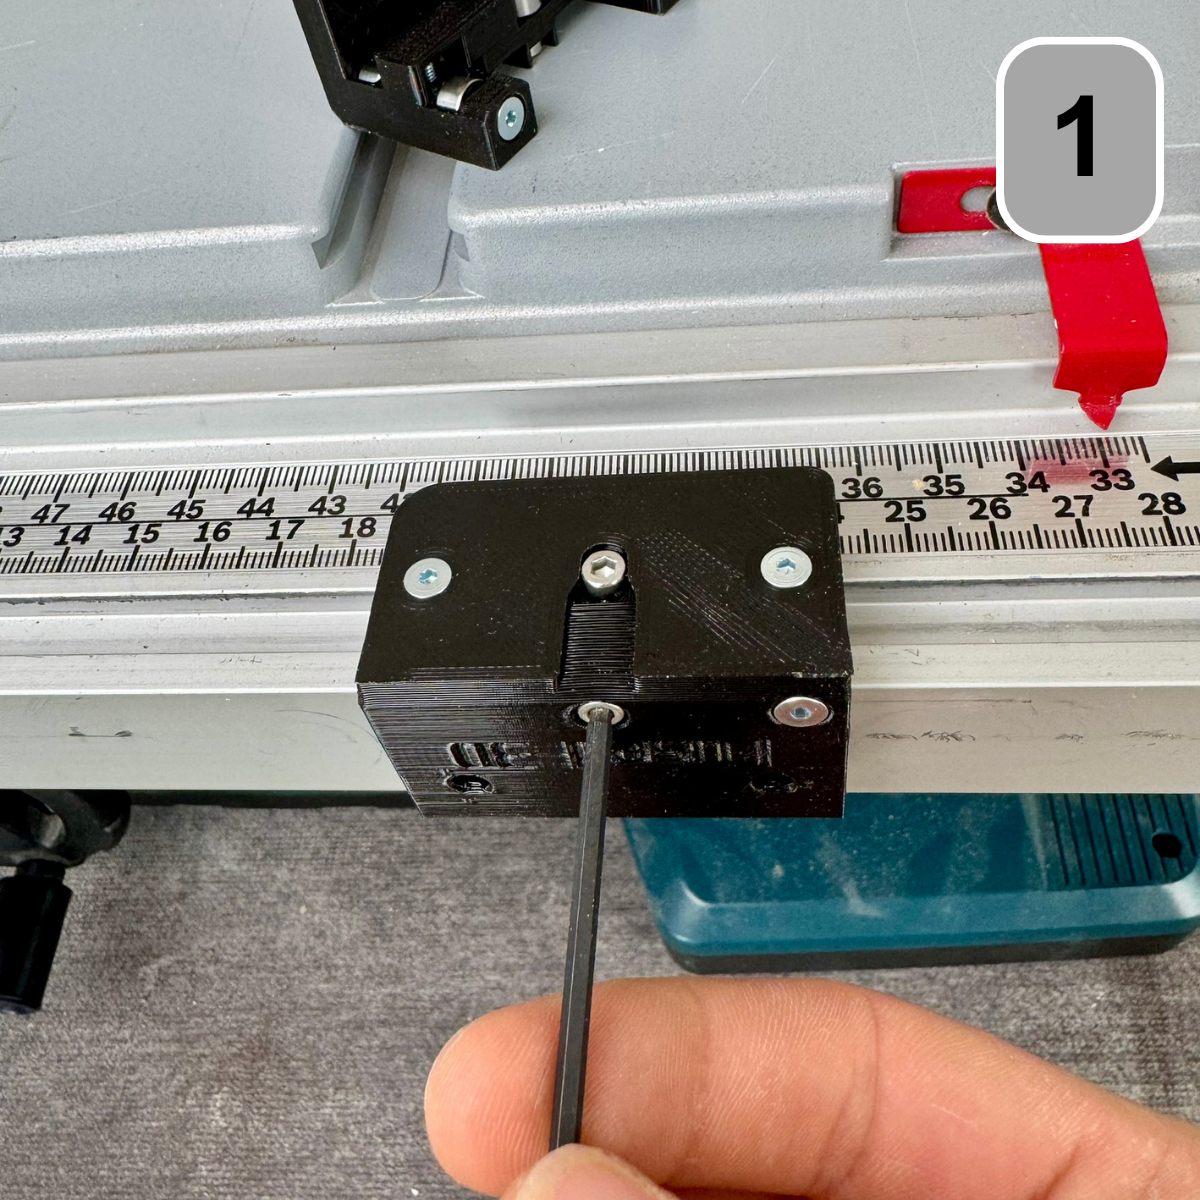
Step 1: Adjust the play of the ball bearings
Insert both roller carriages into the U-profile and perform cut 2 and each. Perform step 3.
Step 2: Adjust the play of the ball bearings
Carefully rock the roller carriage back and forth to check if the play decreases. Once there is no more play, check if the roller carriage moves smoothly within the aluminum profile.
Step 3: Adjust the play of the ball bearings
Using a 3mm Allen key, screw the cylinder head screw clockwise onto the back of the roller carriage and adjust the play.
Caution: If the play is set too tight, it can be loosened by turning the cylinder head screw back and giving the roller carriage a light tap in the direction of the screw axis.
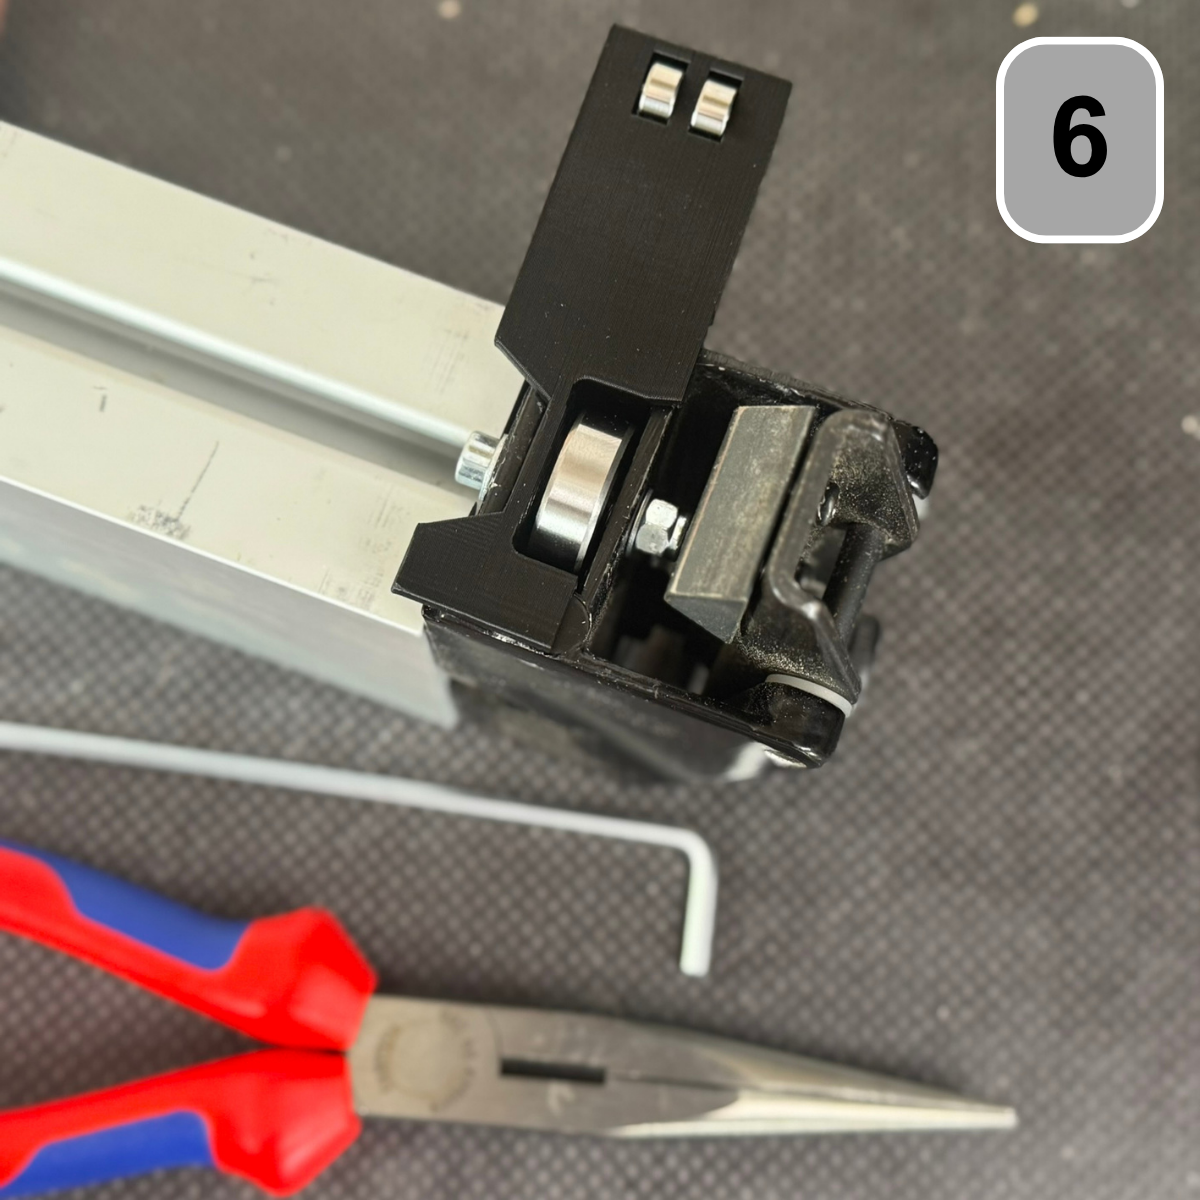
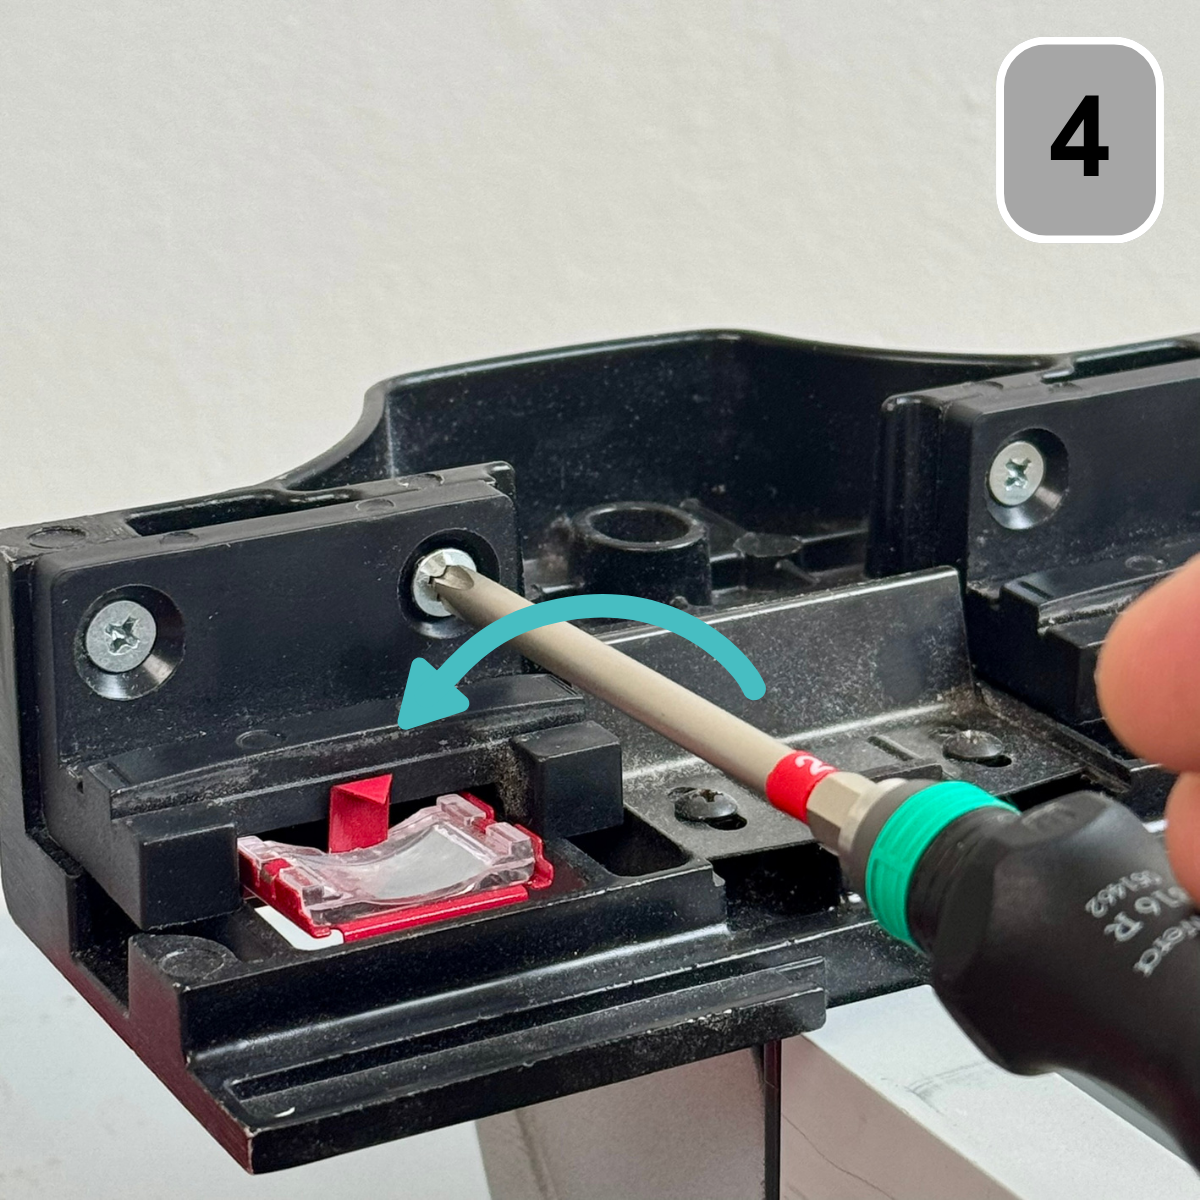
Step 4: Attaching to the rip fence
Remove the original sliding carriages using a PH2 screwdriver.
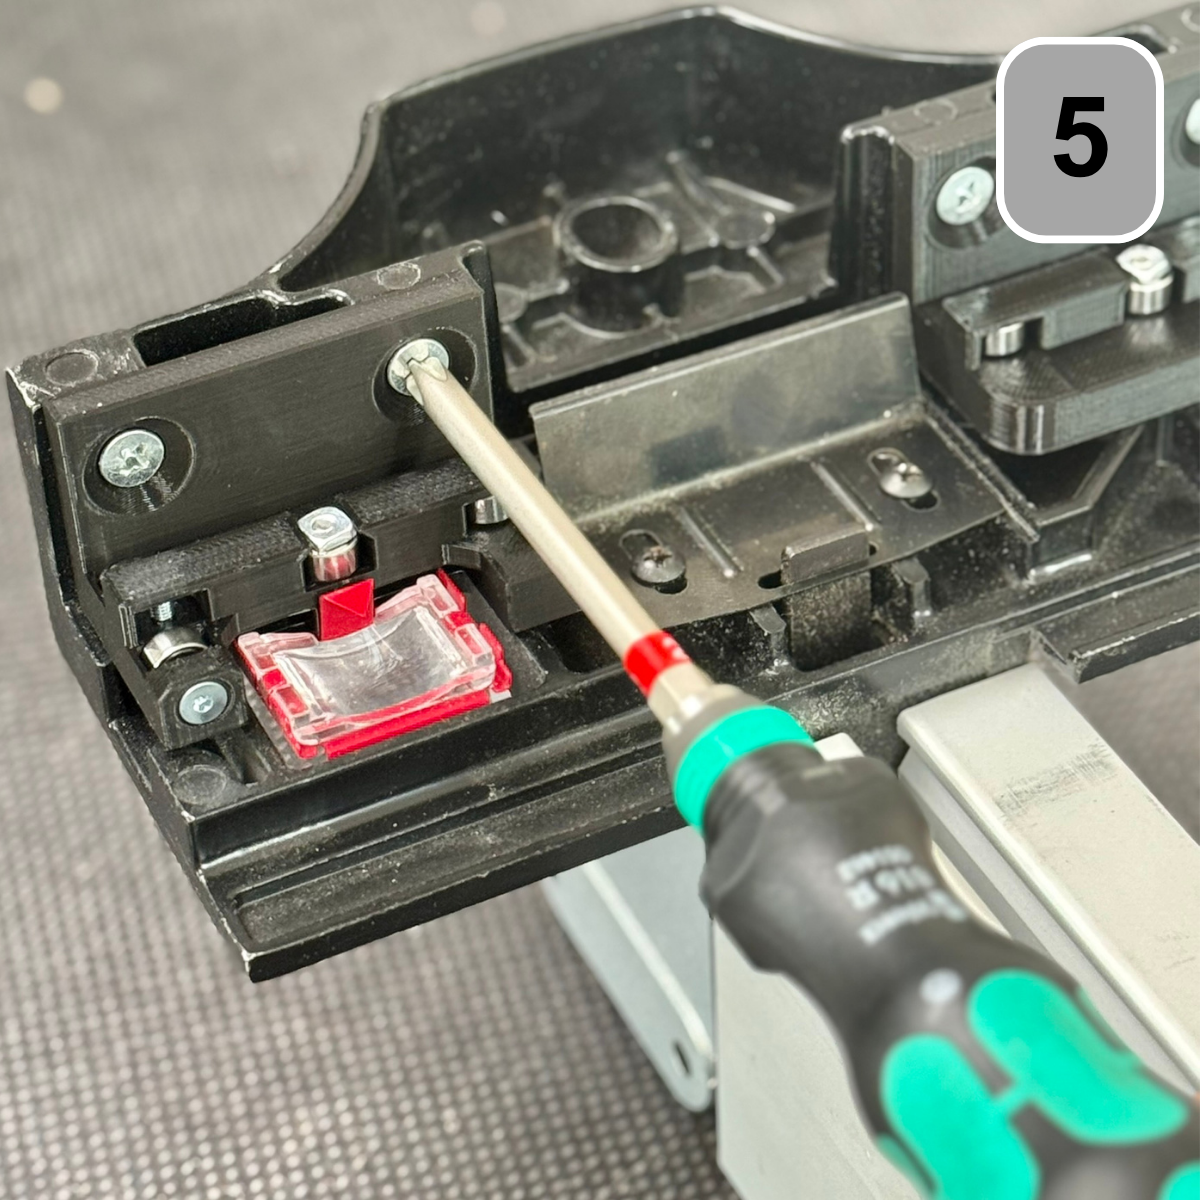
Step 5: Attaching to the rip fence
Attach both roller carriages to the parallel fence using the same screws and a PH2 screwdriver.
Step 6: Attaching to the rip fence
Insert the extended guide rail into the recess and tighten it using a 7mm Allen key and a 3mm Allen key. Ensure correct installation orientation. Then, tighten the M3 socket head cap screw on the top until the small and large ball bearings touch the aluminum profile. This eliminates any wobbling of the parallel fence if you have a milling fence mounted to it.

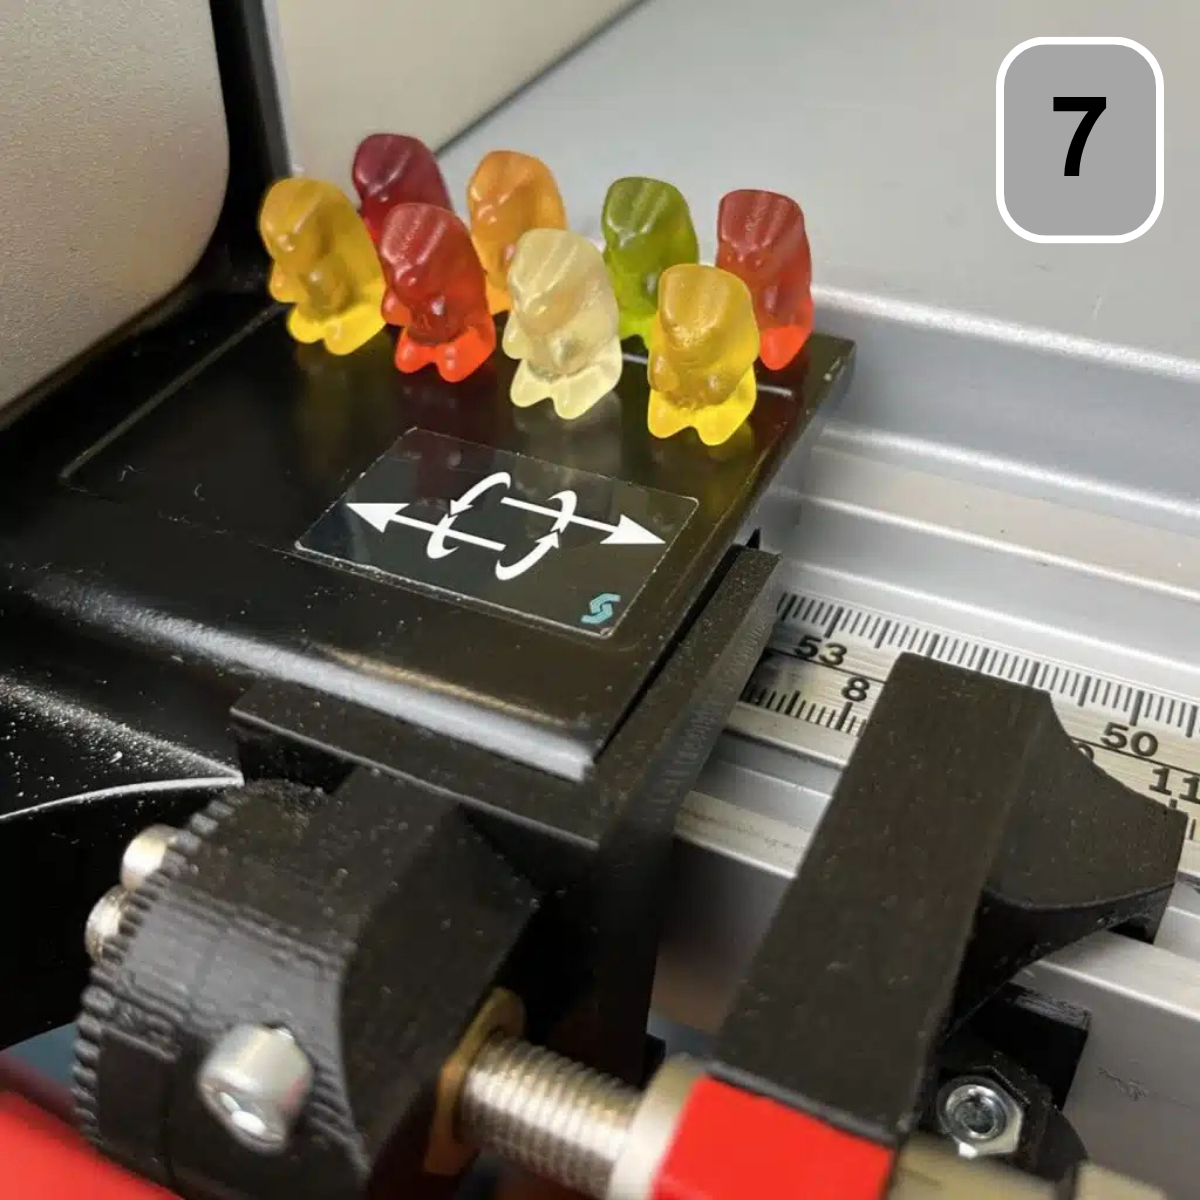
Step 7: Reward
Great job, you did it! Gummy bears are waiting for you as a reward. Enjoy!
Schritt 8: Belohnung
Super, du hast es geschafft! Als Belohnung warten Gummibärchen auf dich. Lass es dir schmecken!