Sichere Zahlungen
 Kostenloser Versand ab 85 € (DE, AT, FR)

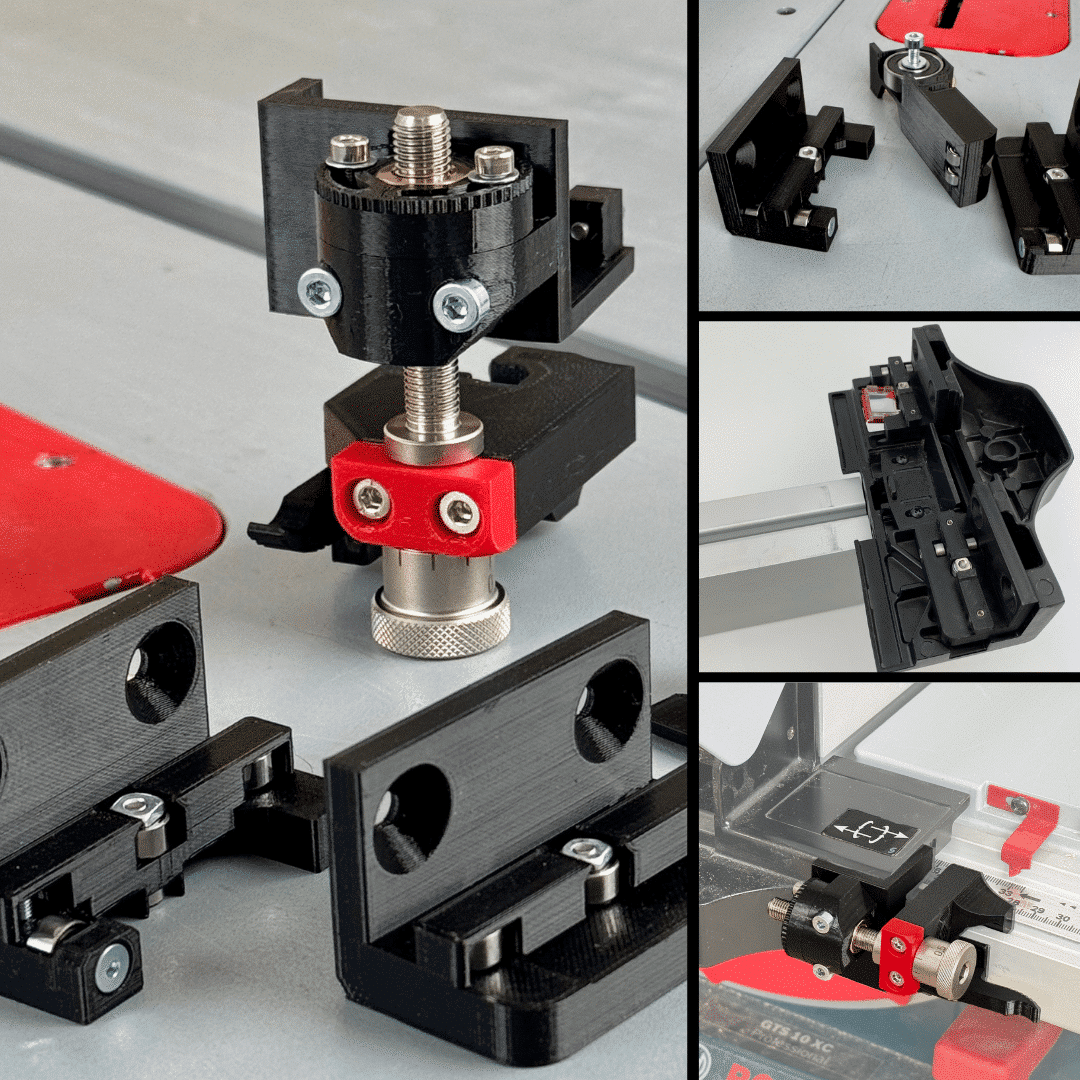
Fine adjustment of the parallel stop
Assembly instructions
Problems with a crooked parallel fence? Our registered
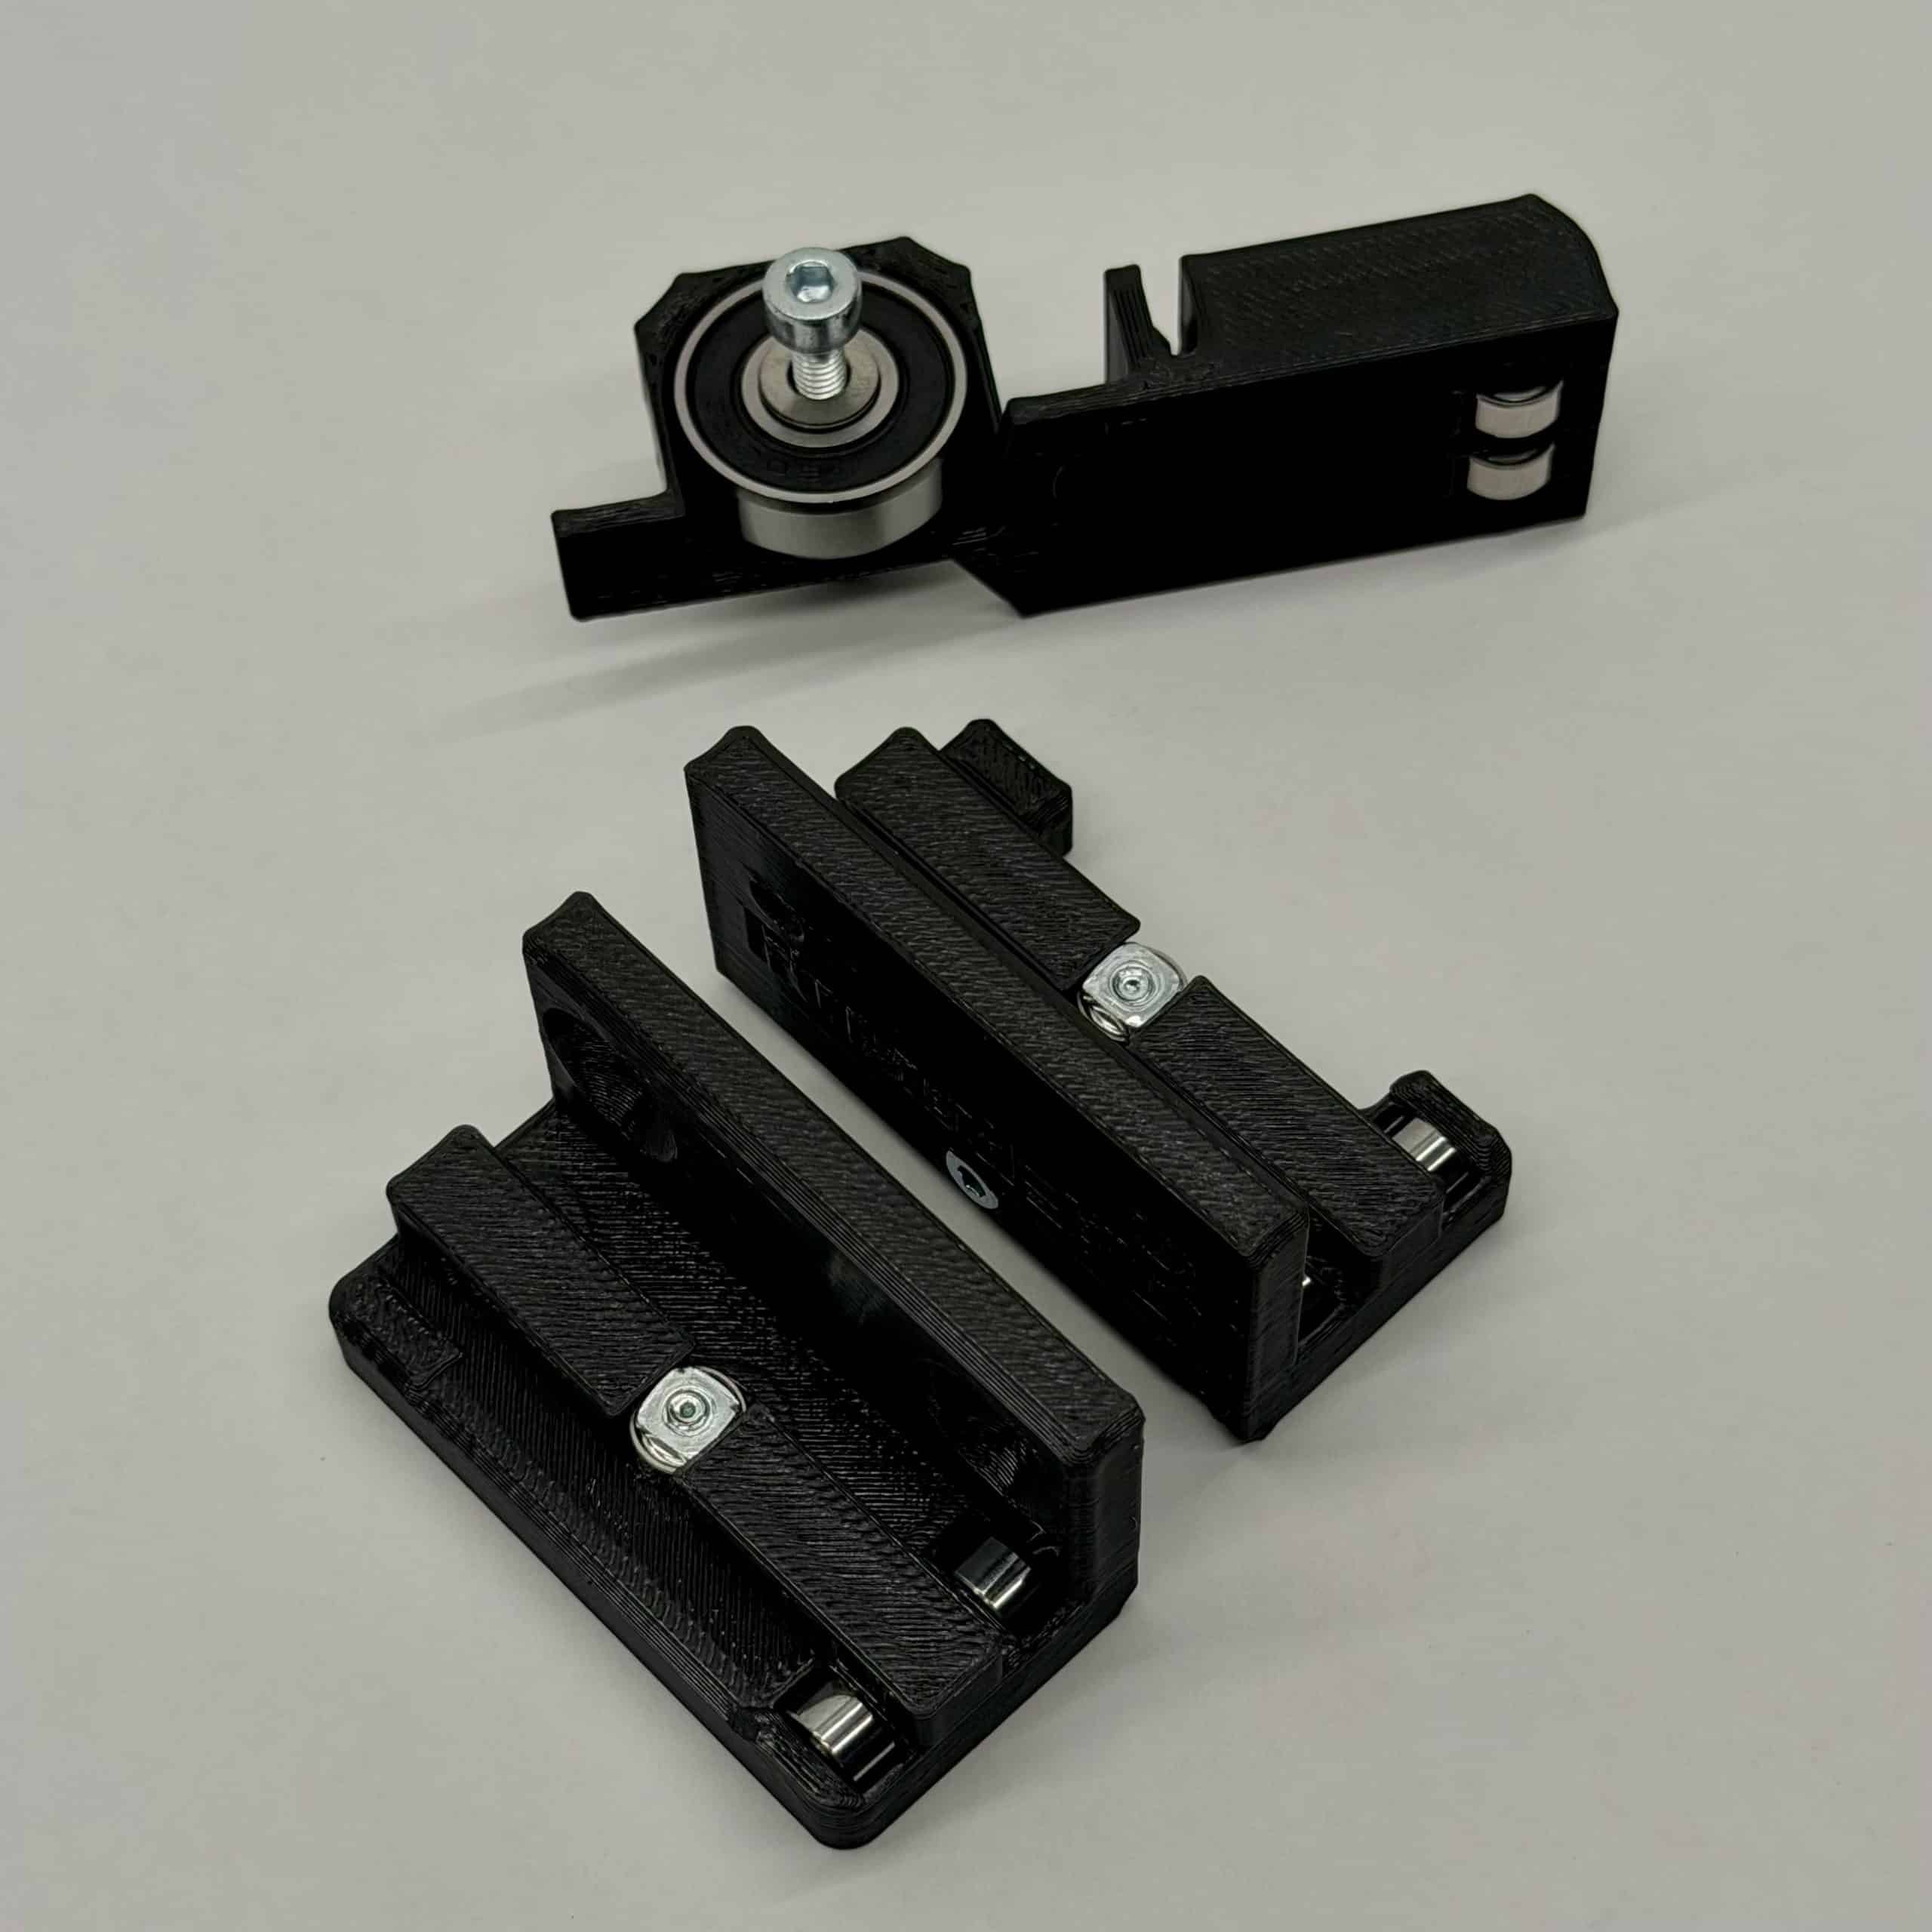
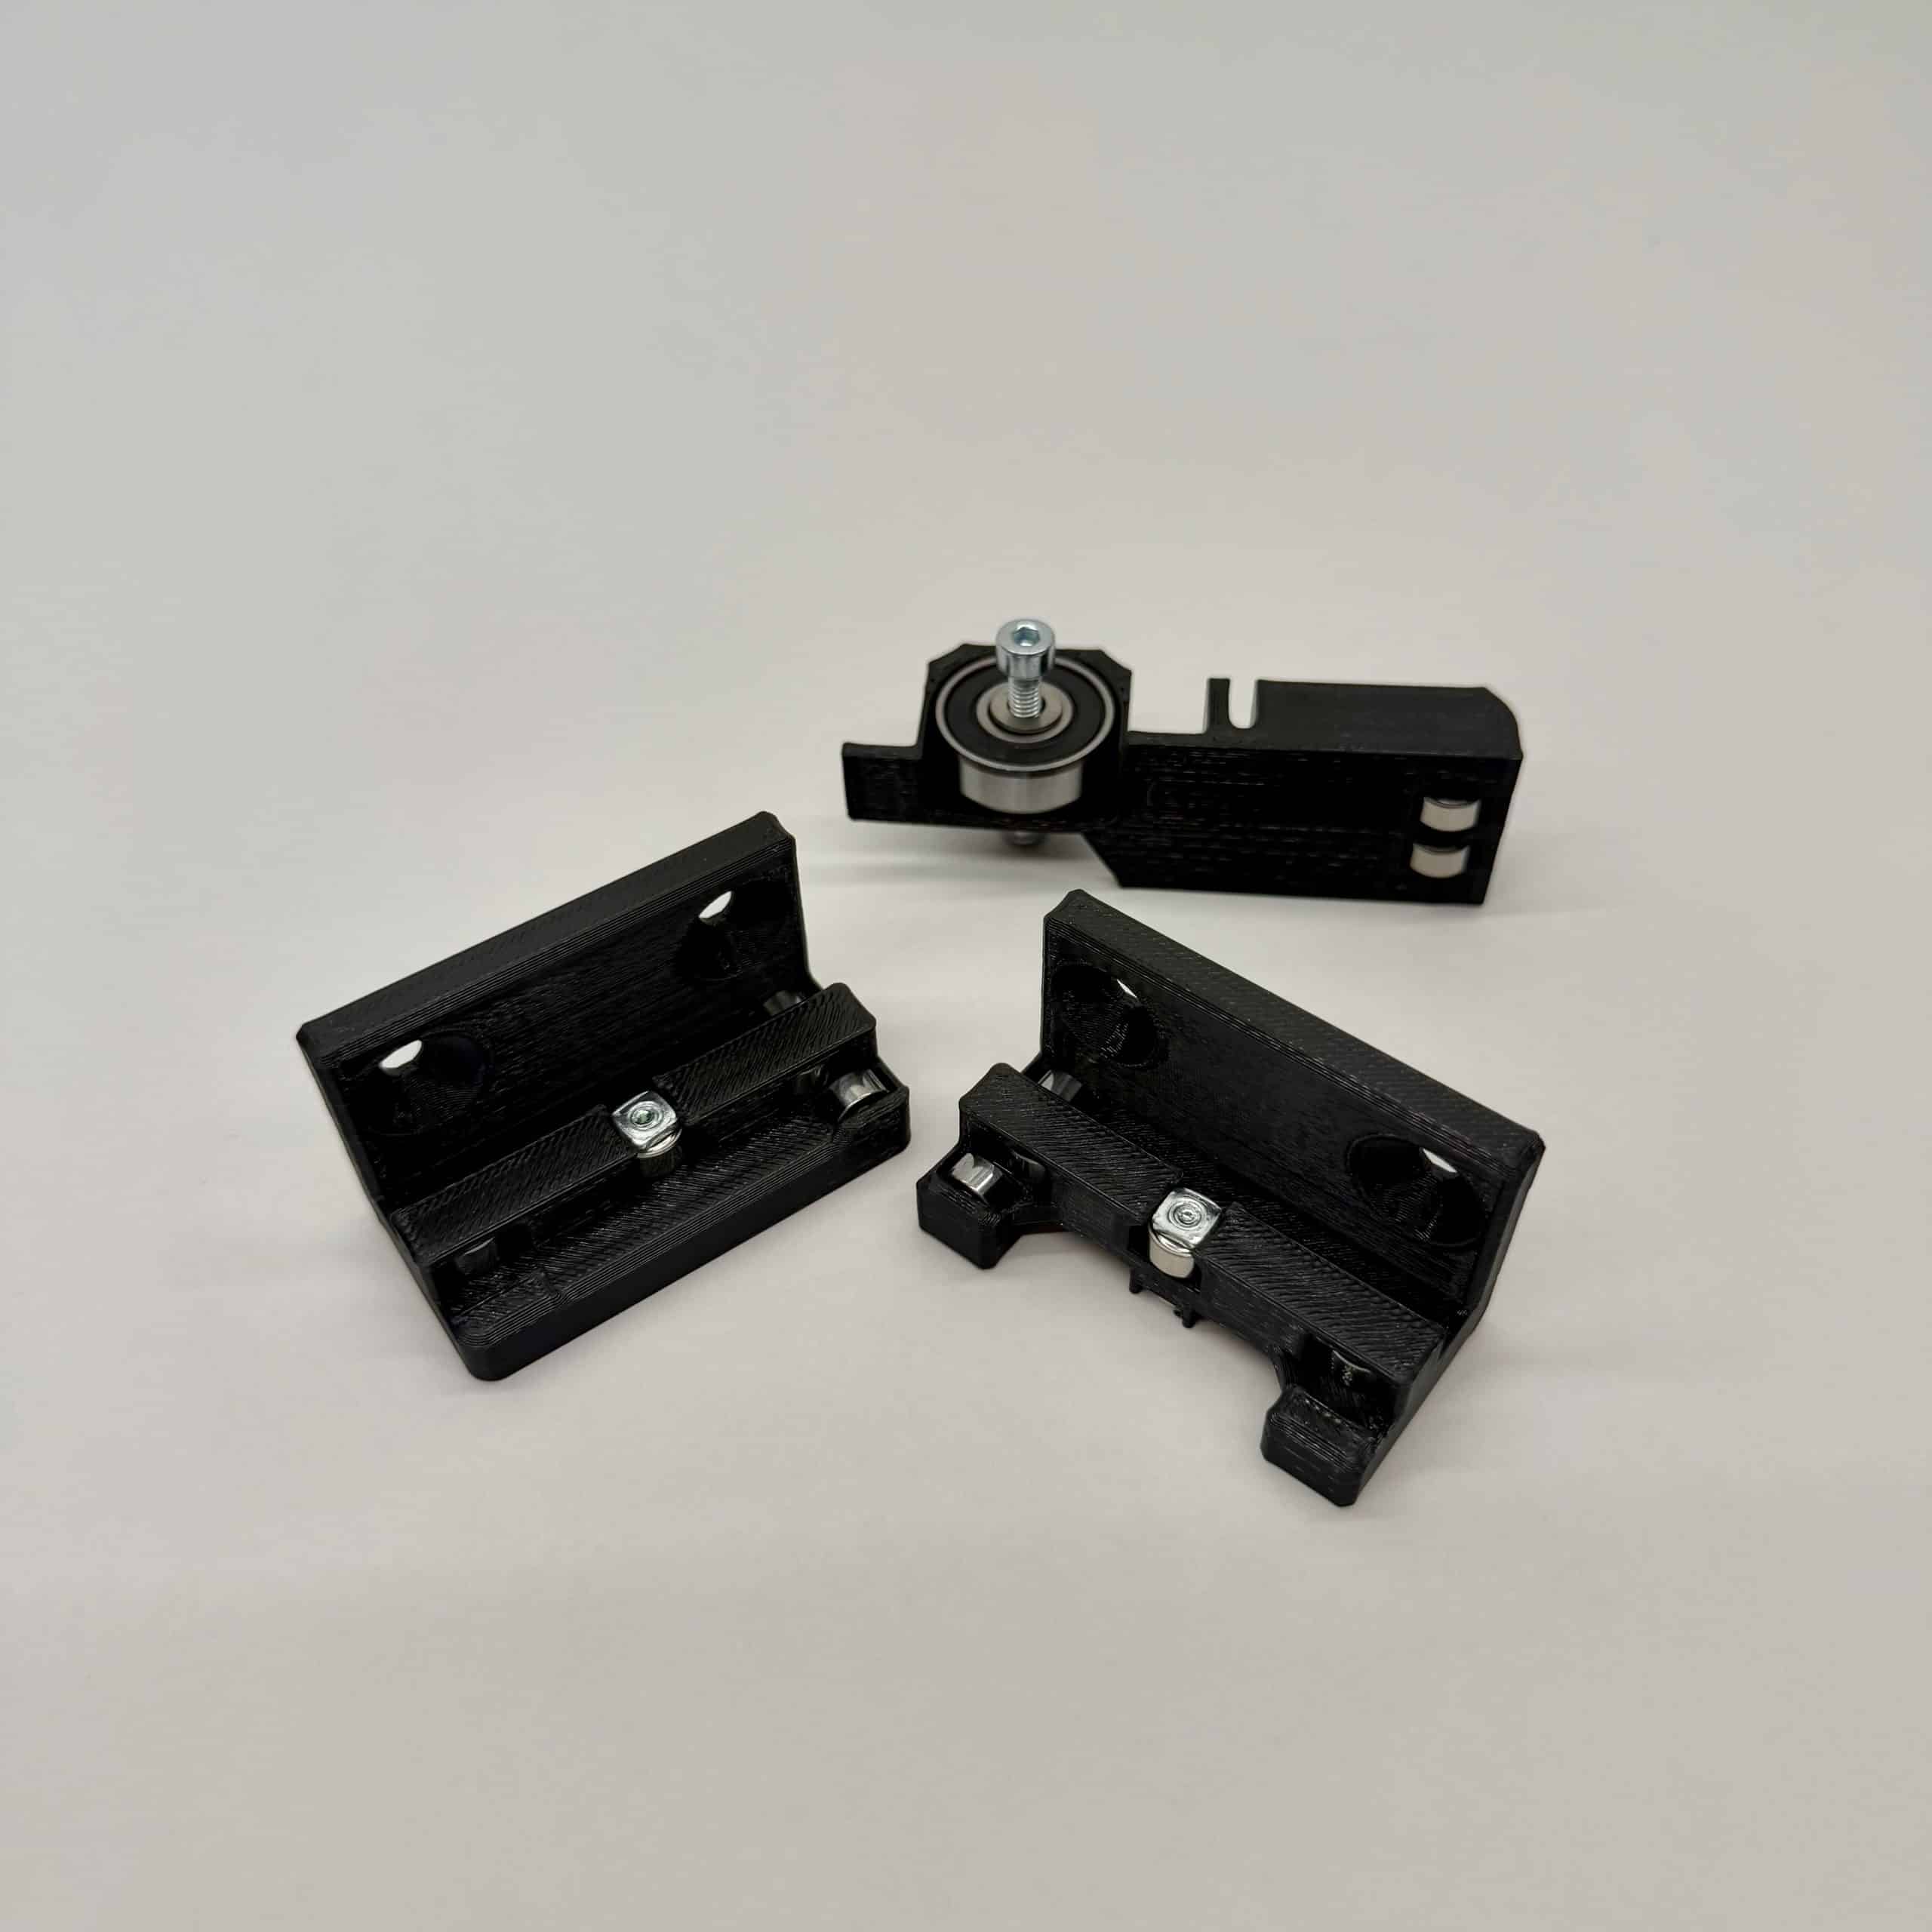
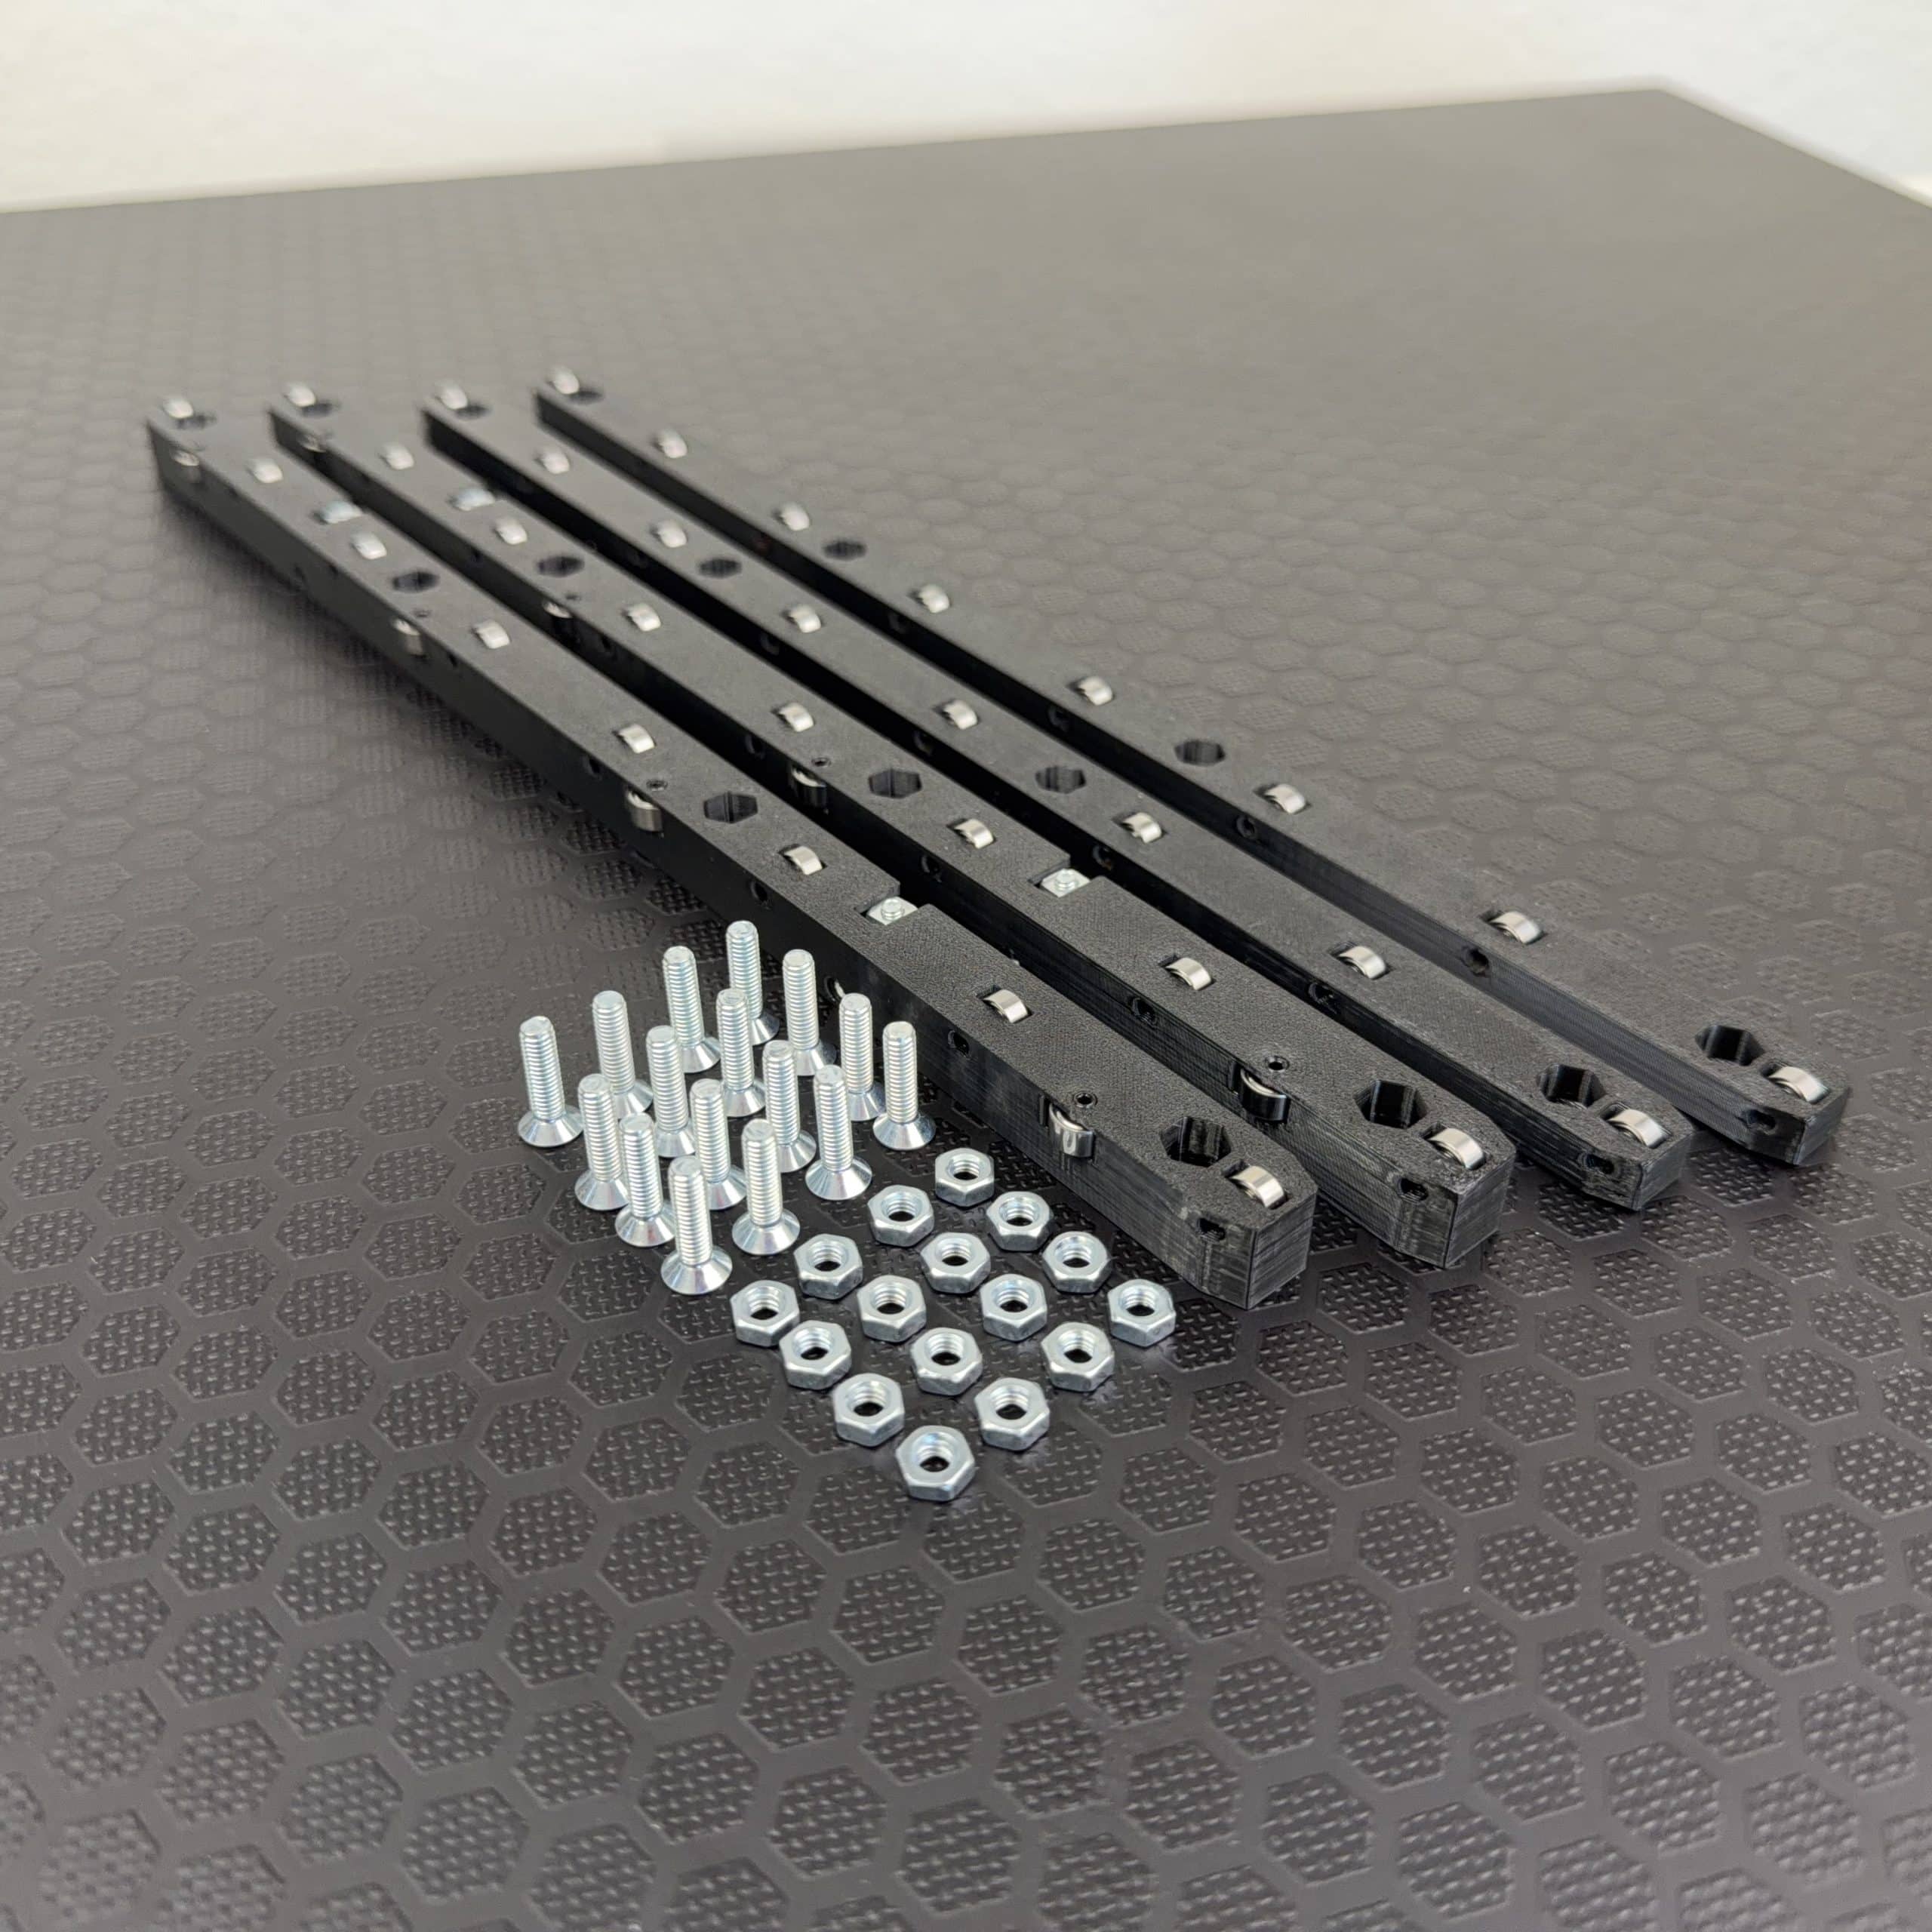
Utility model is the solution! The 11-bearing roller carriage for the Bosch GTS 10 xc parallel guide guarantees straight cuts. With adjustable roller angles, the guide runs smoothly and without play in the guide rail. An additional ball bearing keeps it permanently parallel to the saw blade.
Light
- 2.5mm Allen key
- Phillips screwdriver PH2
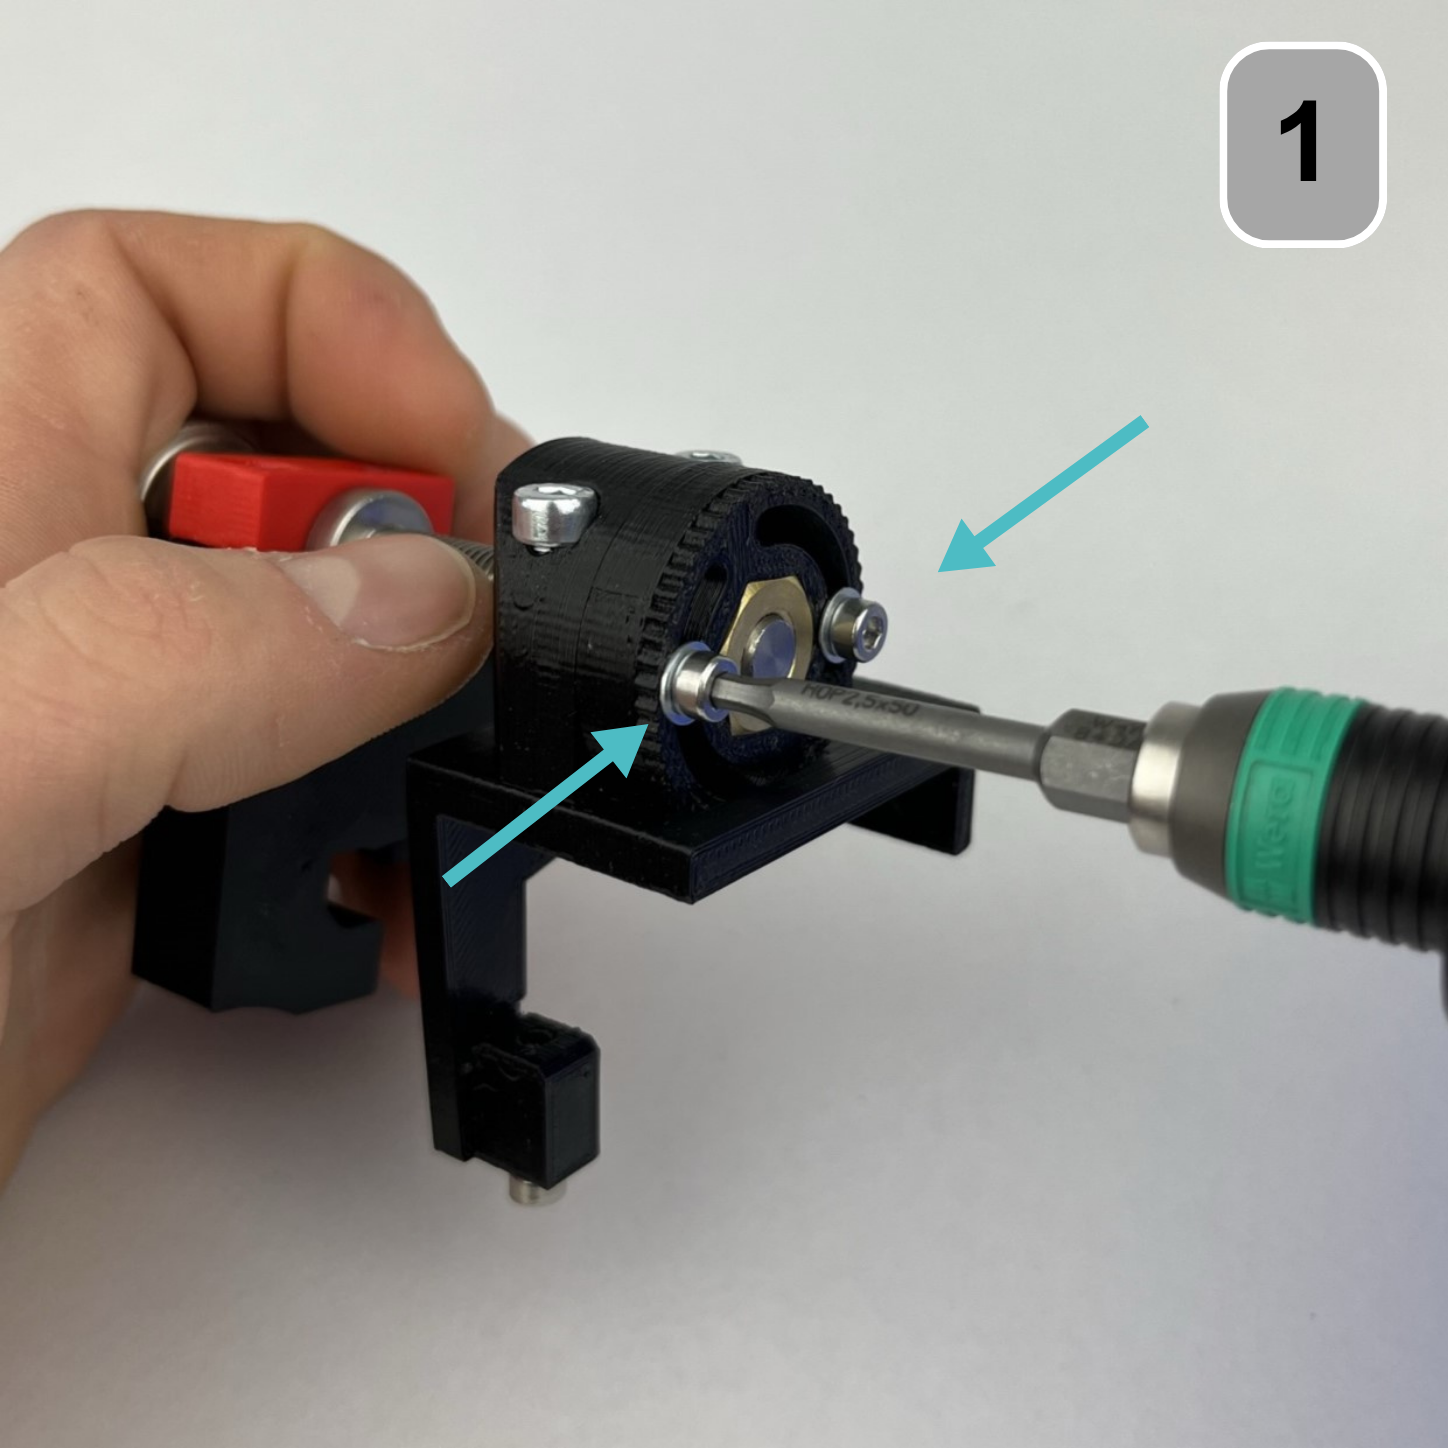
Step 1: Set up your individual game
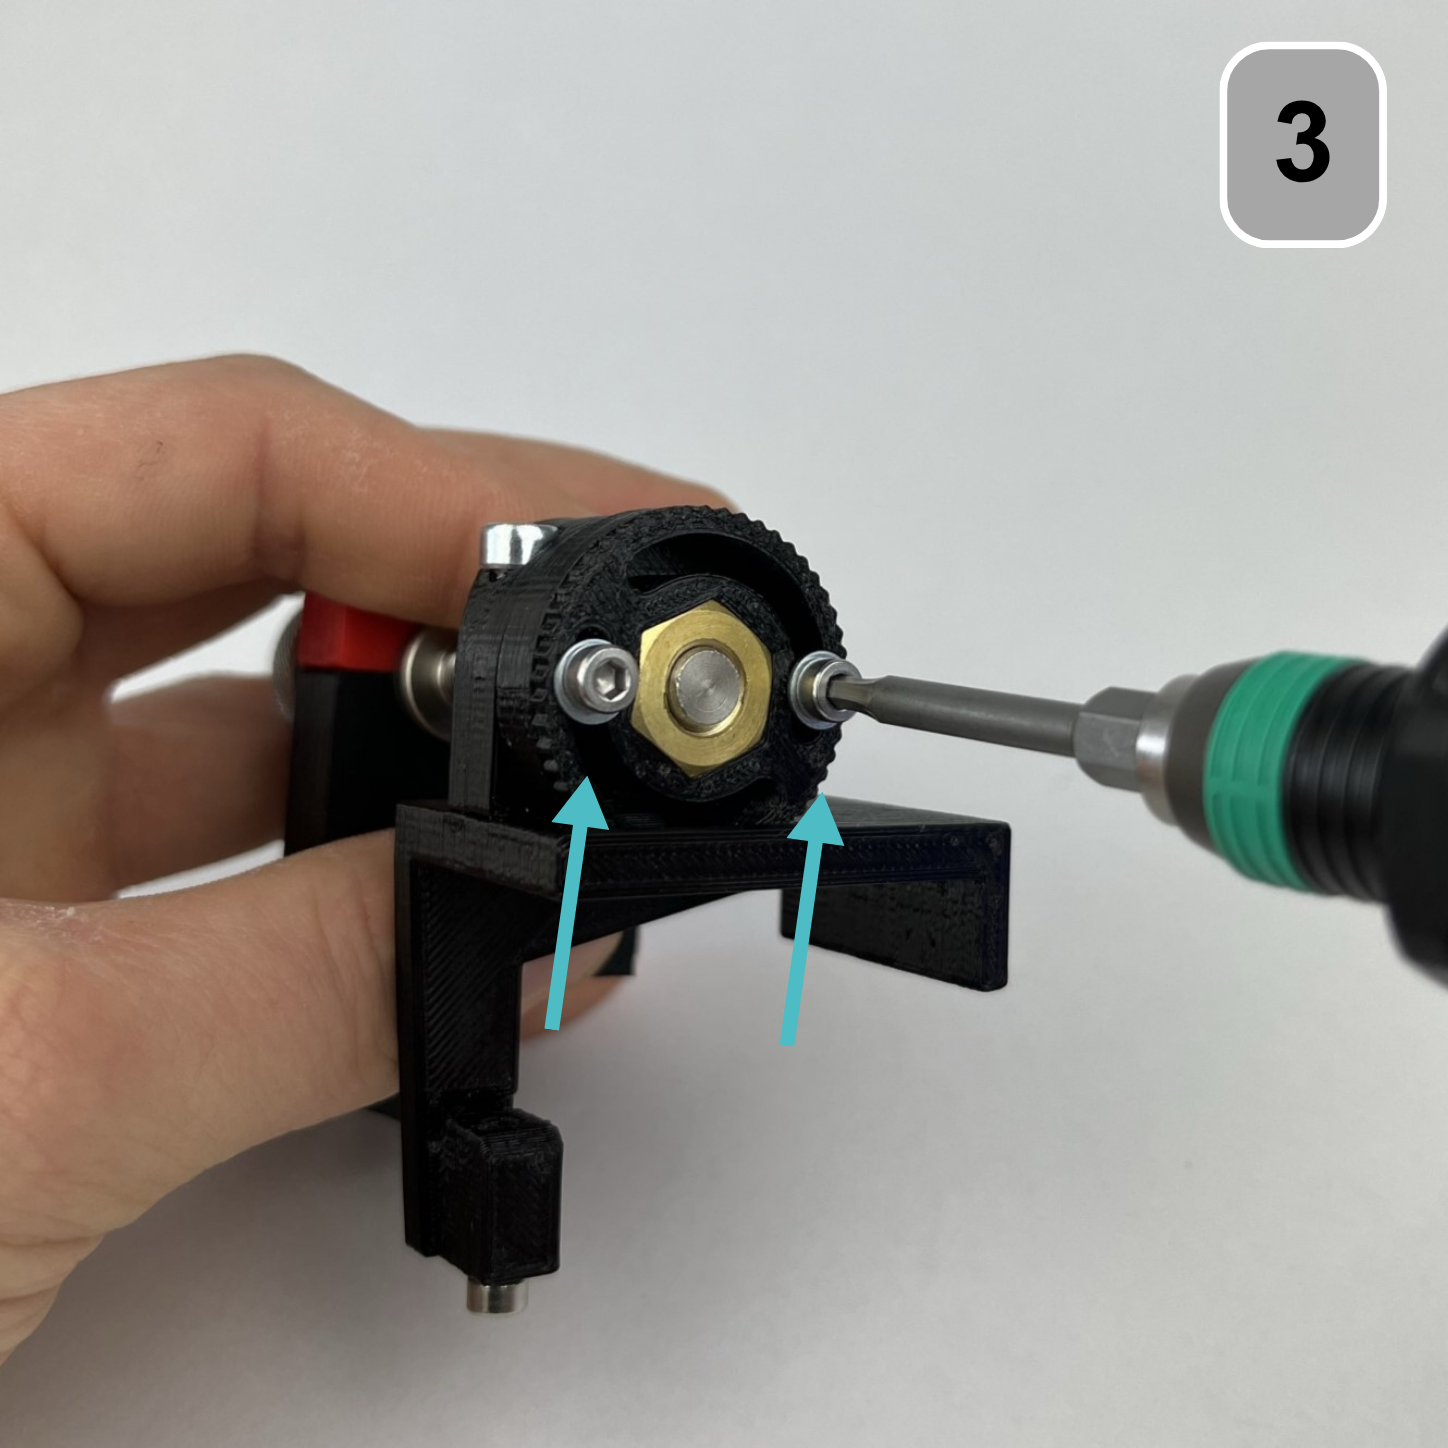
Loosen the cylinder head bolts (2x) slightly
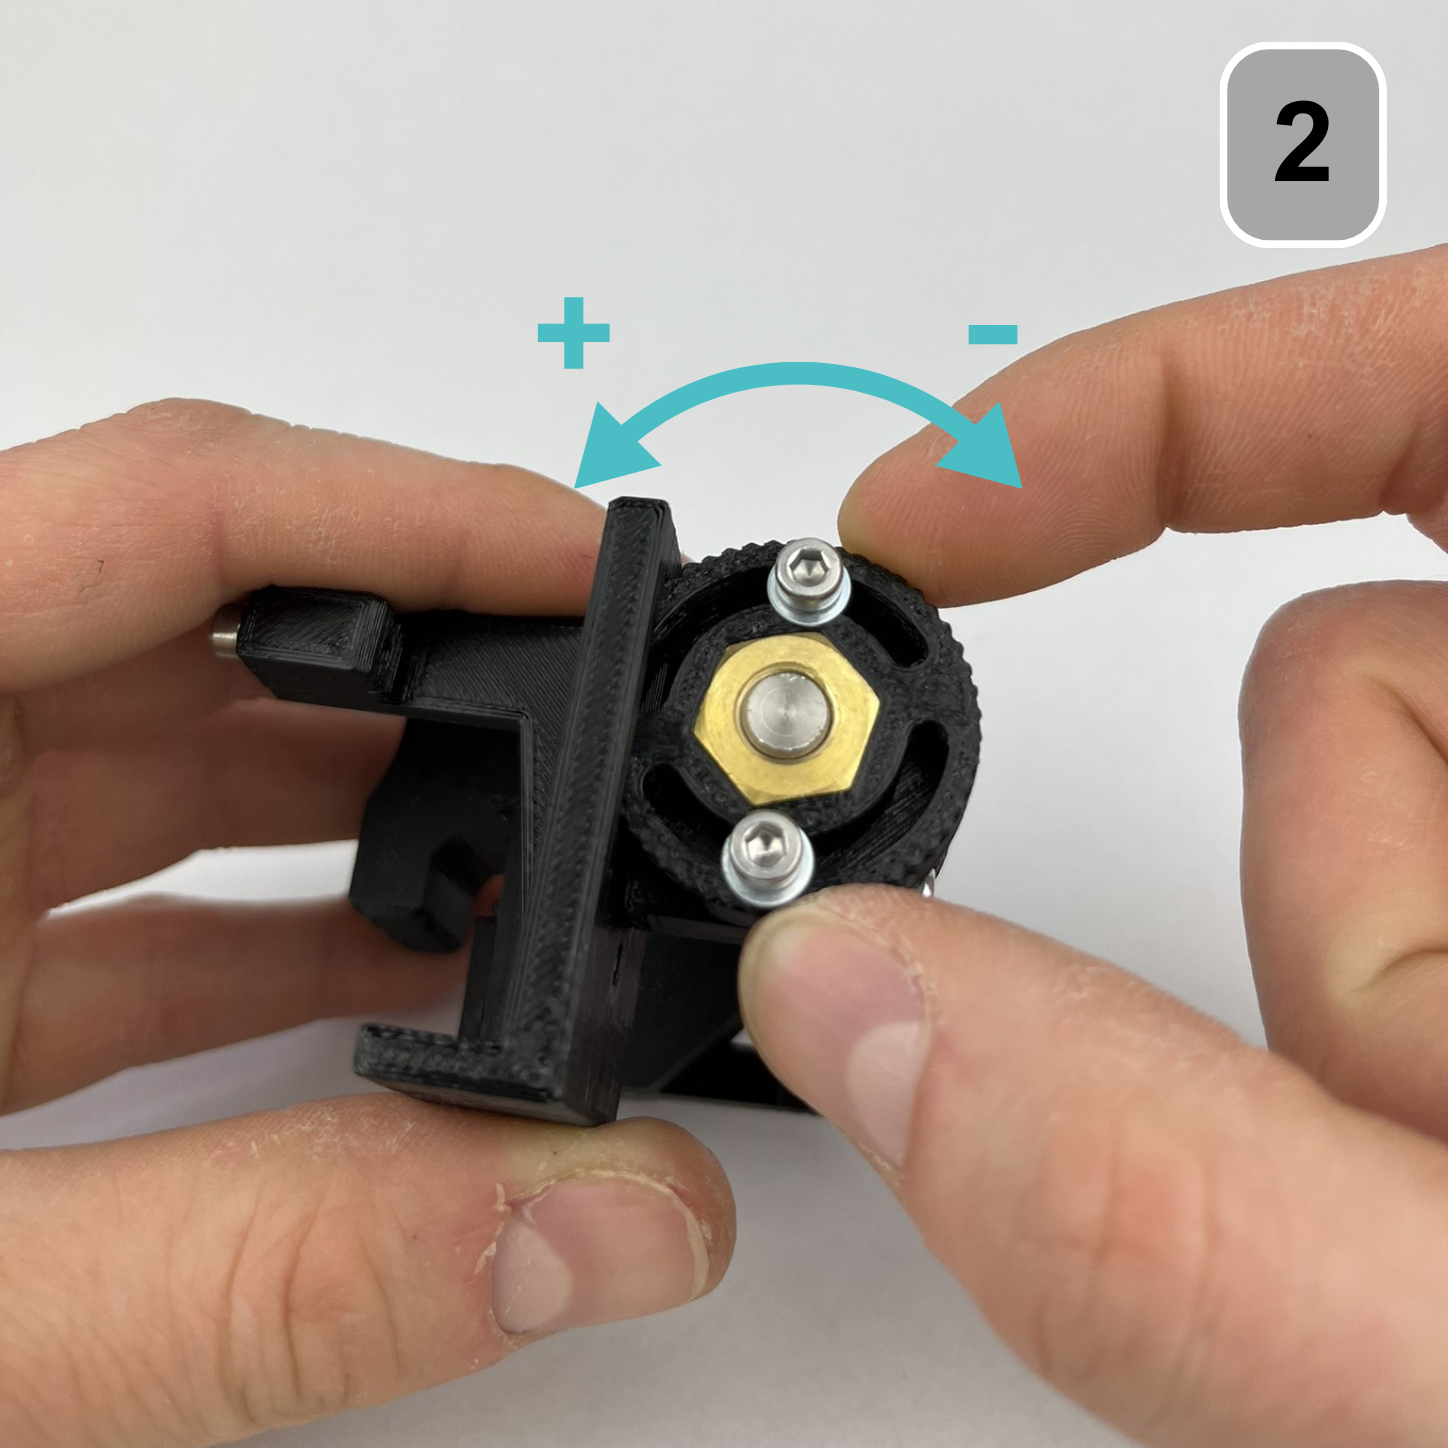
Step 2: Set individual game
Turn the knurled nut cap to optimize the clearance between the nut and the adjusting screw. Ideal clearance is achieved when the adjusting screw turns with slight resistance in both directions. Turning it counterclockwise (+) increases the clearance, while turning it clockwise (-) decreases it.
Step 3: Set individual game
Finally, the two cylinder head bolts can be tightened.
Caution: When tightening the cylinder head bolts, the nuts are slightly pressed against each other and can slightly change the setting.
*The play between the brass nuts and the adjusting screw can be changed at any time while installed on the parallel stop.
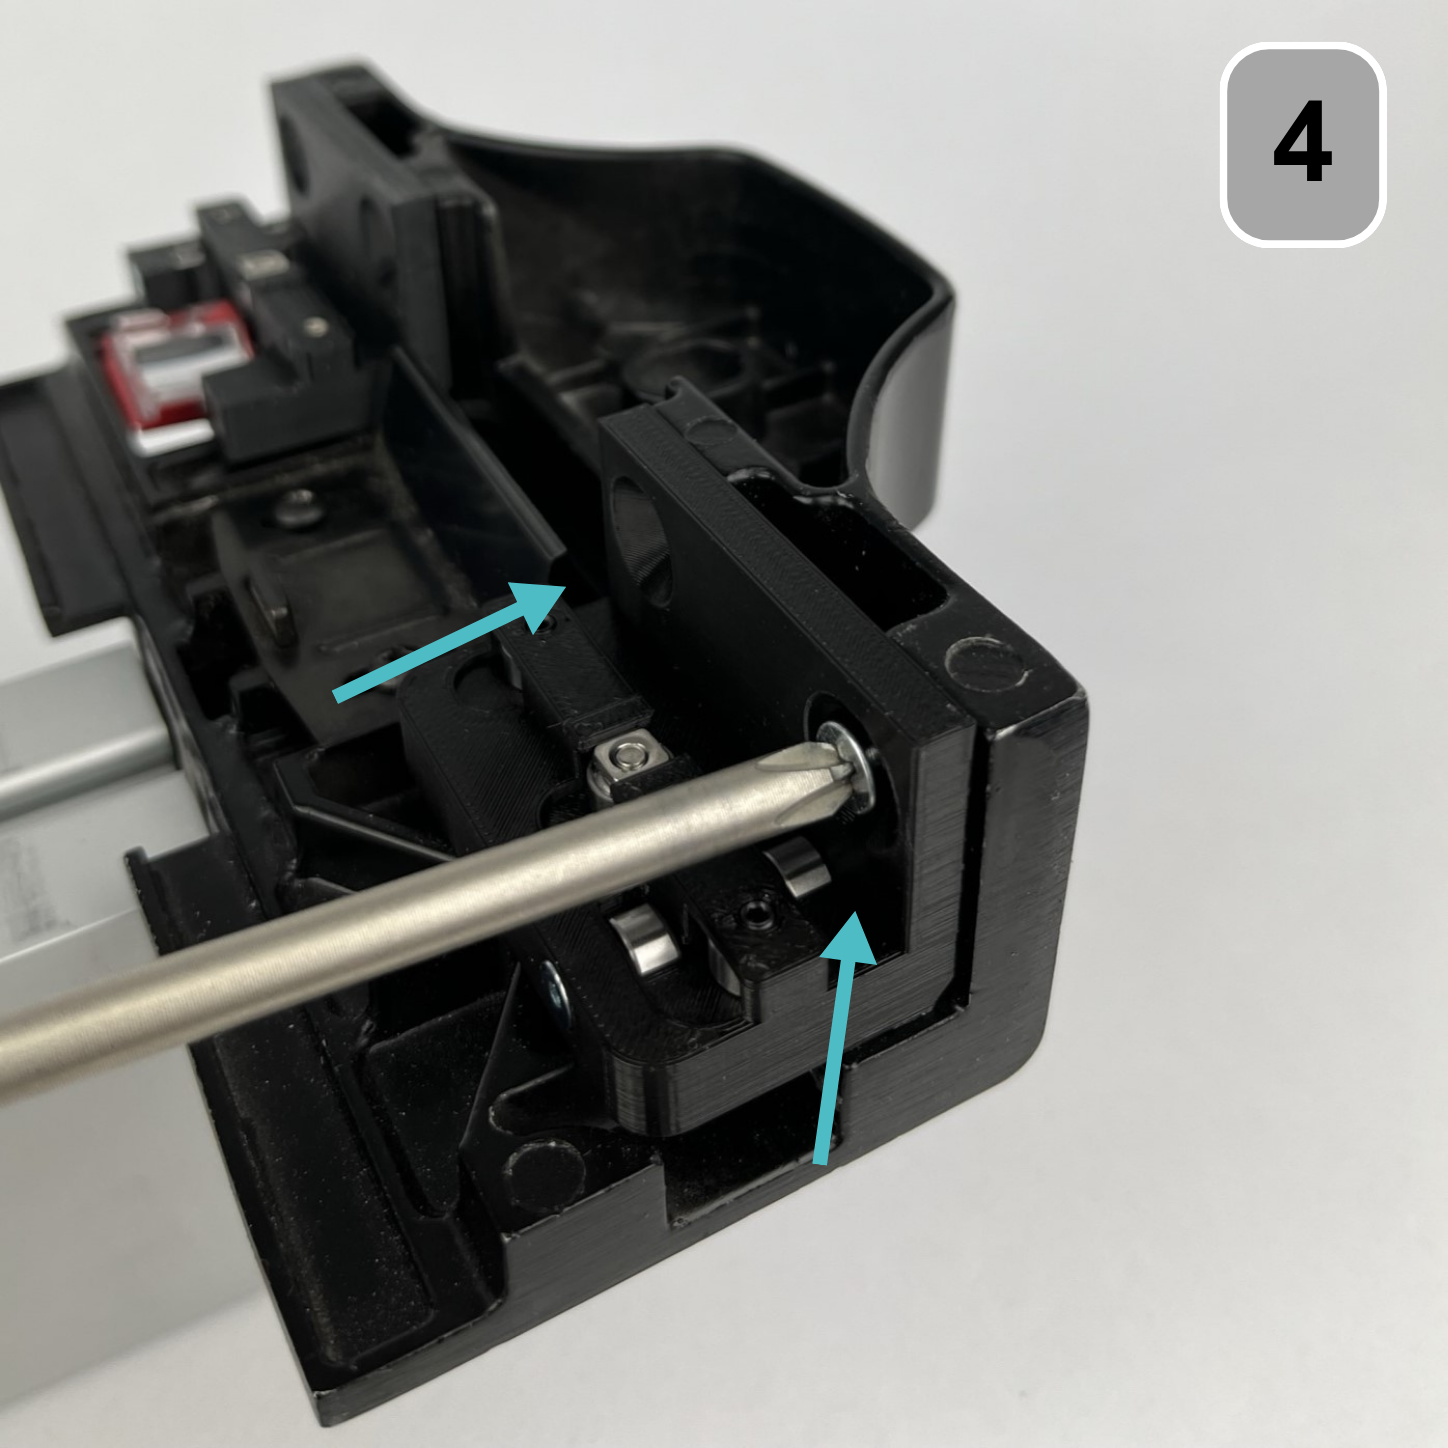
Step 4: Attaching to the rip fence
Remove the roller carriage or sliding carriage on the side without a window.
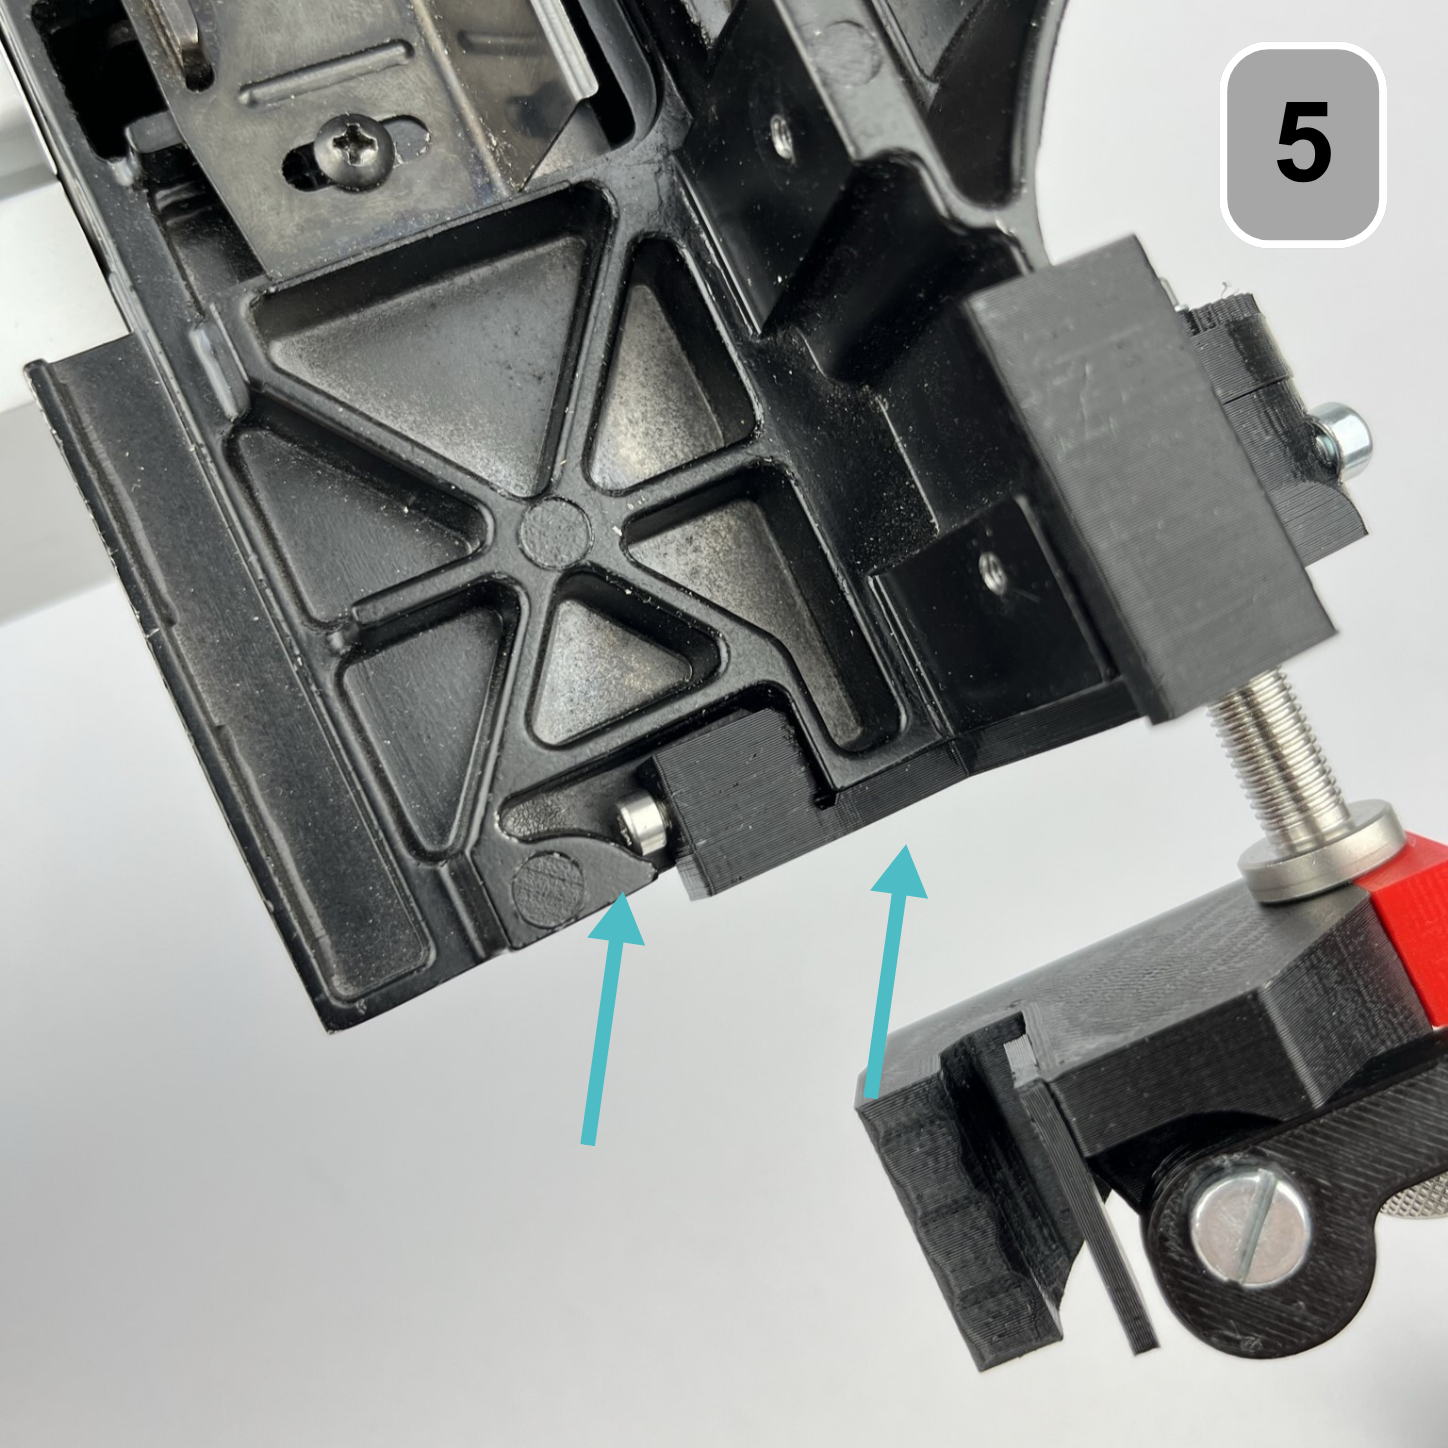
Step 5: Attaching to the rip fence
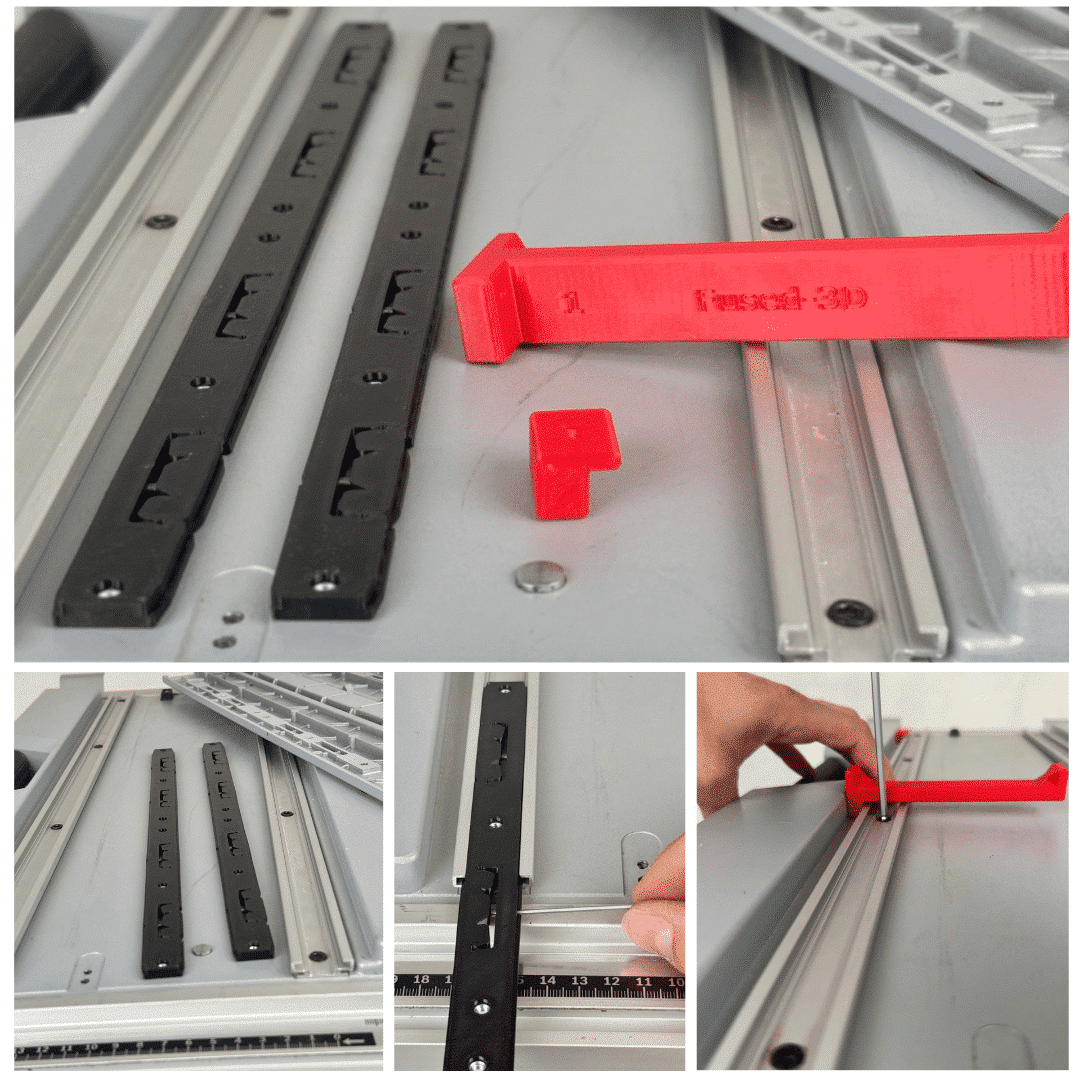
Adjust the parallel fence for fine-tuning. The cylinder head screw must be screwed in as shown in the illustration and adjusted to your parallel fence.
Care must be taken to ensure that the boom is flush against the outside of the parallel stop and that the cylinder head screw makes contact with the curved surface.
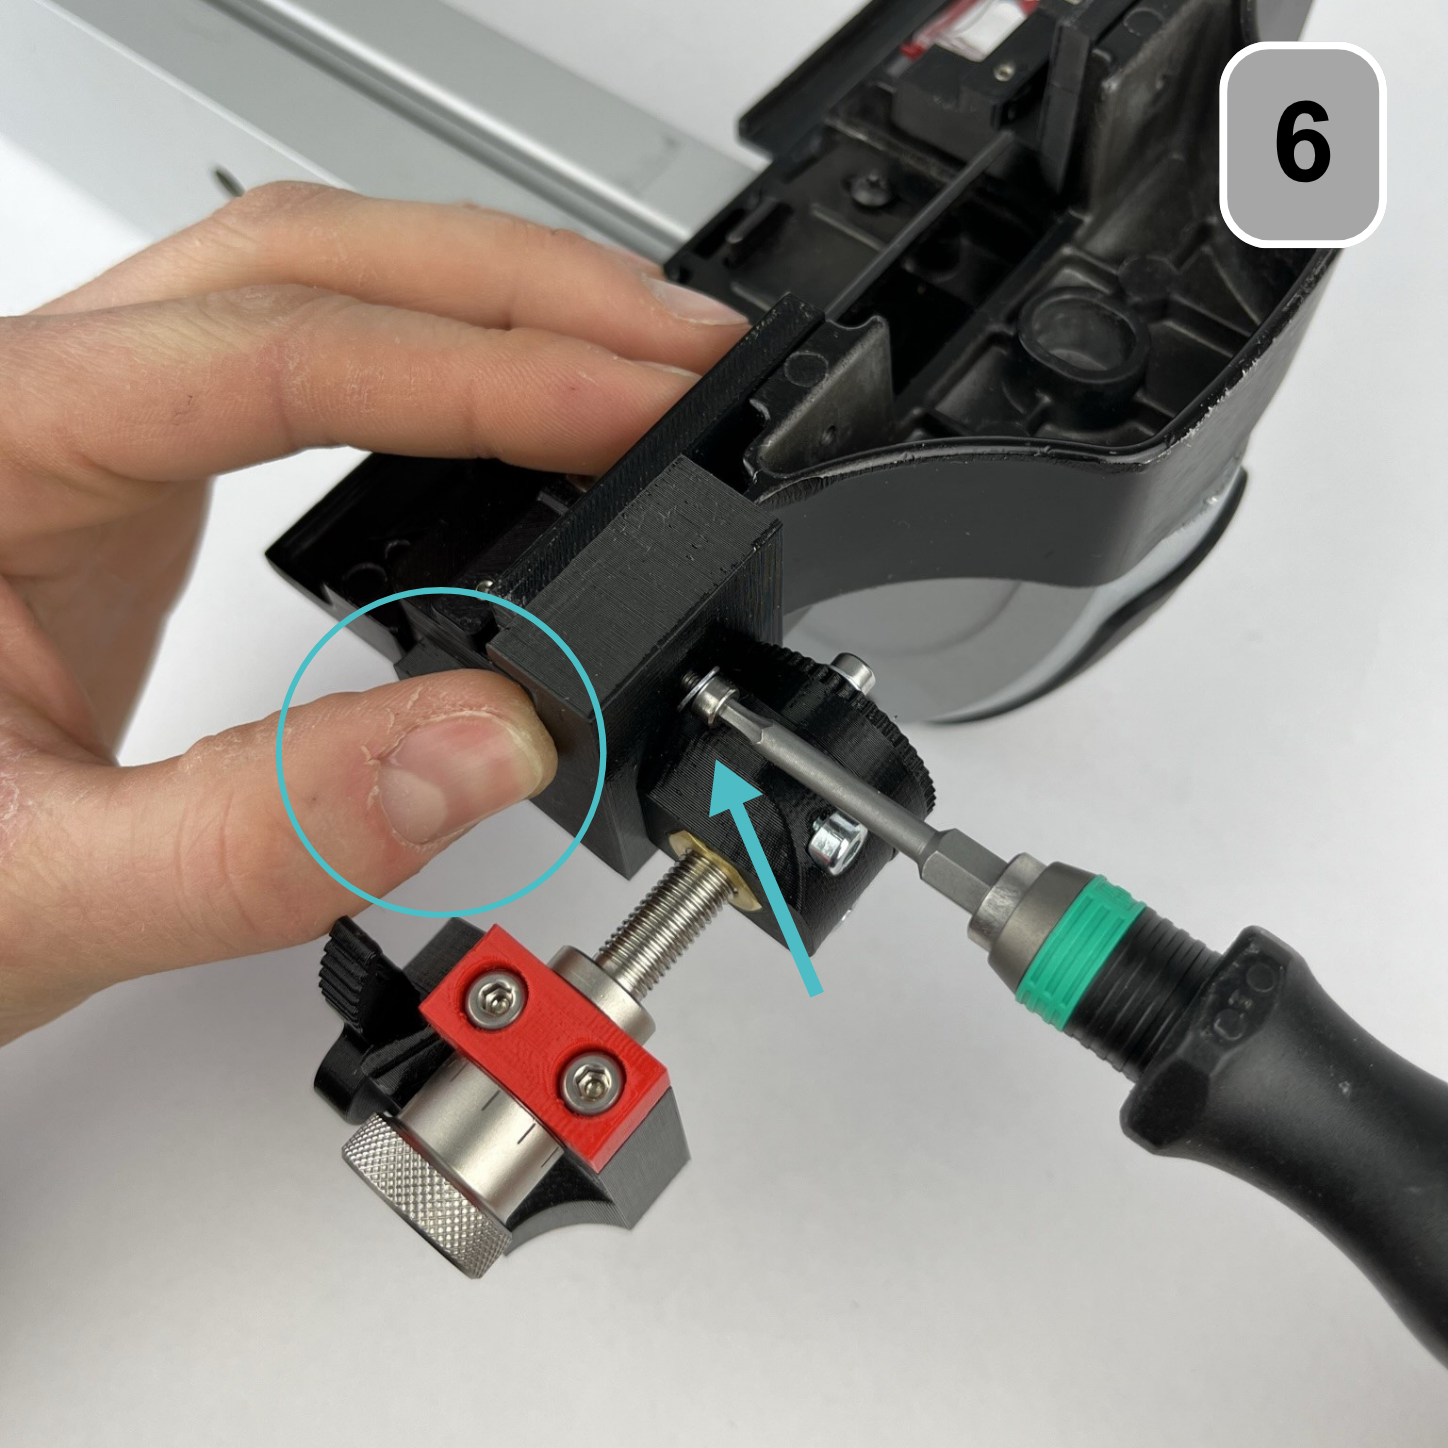
Step 6: Attaching to the rip fence
The included cylinder head screw connects the fine adjustment to the parallel fence. Check beforehand that the M3 thread is present. Otherwise, it must be re-tapped from the other side. Before tightening the screw, the fine adjustment must be pressed against the parallel fence.
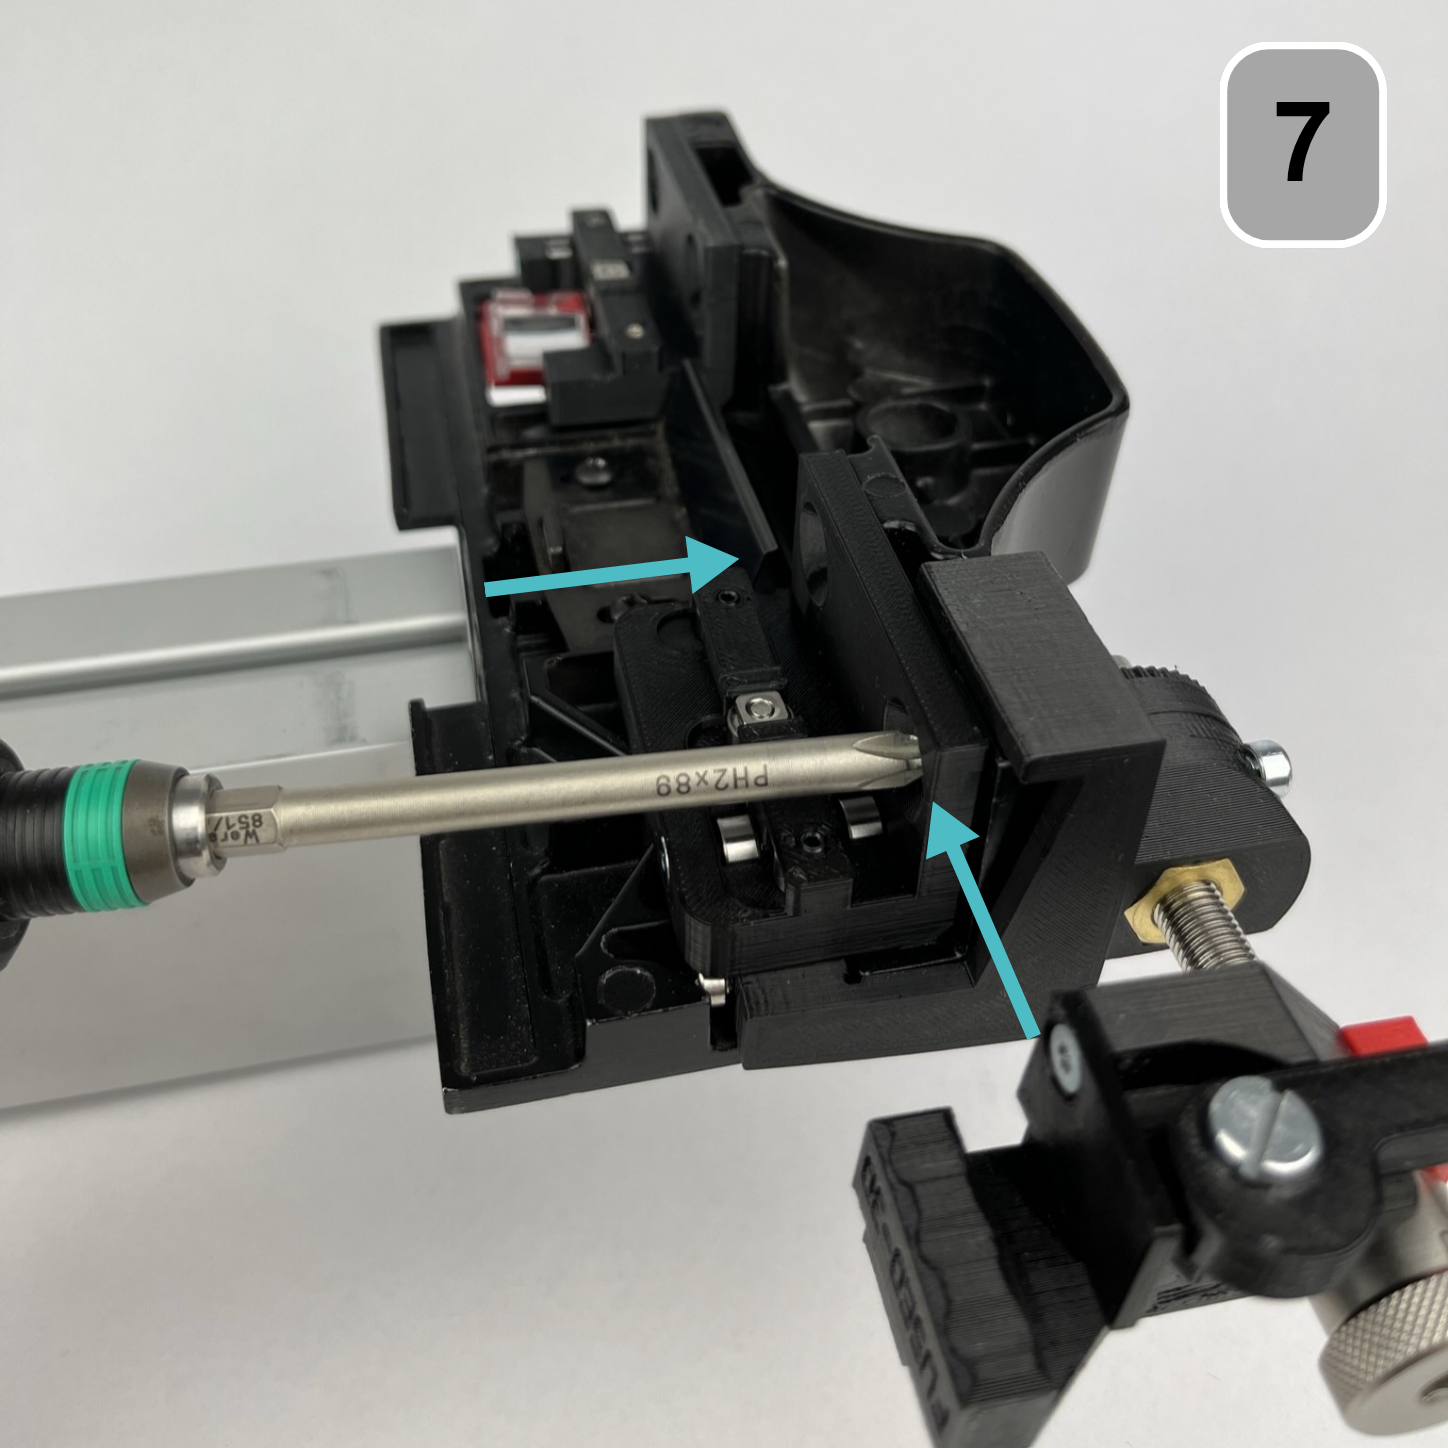
Step 7: Attaching to the rip fence
Finally, the roller carriage or the sliding carriage can be screwed back onto the parallel stop.
Step 8: Use
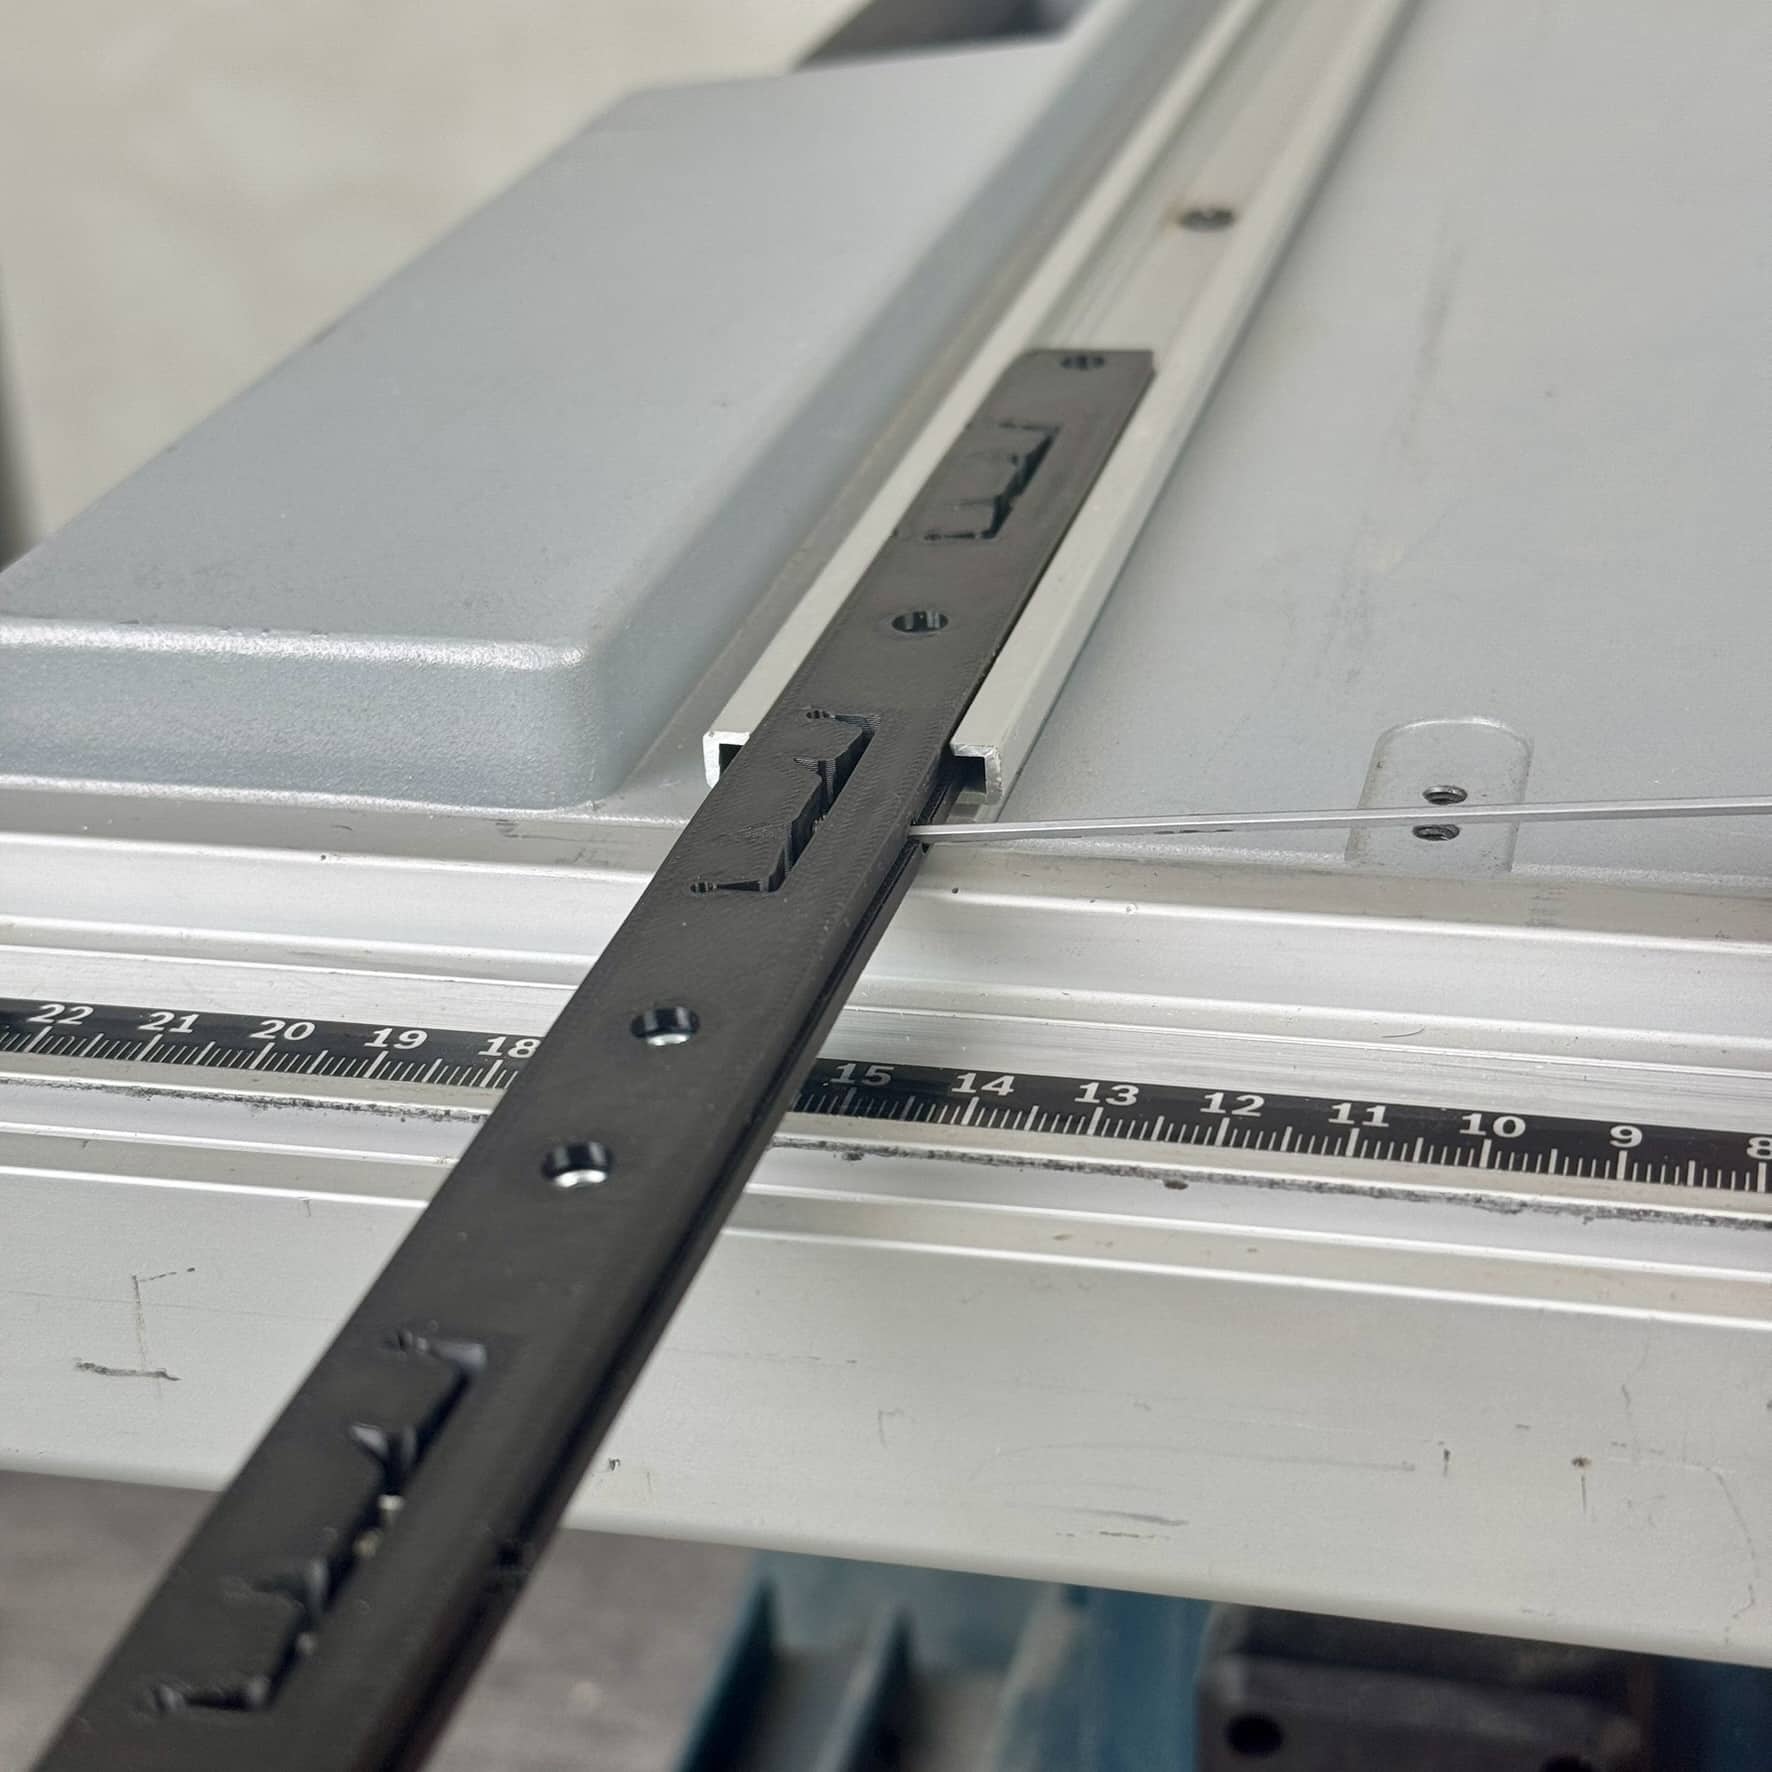
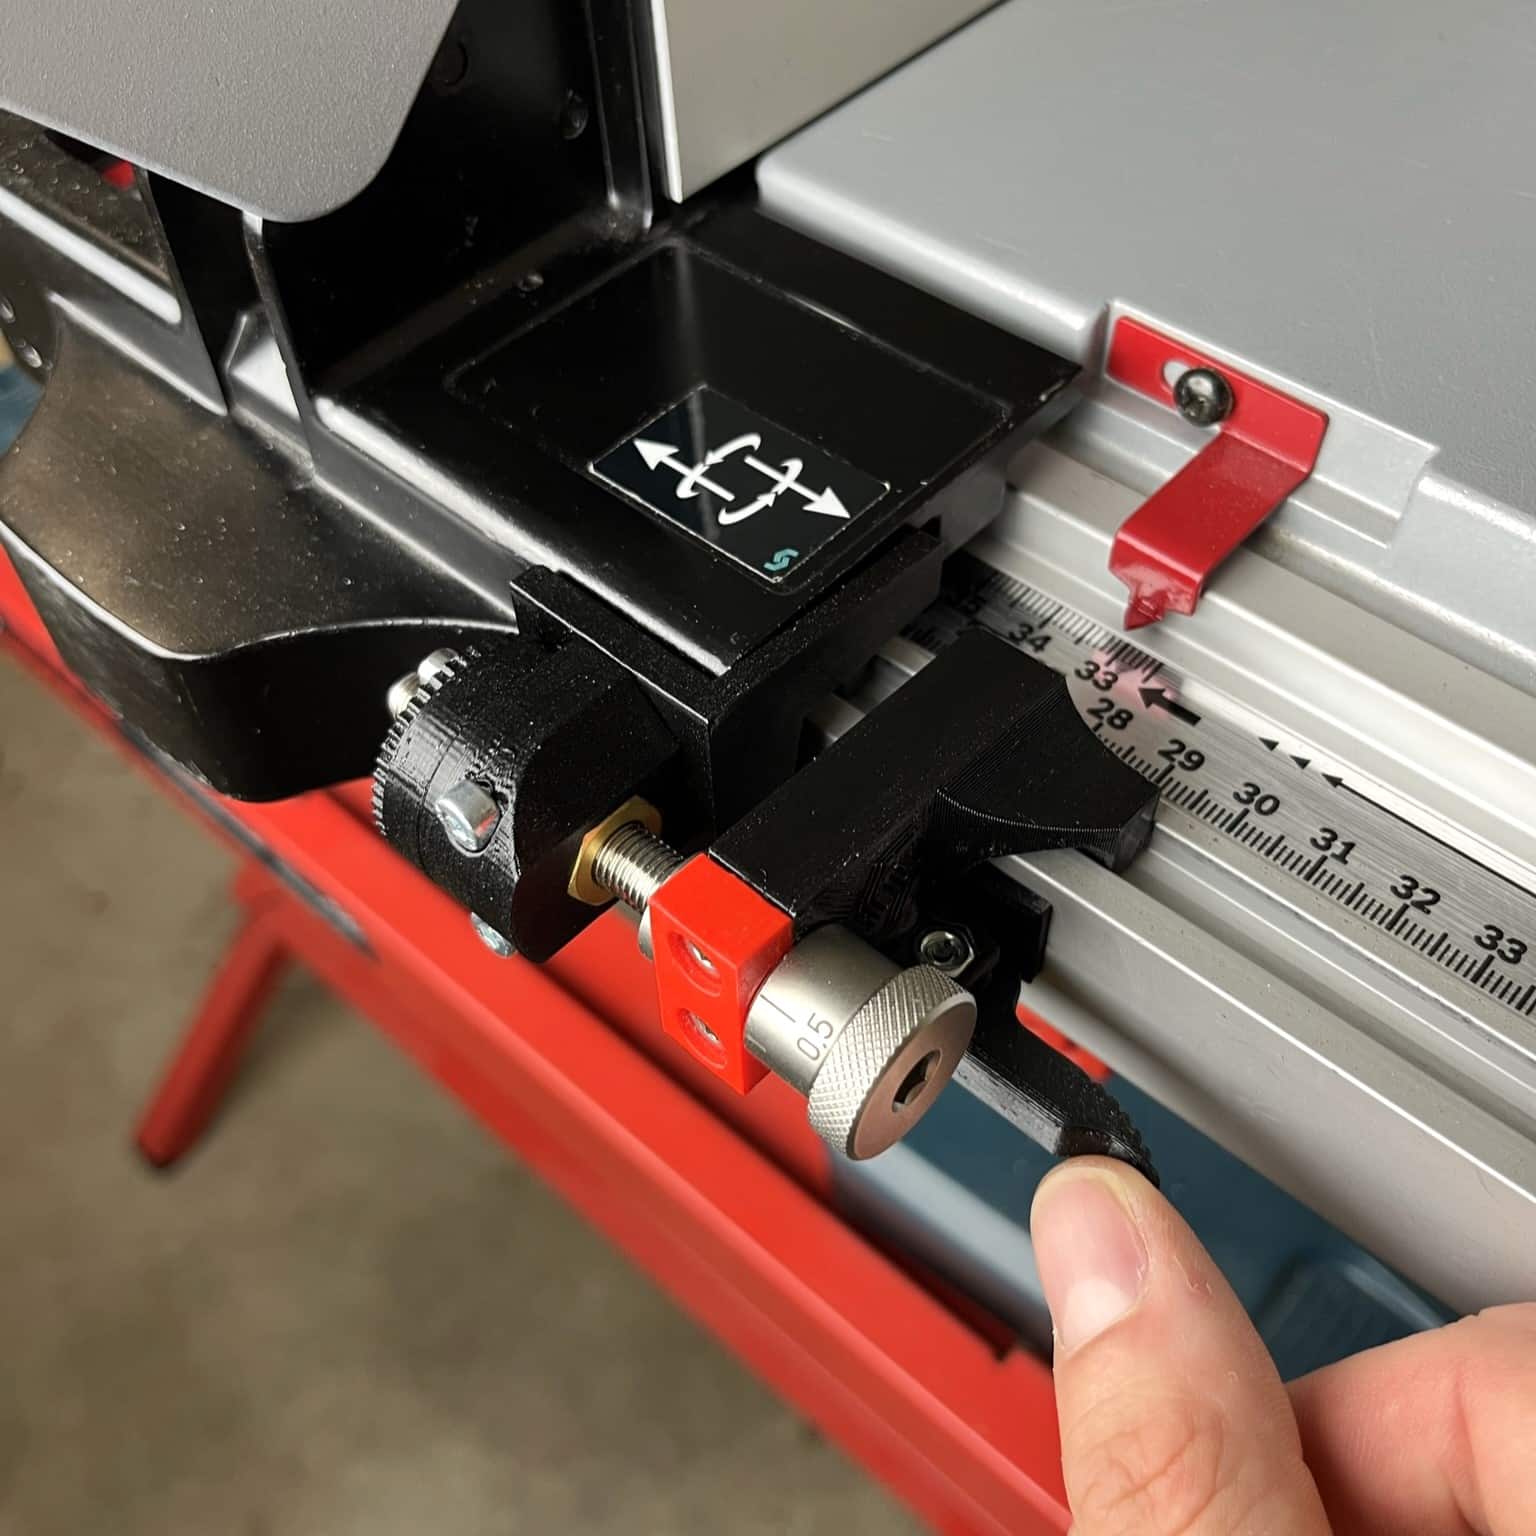
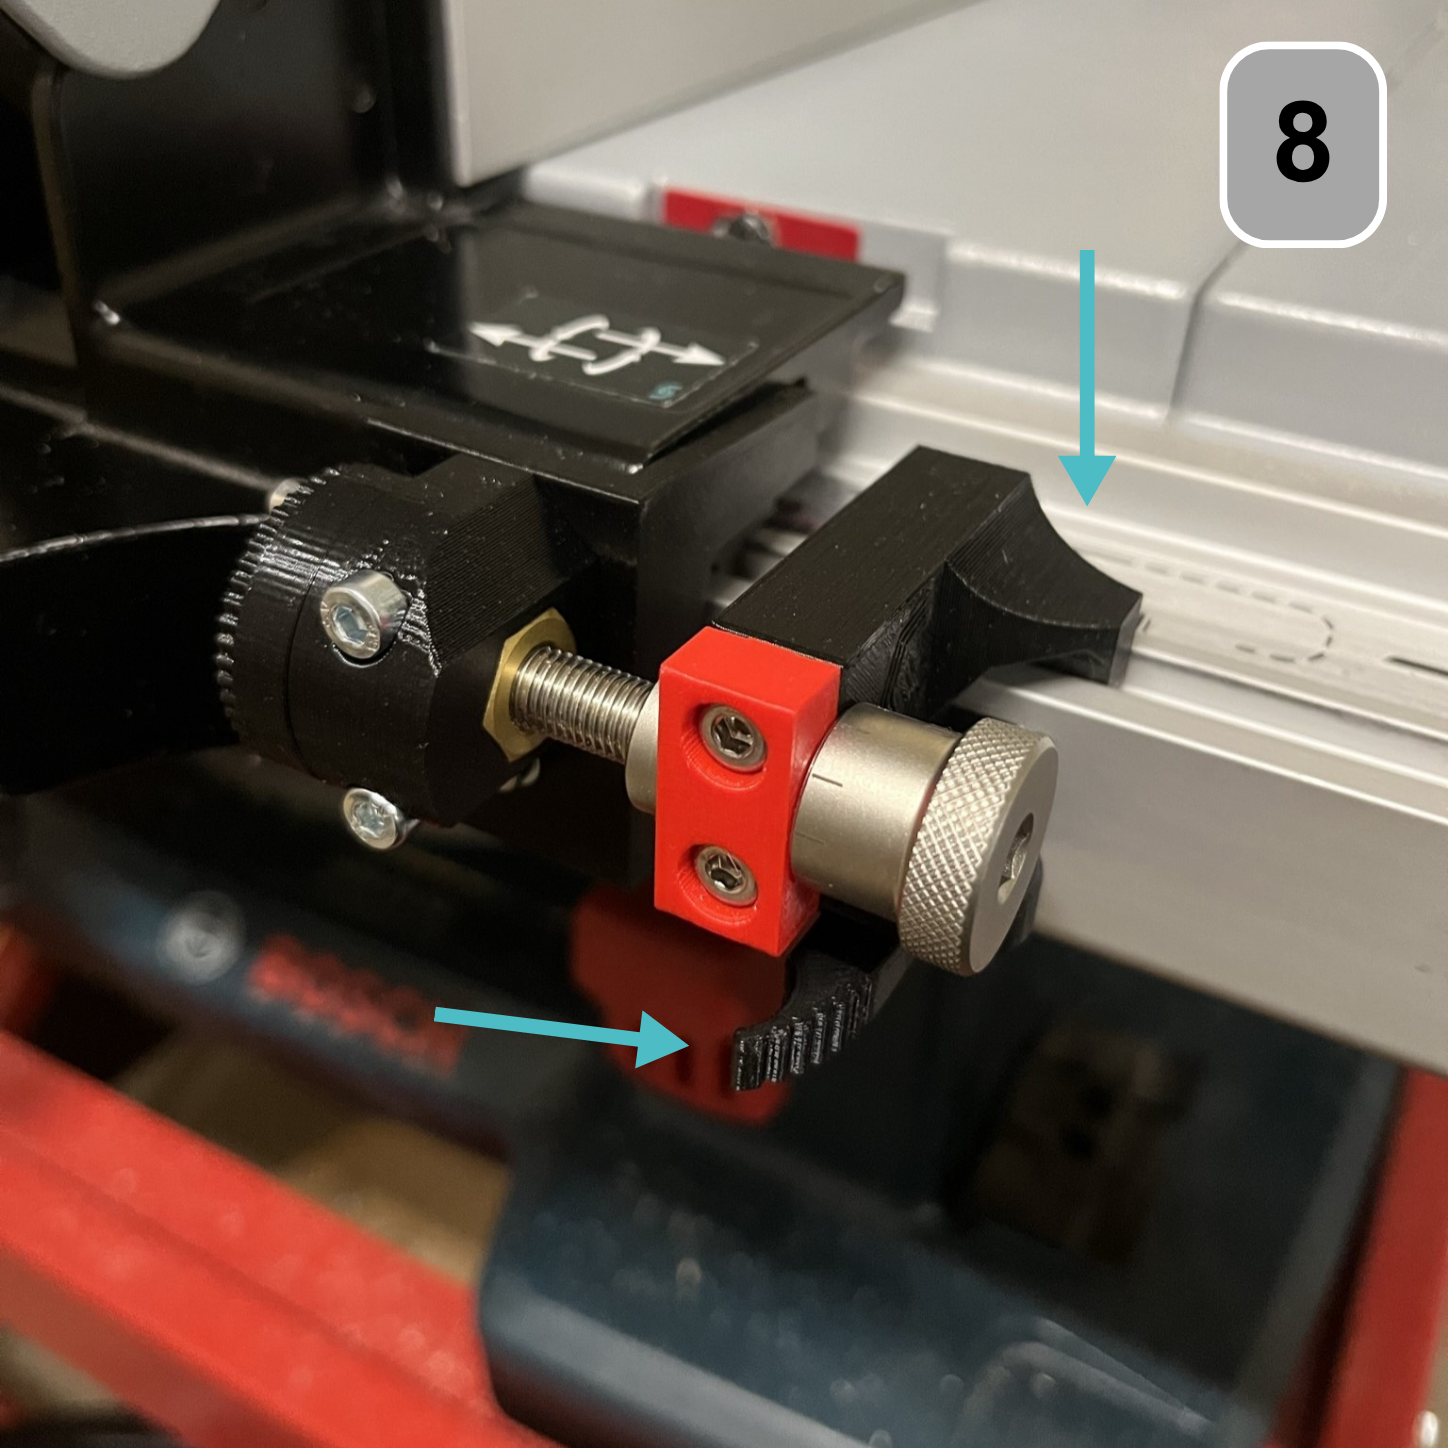
Insert the fine adjustment clamping device into the U-profile of the guide rail. Ensure that the clamping lever is in the untensioned position.
Step 9: Use
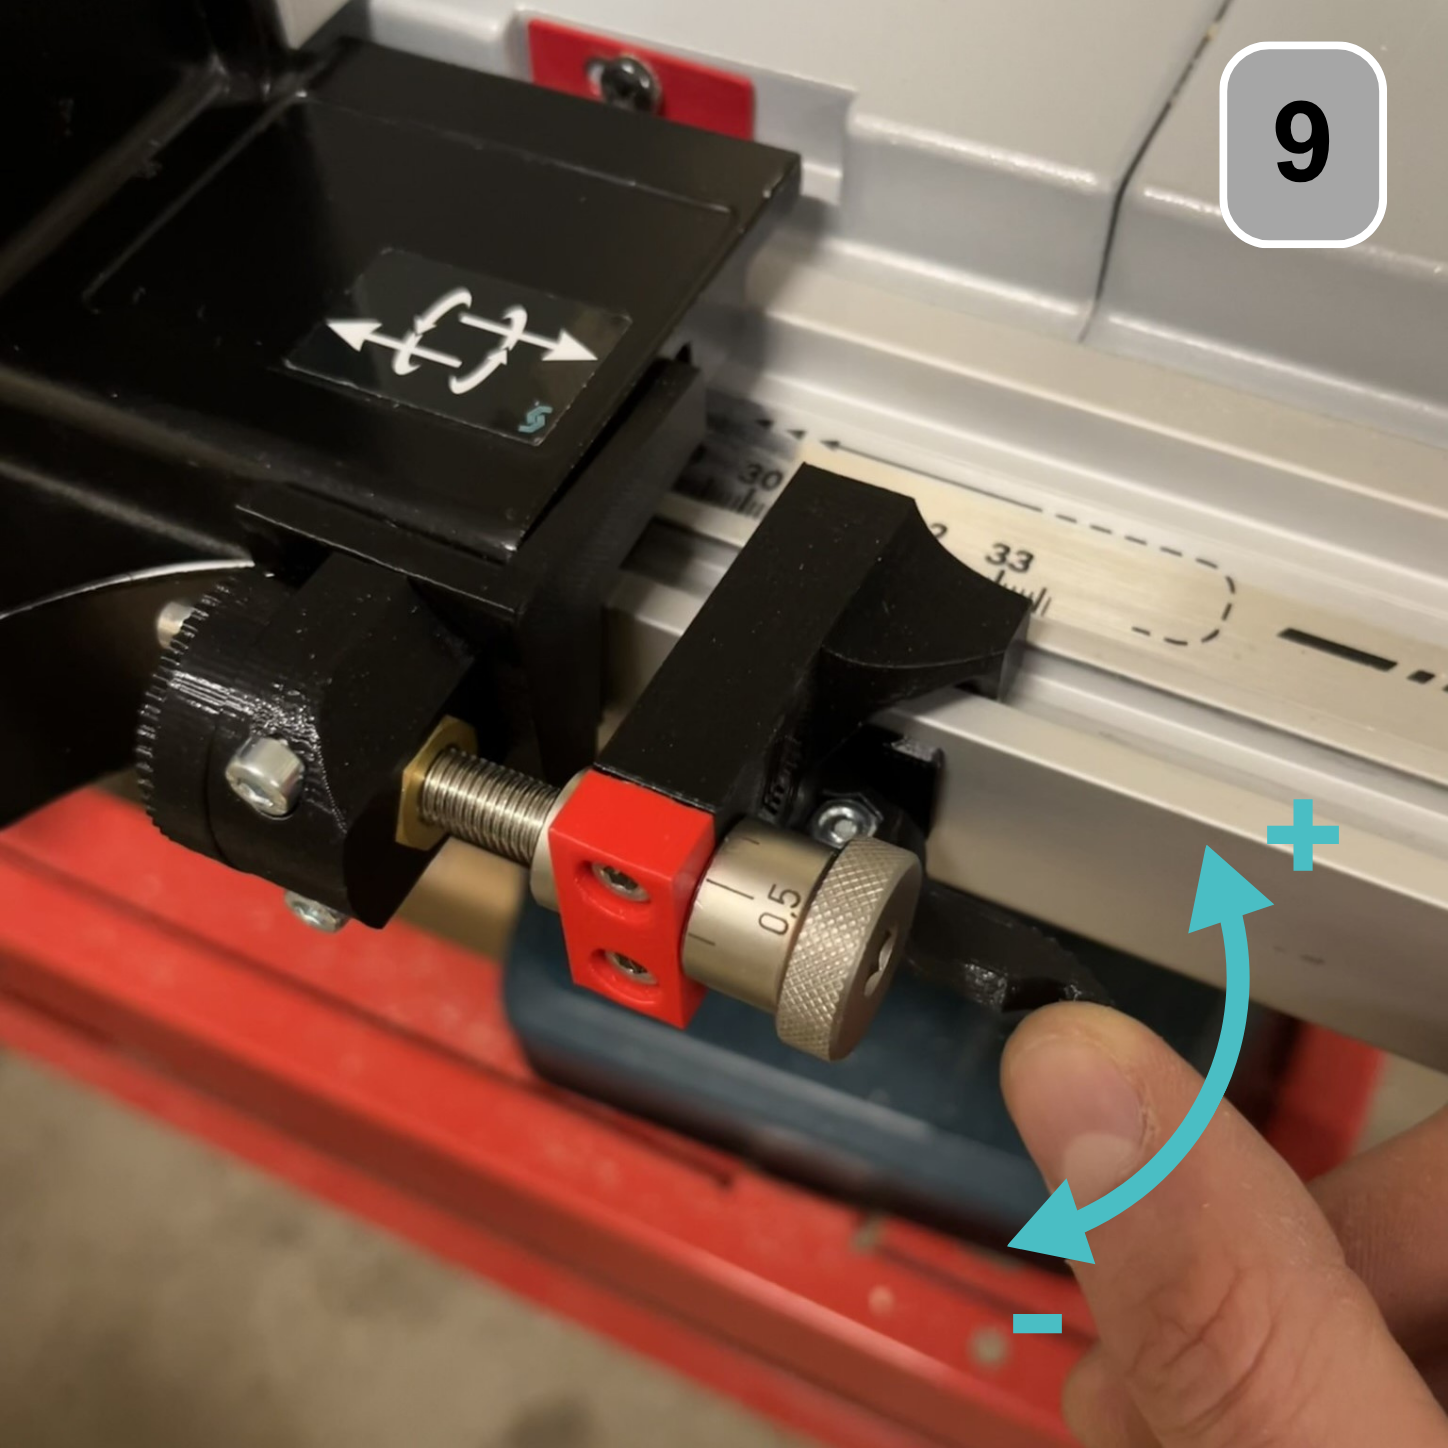
Move the clamping lever towards "+" to lock the fine adjustment. Move it towards "-" to release it.
Danger: The clamping lever does not replace the main clamp of the parallel fence! When sawing with the parallel fence, the main clamp must always be tightened!
Step 10: Use
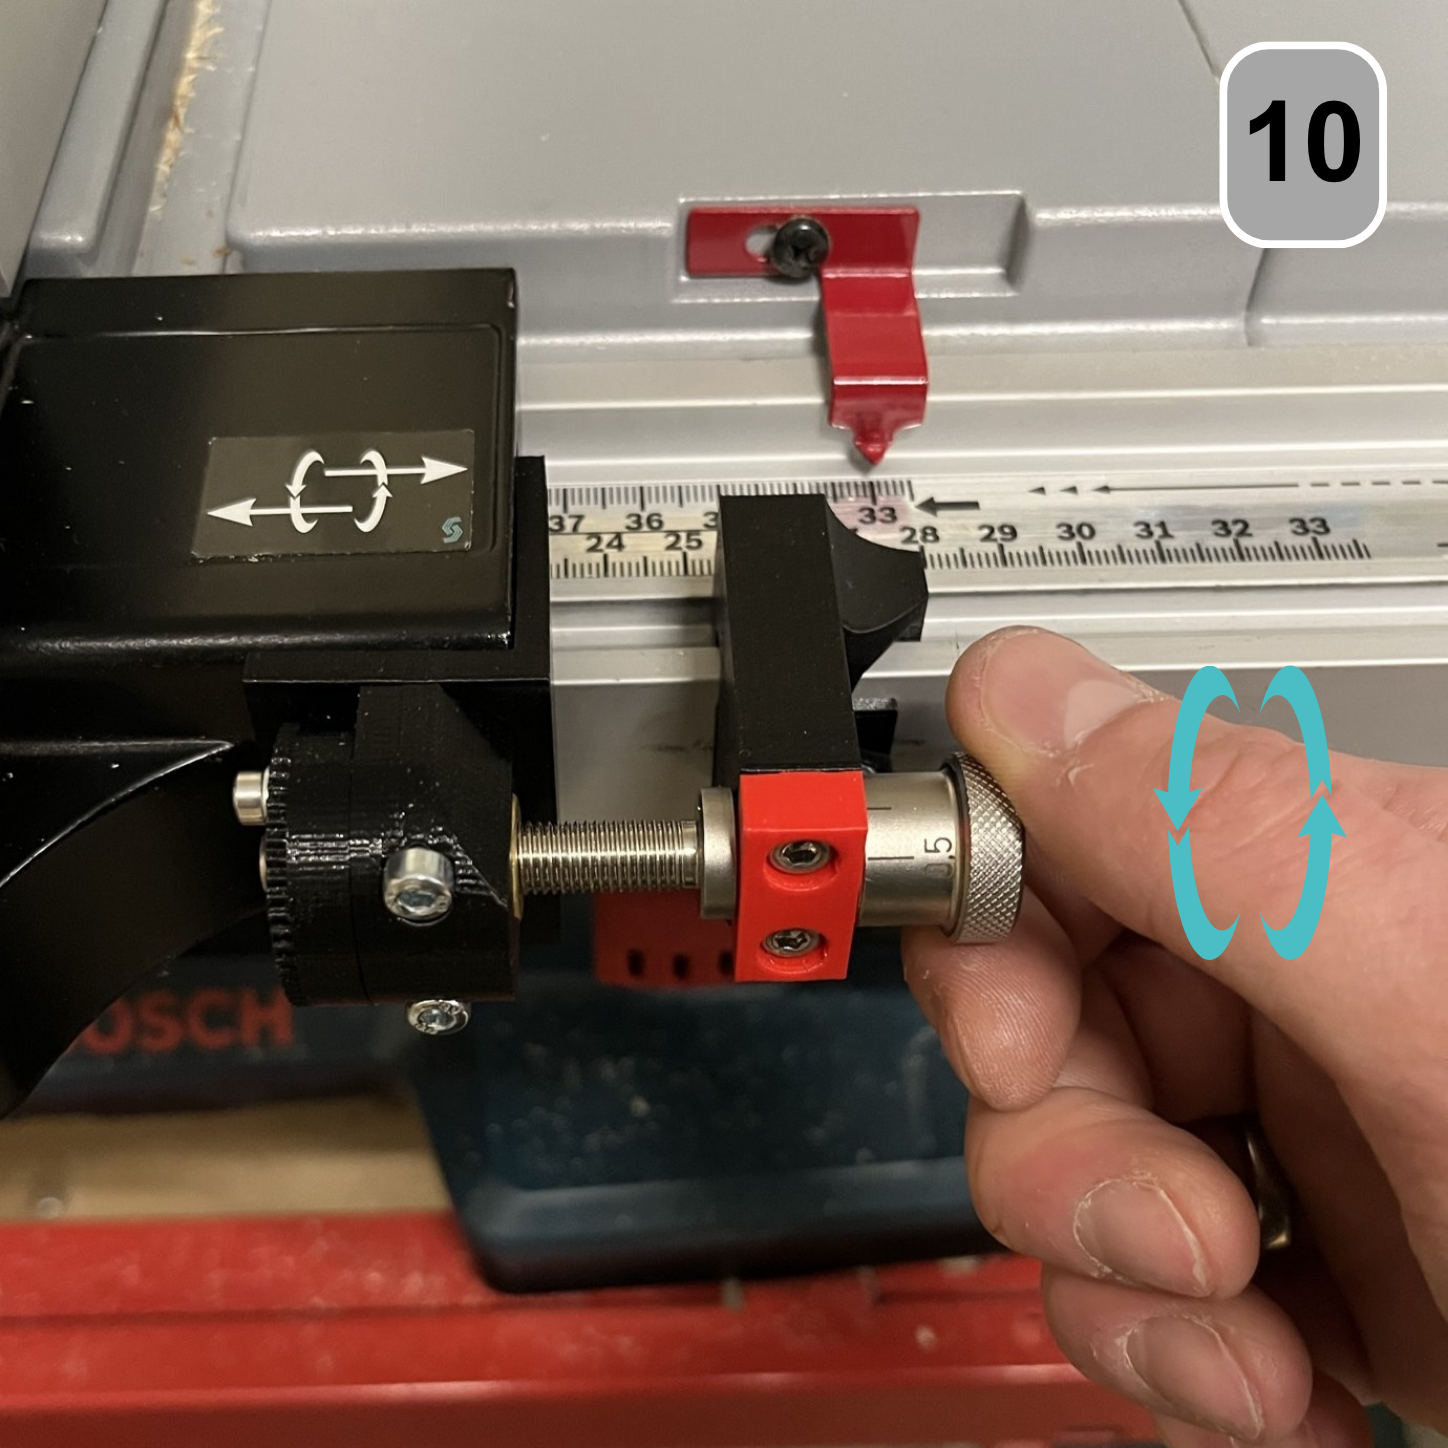
With the main clamp of the parallel fence released and the fine adjustment engaged, the parallel fence can be moved smoothly towards and away from the saw blade. Once the desired position has been reached, The main clamp must be tightened. Now you can start sawing. Have fun!
Step 11: Reward
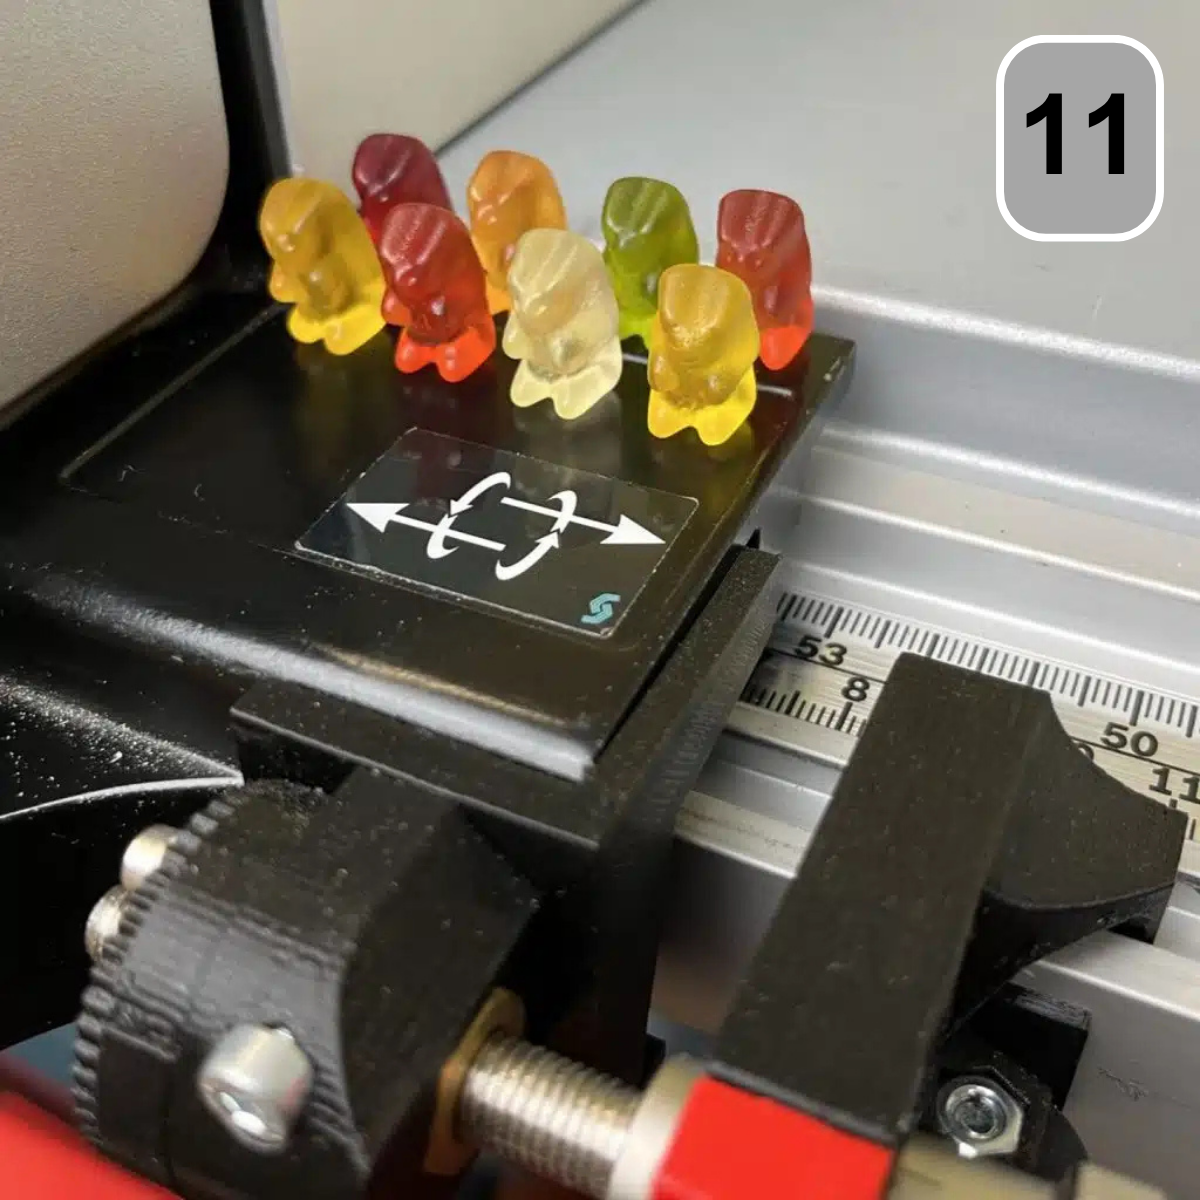
Finally, screw the self-tapping screw into the parallel stop. Use a PH3 screwdriver for this.