Sichere Zahlungen
 Kostenloser Versand ab 85 € (DE, AT, FR)

L-Boxx & T-Boxx rail shelf
Assembly instructions
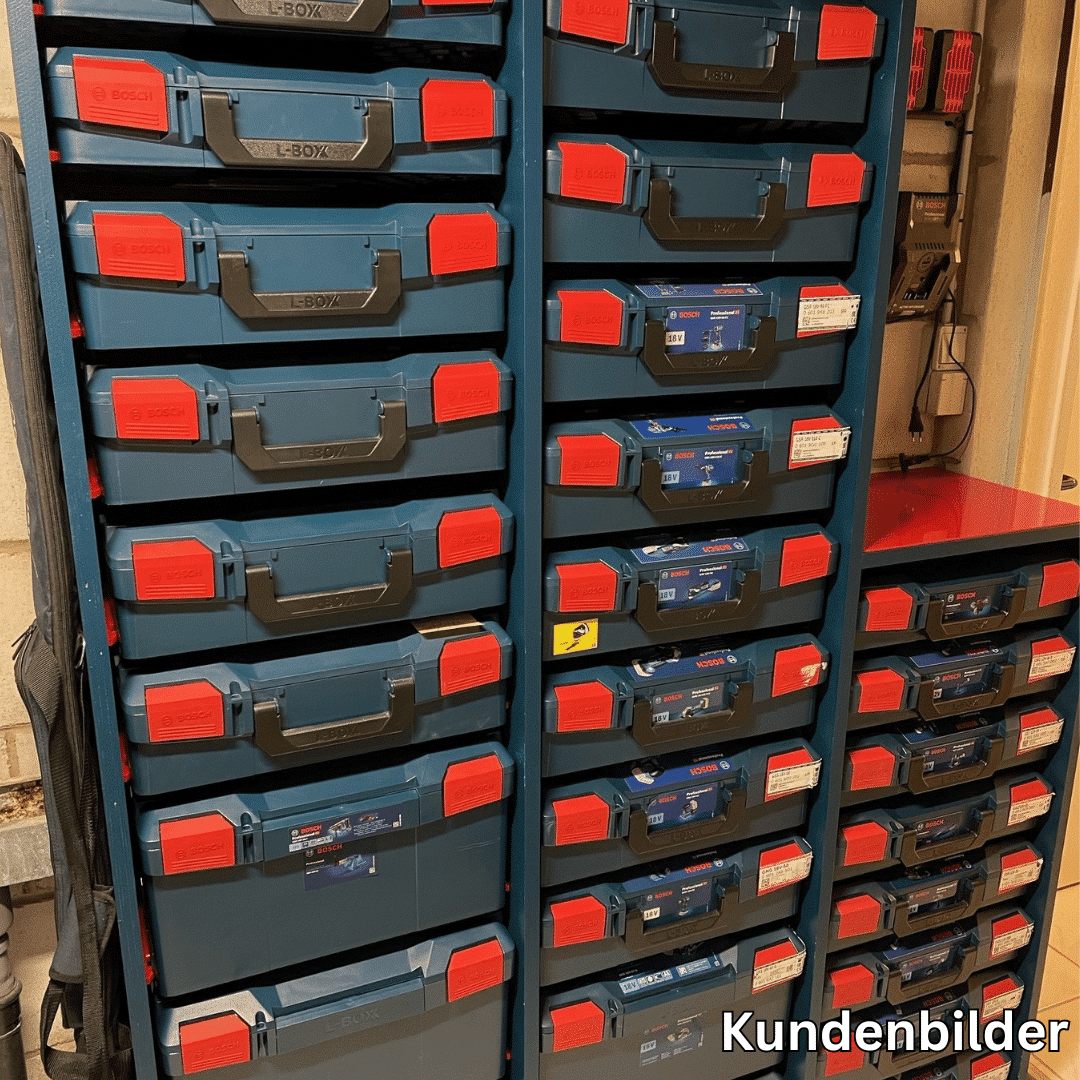
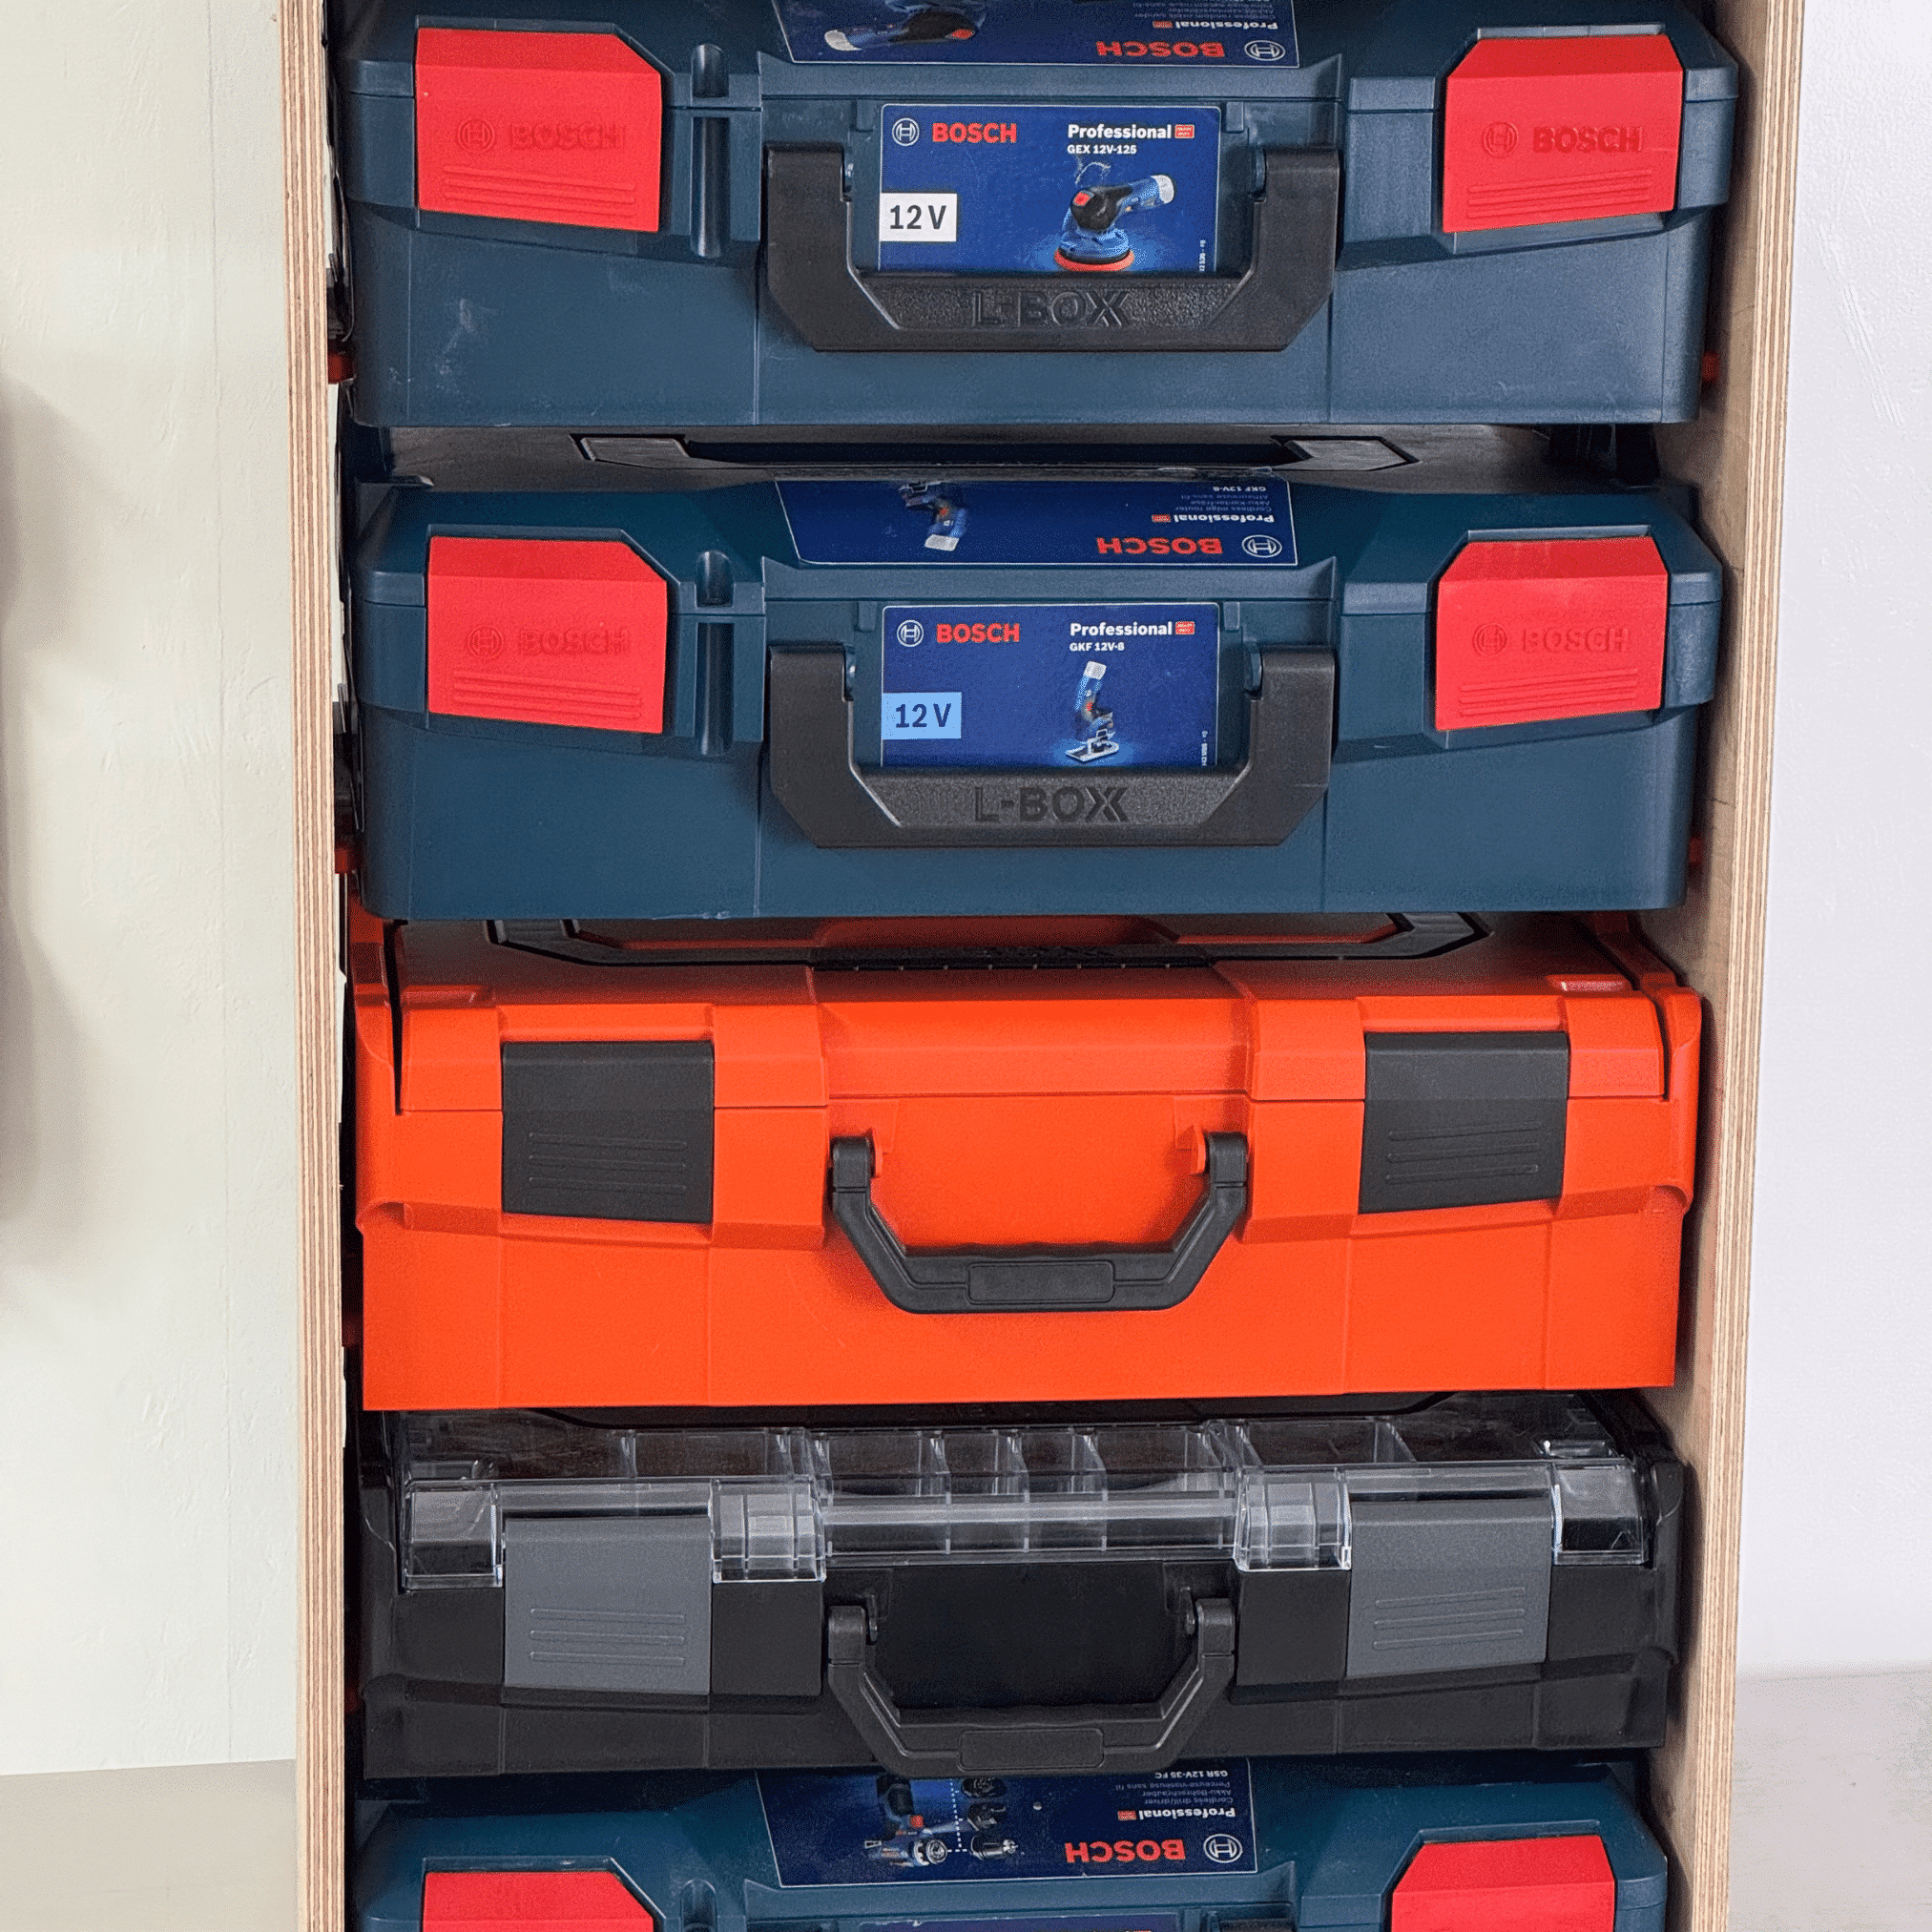
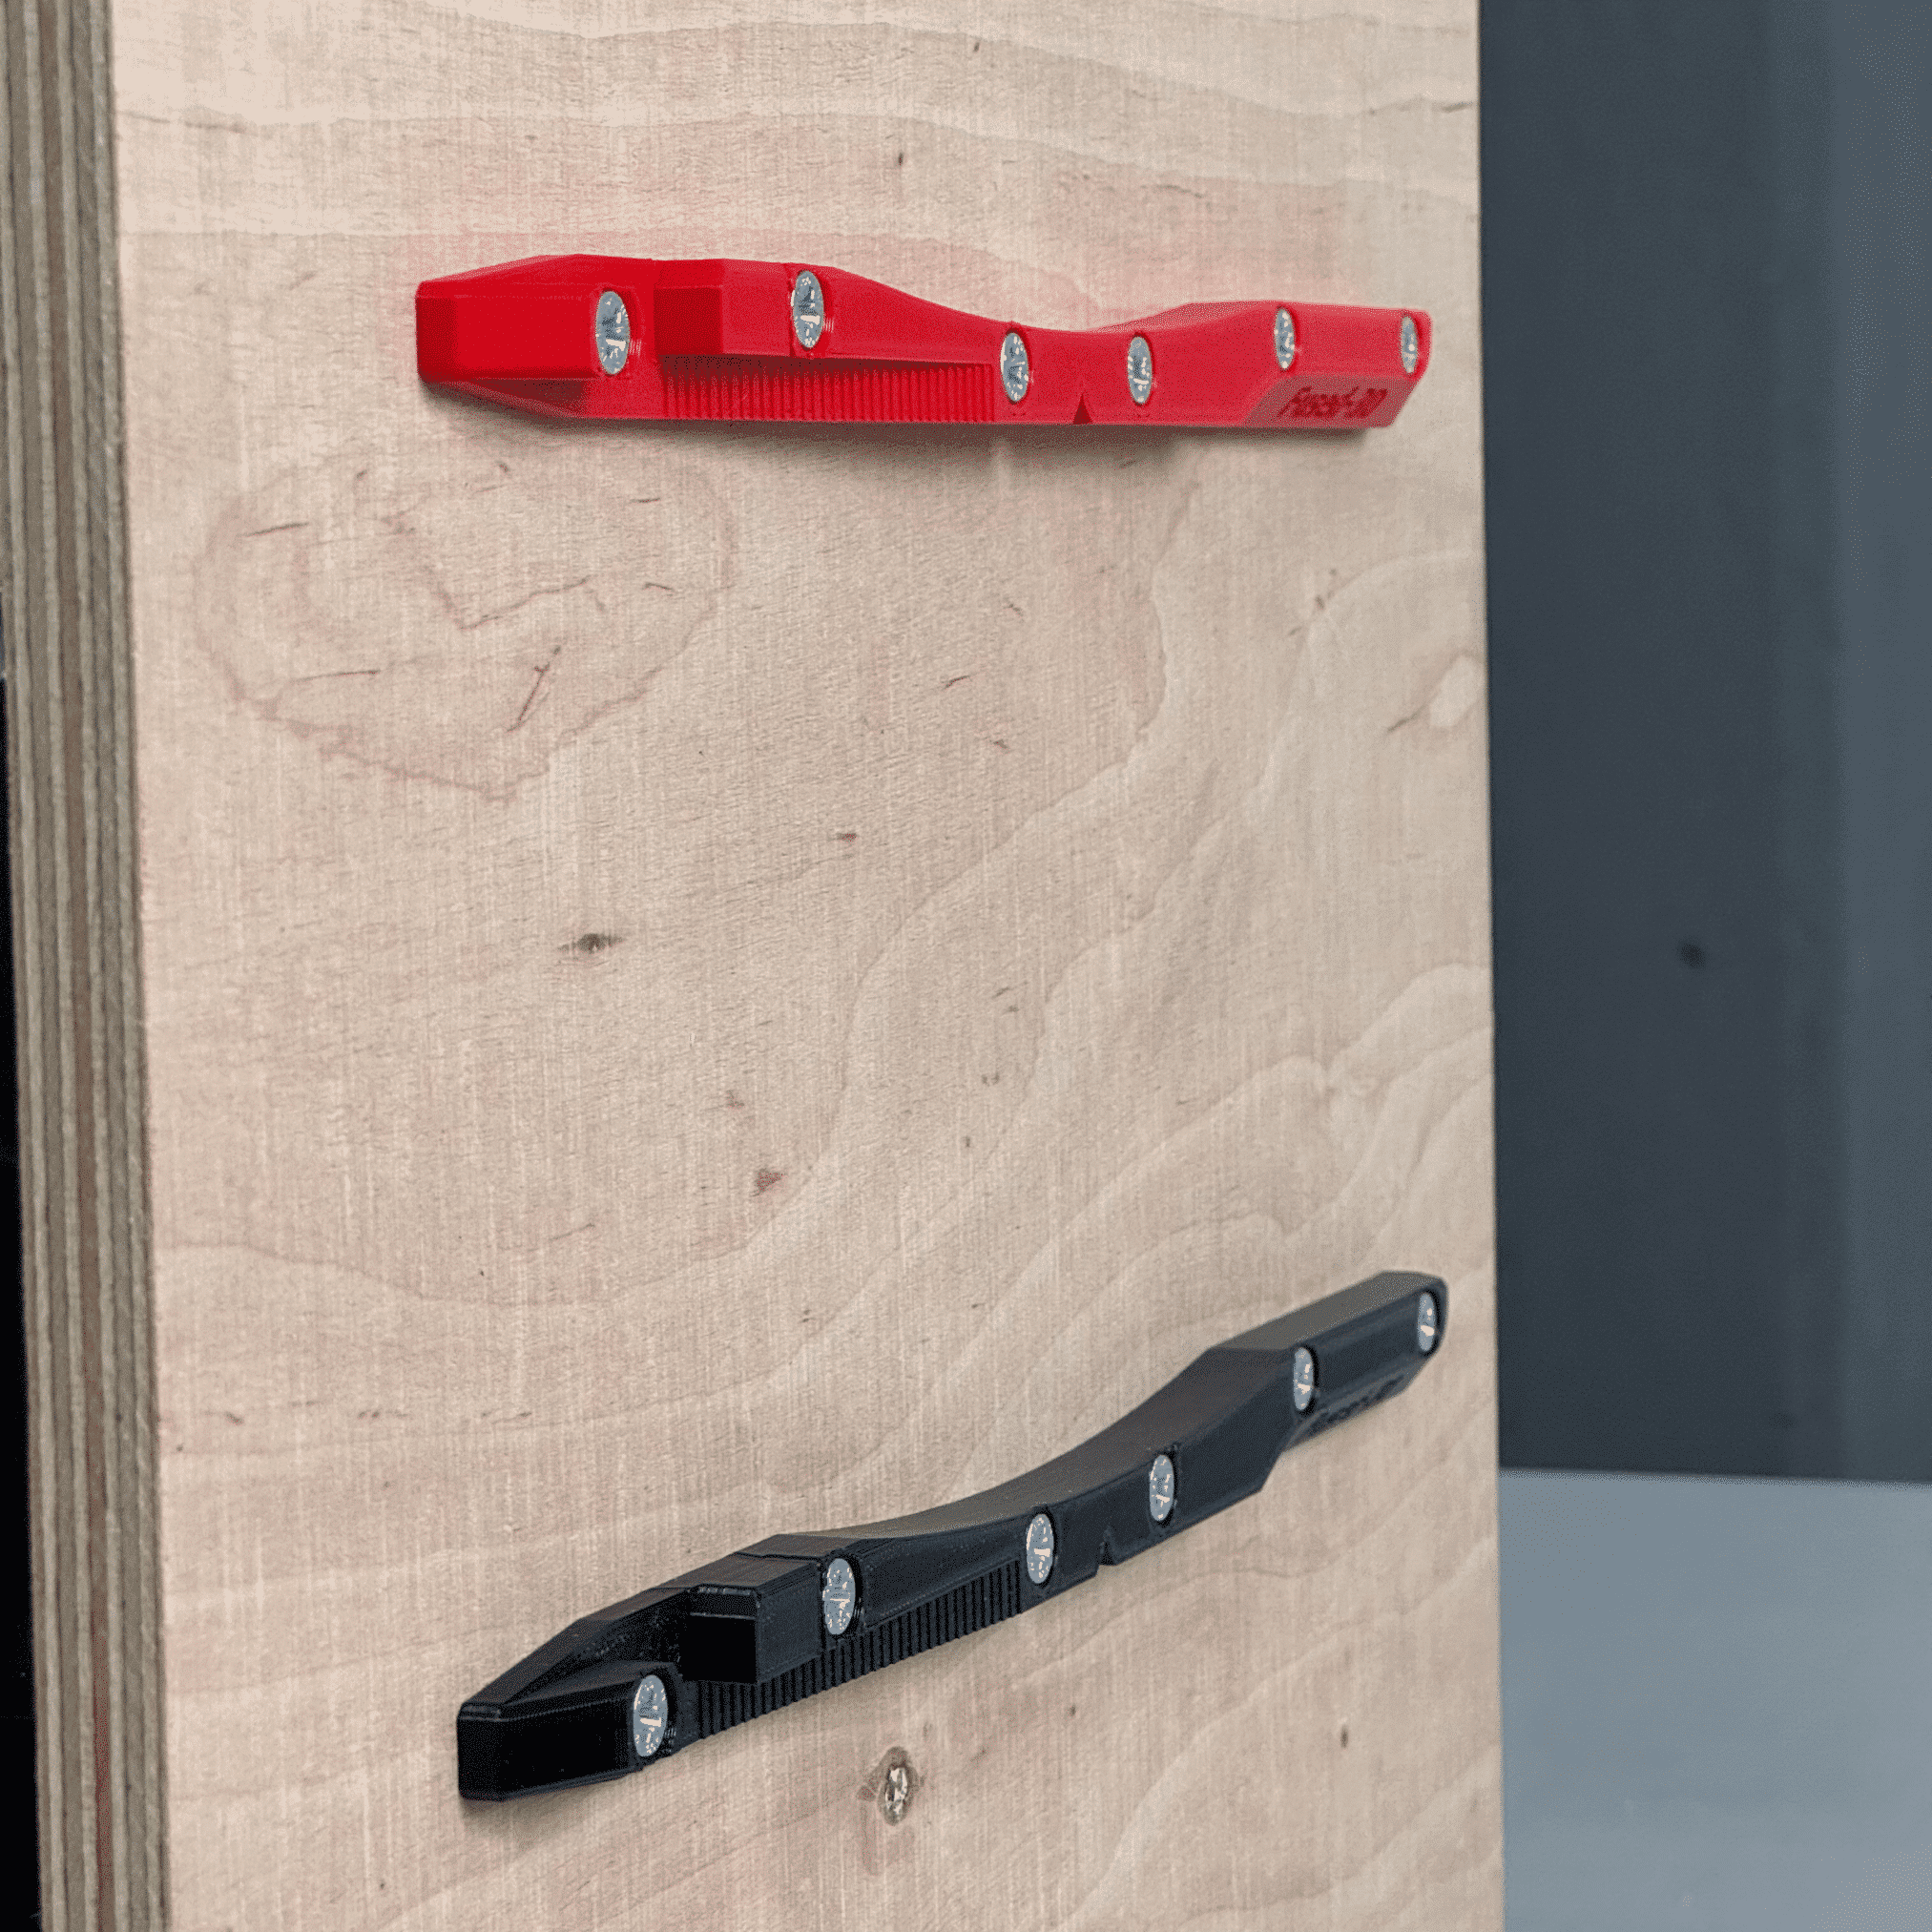
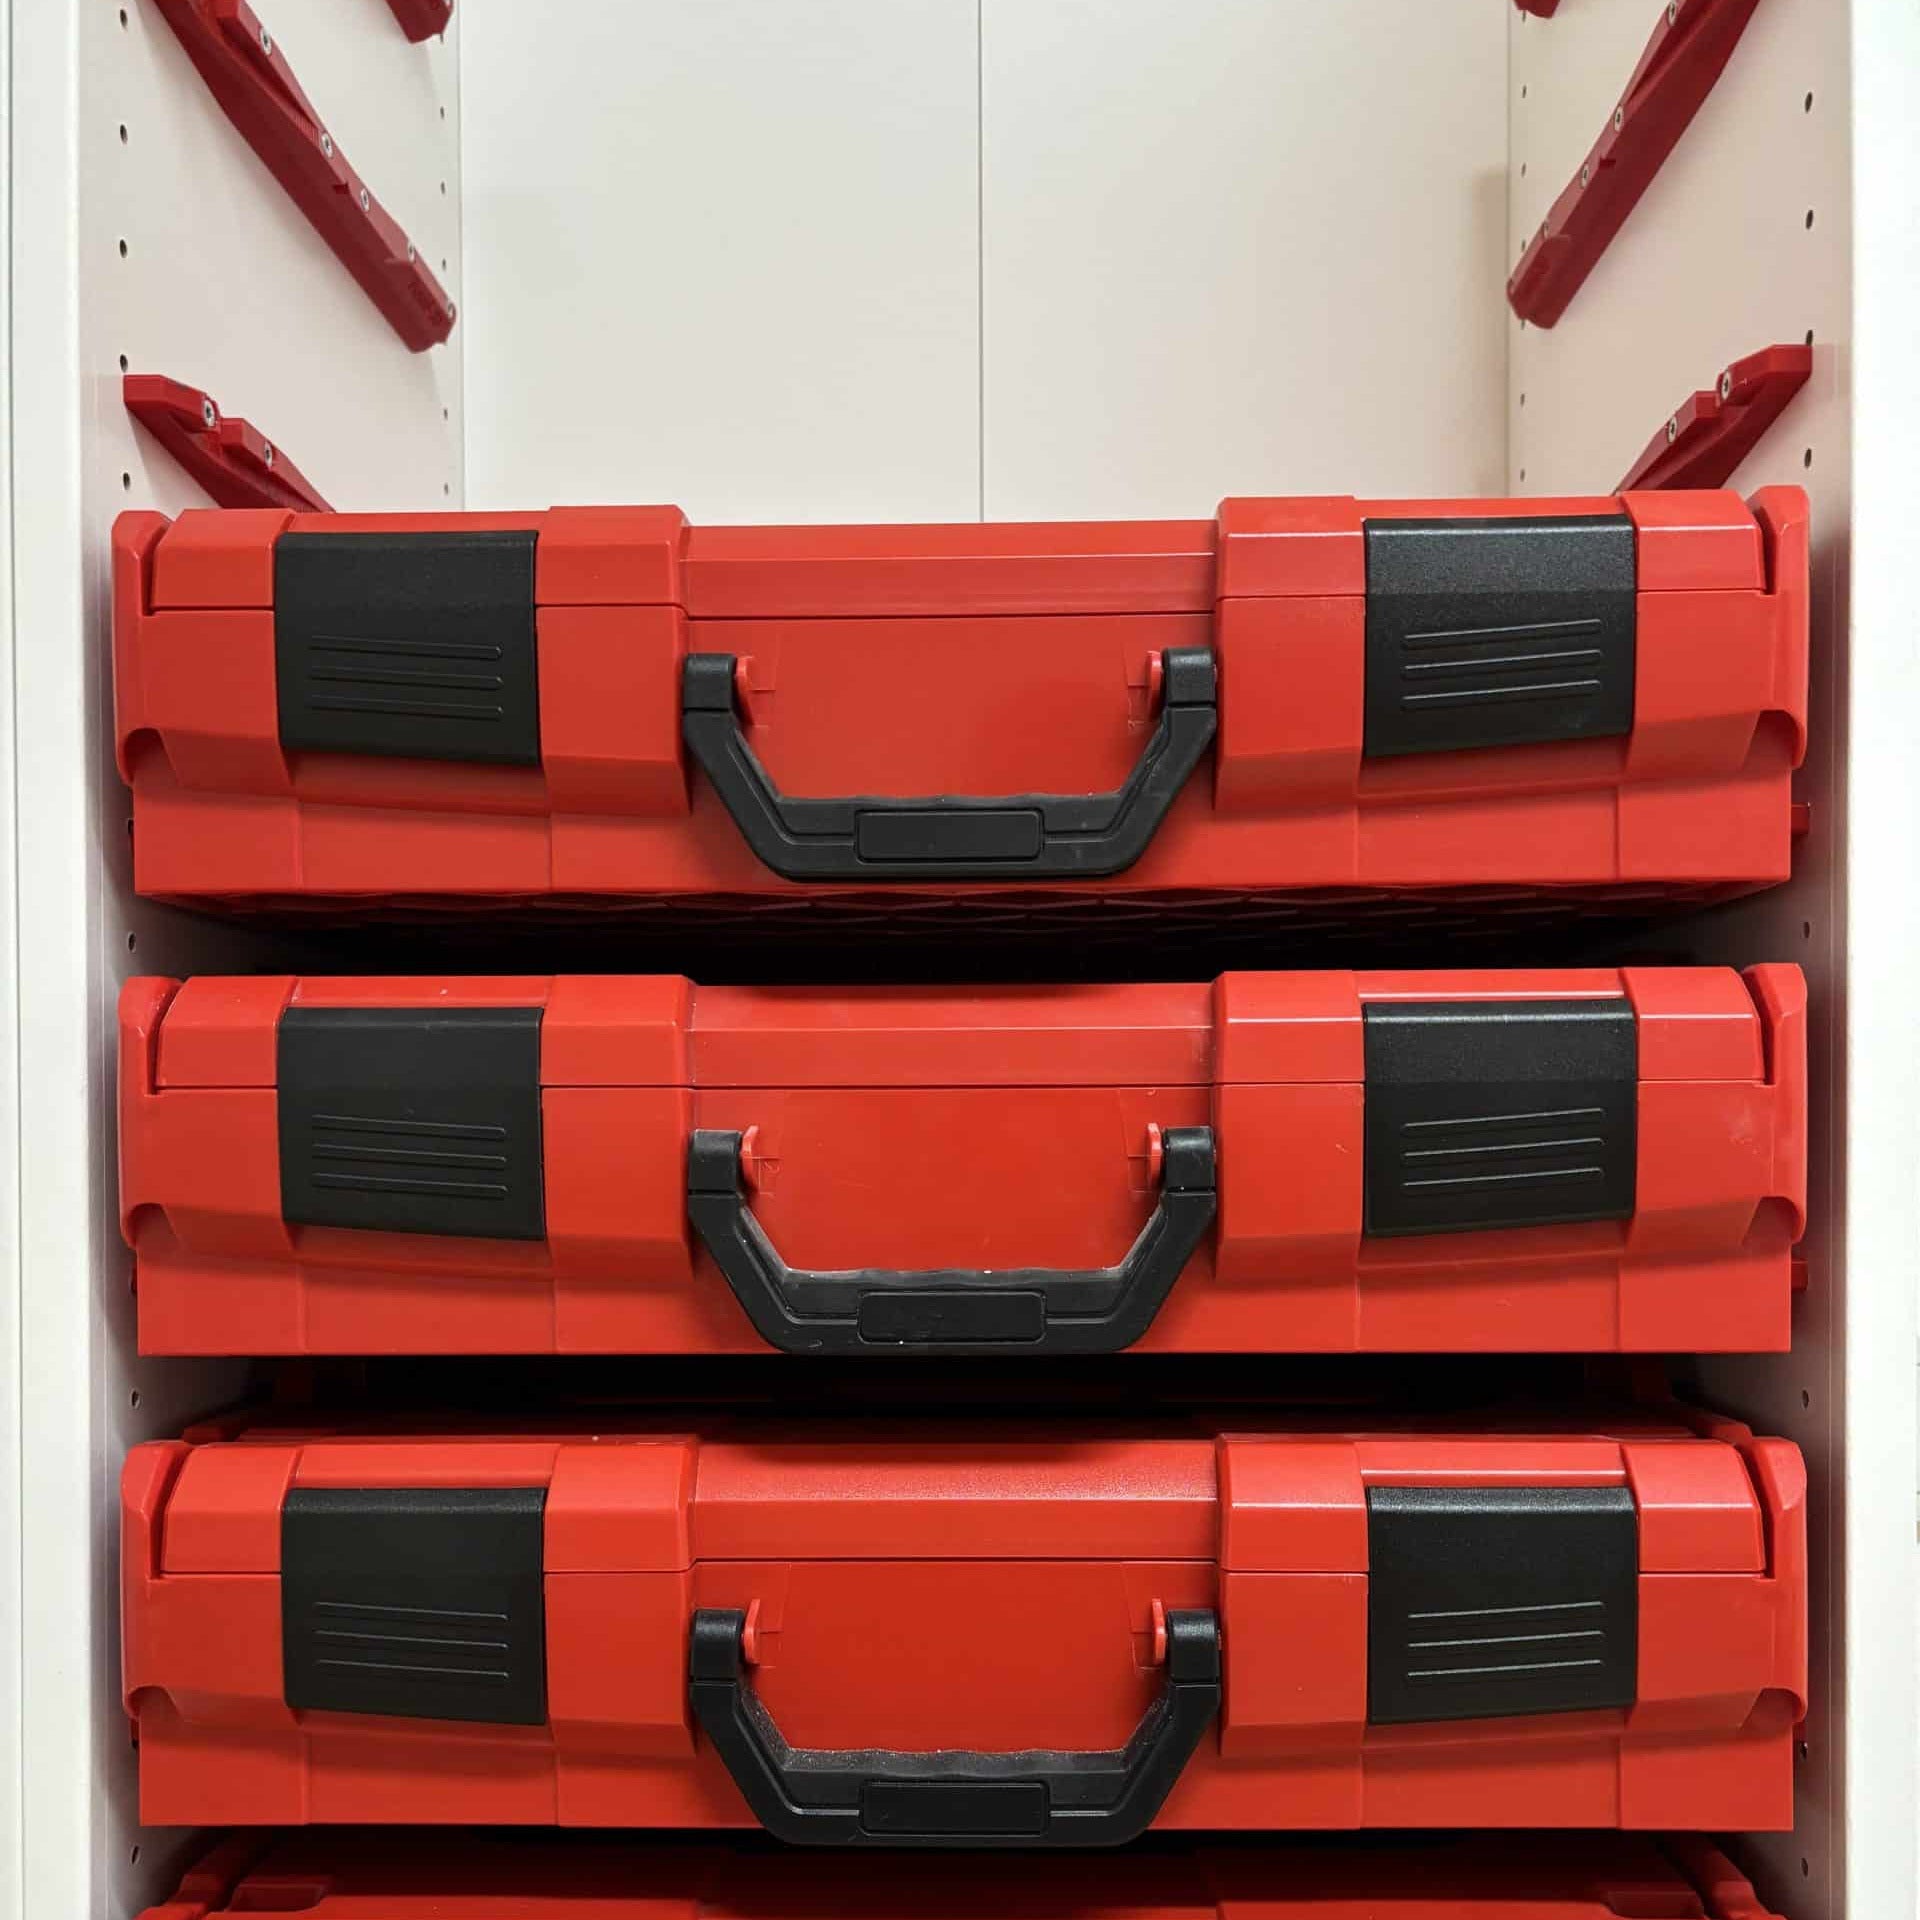
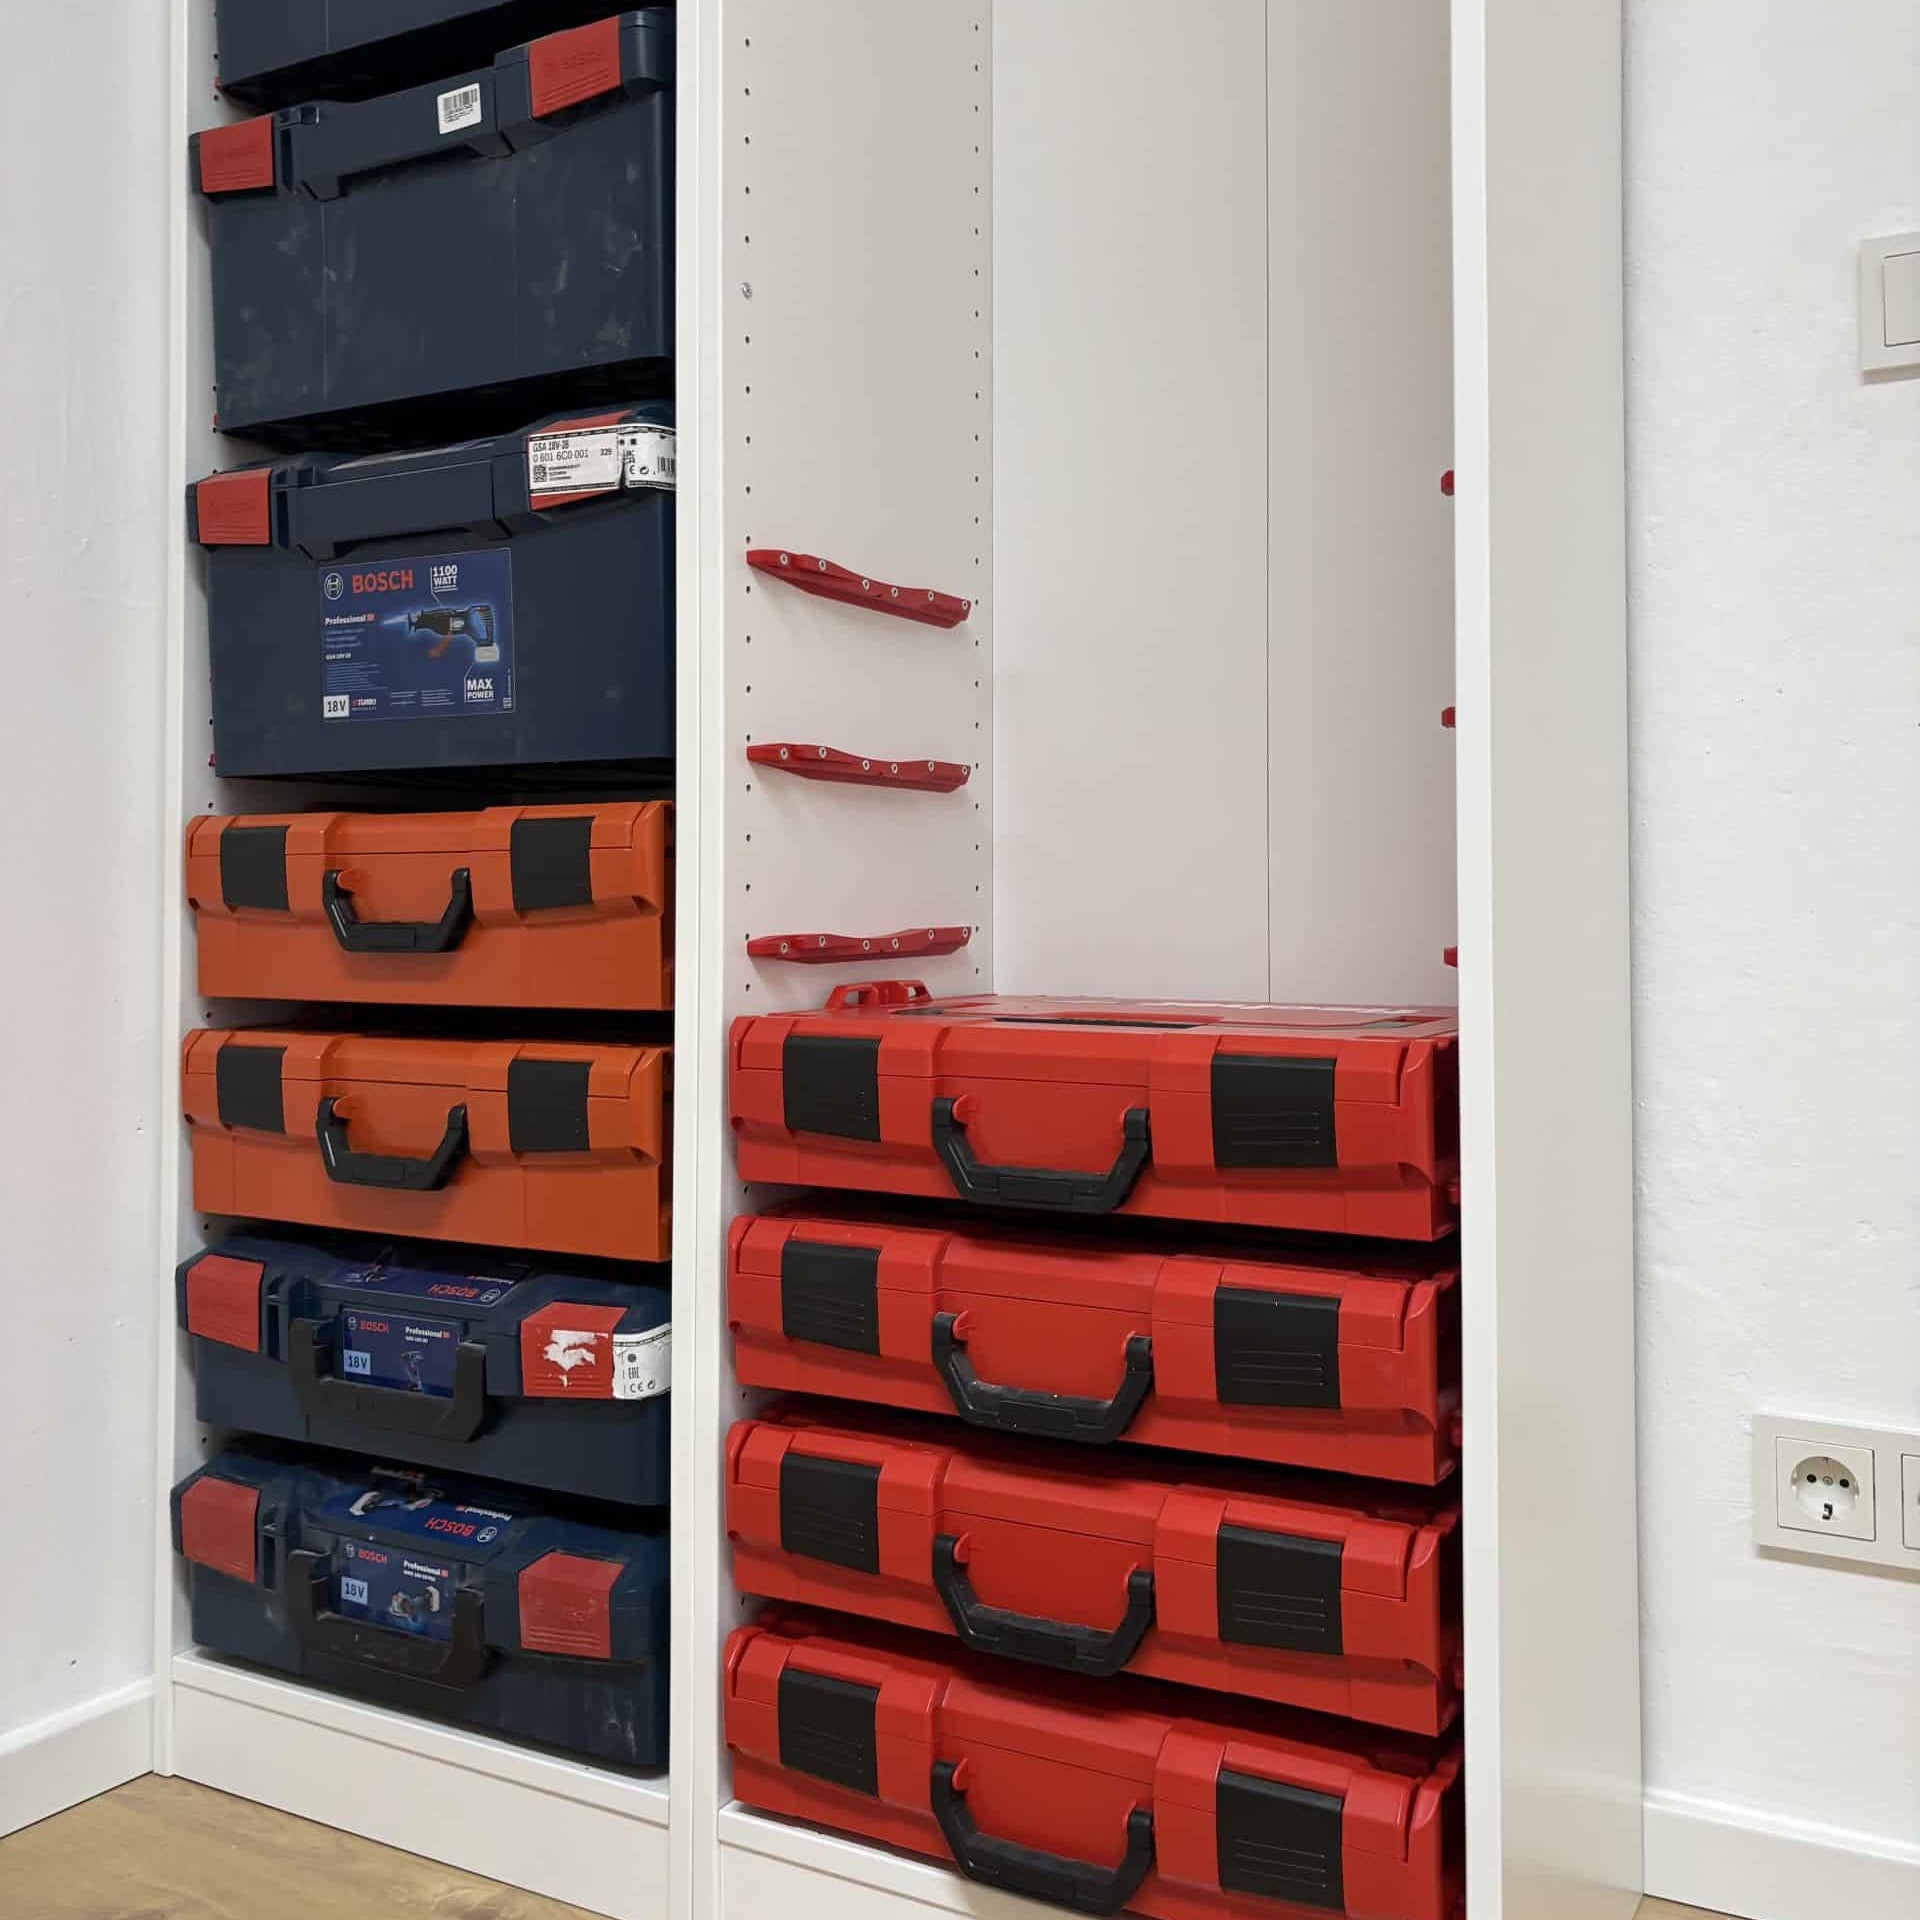
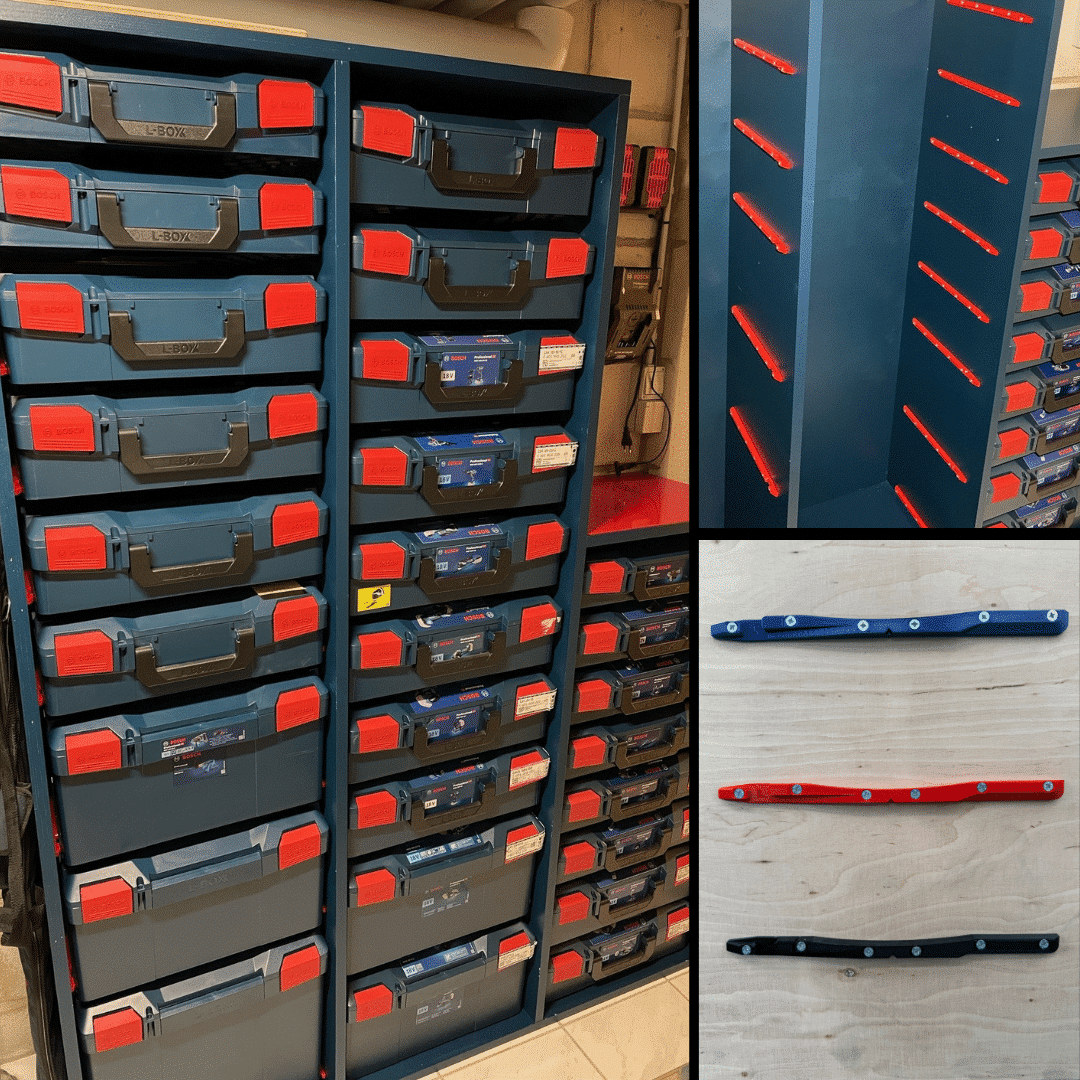
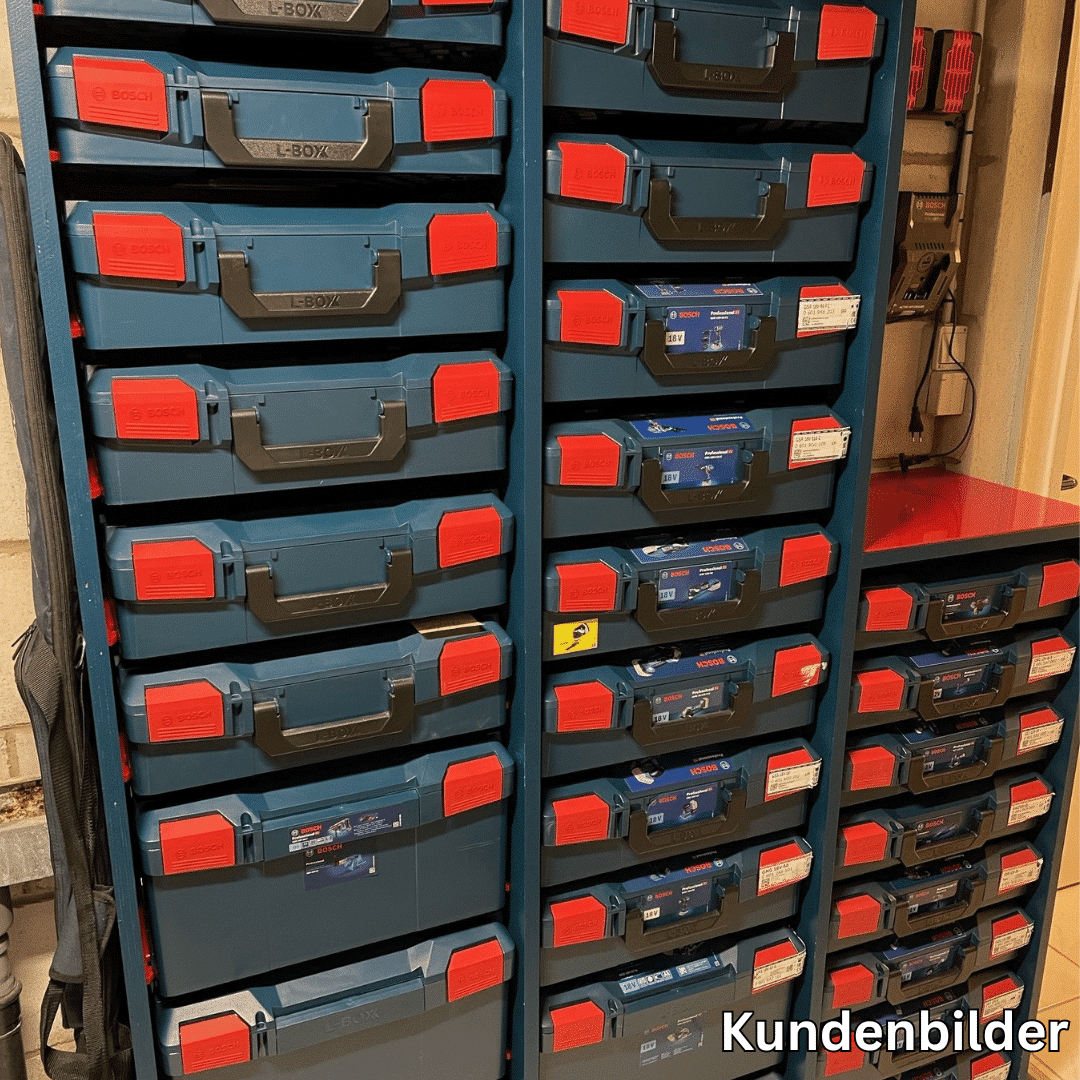
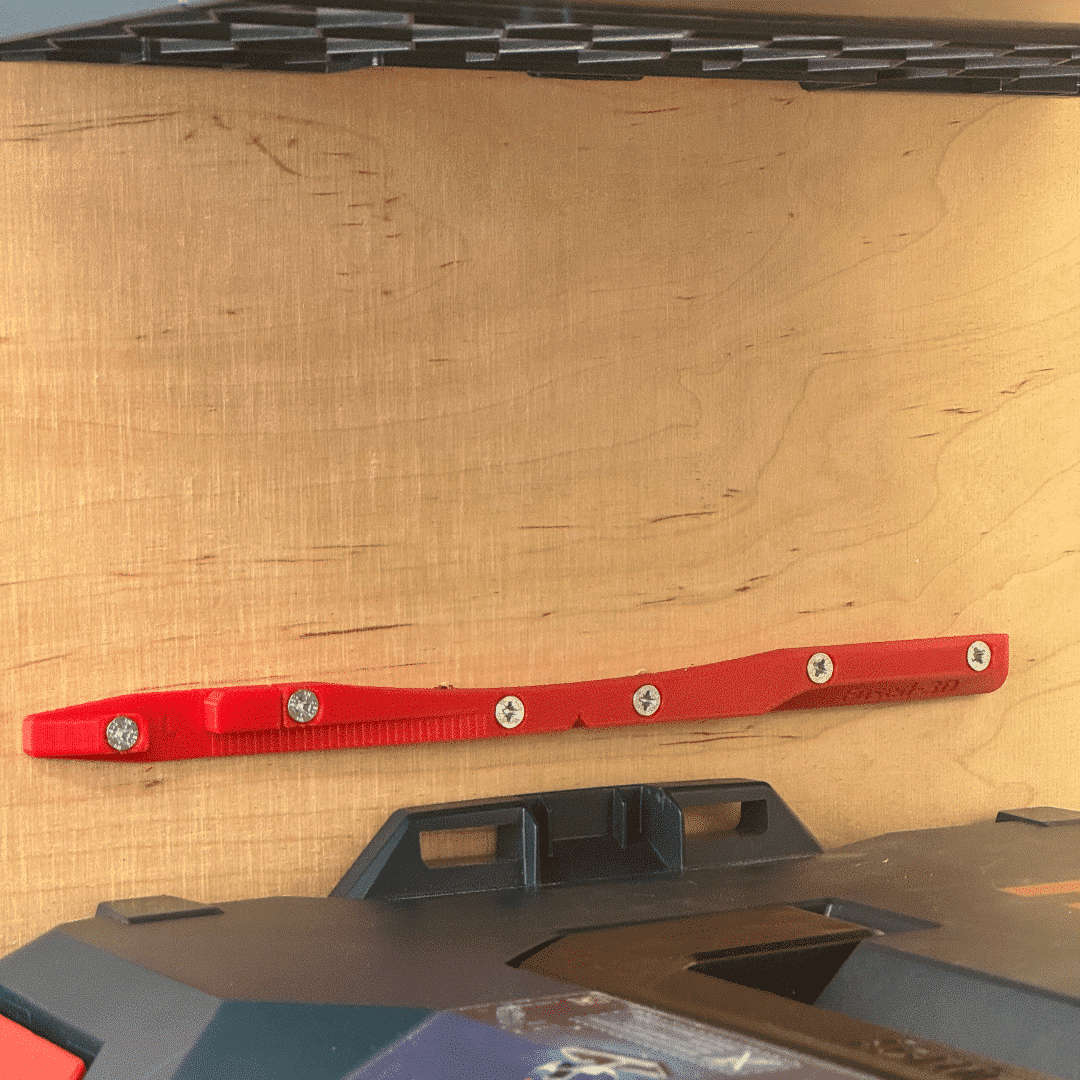
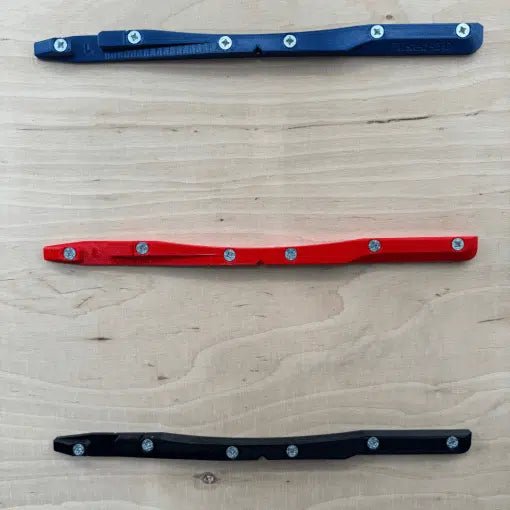
With the L-Boxx and T-Boxx rail pair, you can organize your L-Boxxes.
Store neatly and in a space-saving manner in a shelf or cupboard.
Instead of stacking them, the boxes are inserted sideways into the mounted [unclear - possibly referring to a specific feature or structure].
The rails are inserted and remain readily accessible at all times. This way you have
quick access to your tools and always keep track of everything
your workshop. In this guide, we'll show you step by step how to...
Step by step, how to correctly and optimally mount the pair of rails
align.
Step 1: Crate Building
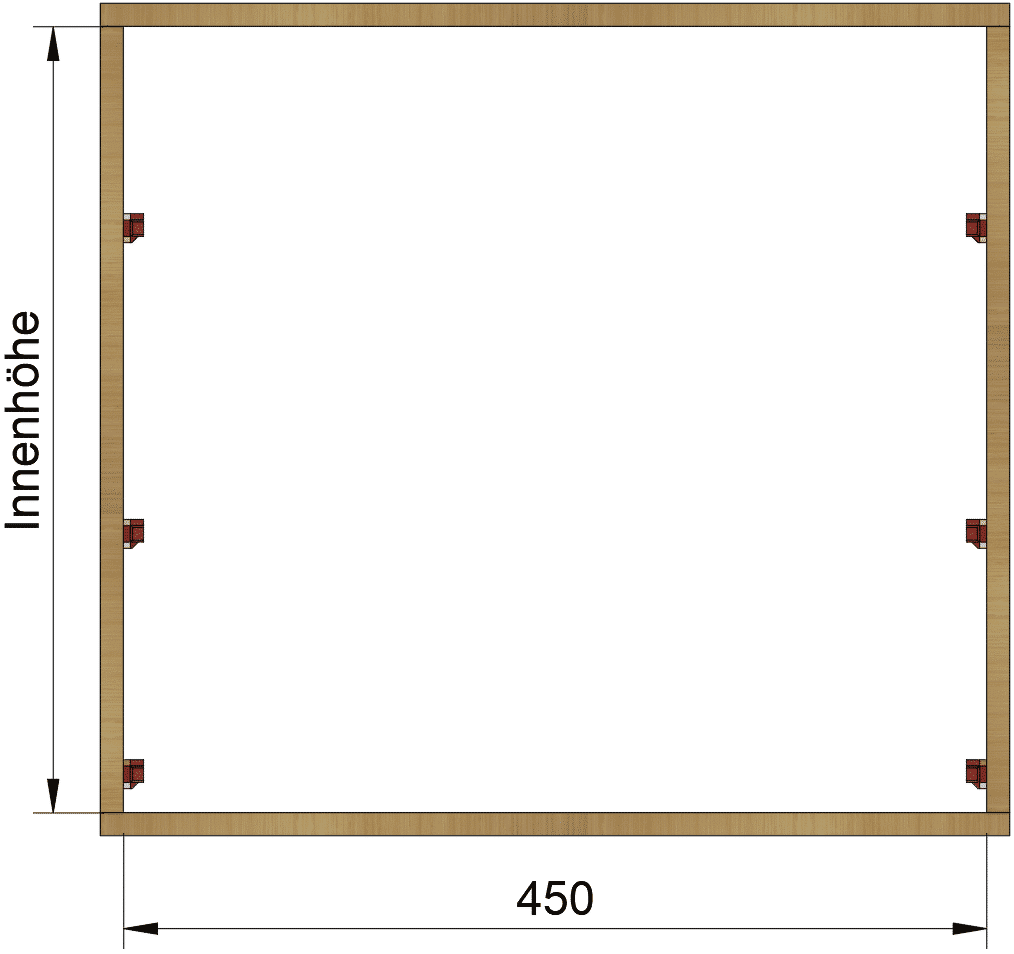
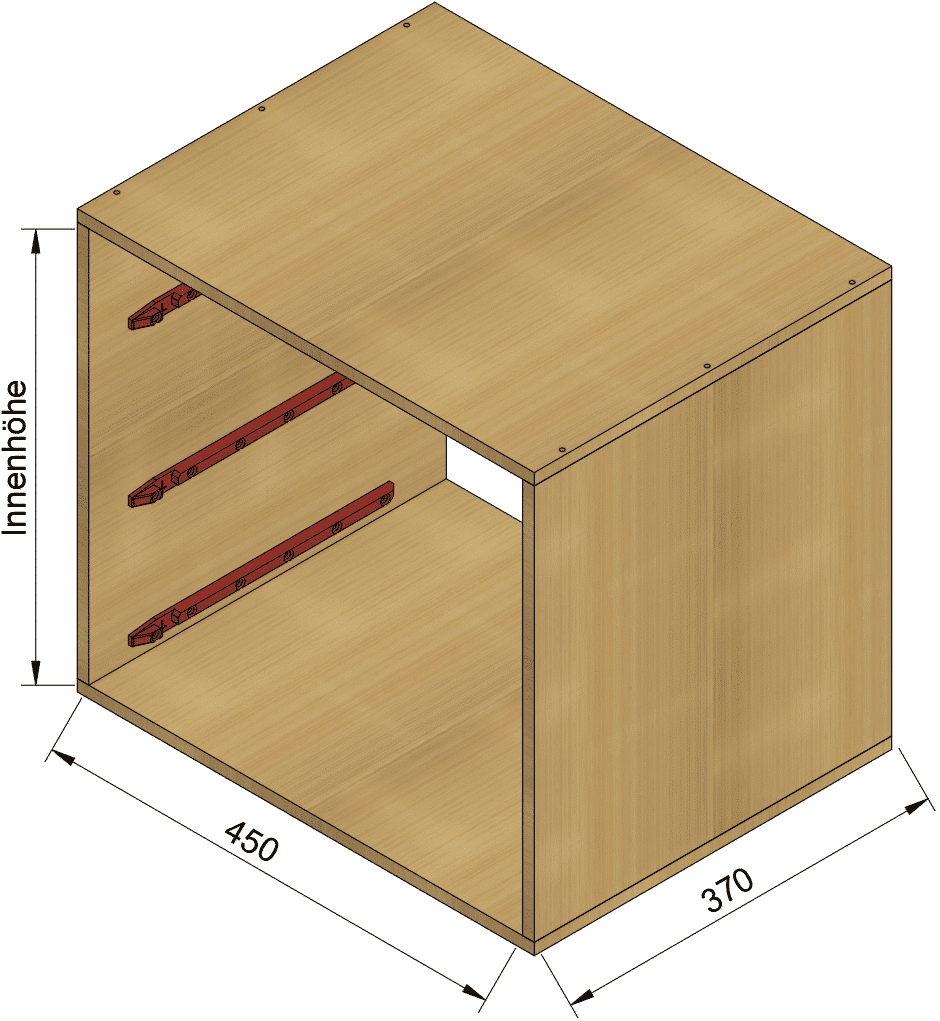
The following internal dimensions are required for building a box:
Width = 450(+2) mm and depth = 370 mm.
You can determine the height using our calculator. Simply enter the
Enter the number of L-Boxxes or T-Boxxes, and the calculator will give you the
required box height. We also recommend a wall thickness of
at least 12mm.
If you have decided on the IKEA PAX wardrobe, you can skip this step.
Step 1: Crate Building
The following internal dimensions are required for building a box:
Width = 450(+2) mm and depth = 370 mm.
You can determine the height using our calculator. Simply enter the
Enter the number of L-Boxxes or T-Boxxes, and the calculator will give you the
required box height. We also recommend a wall thickness of
At least 12mm. You can find the calculator a little further down the page.
If you have decided on the IKEA PAX wardrobe, you can skip this step.
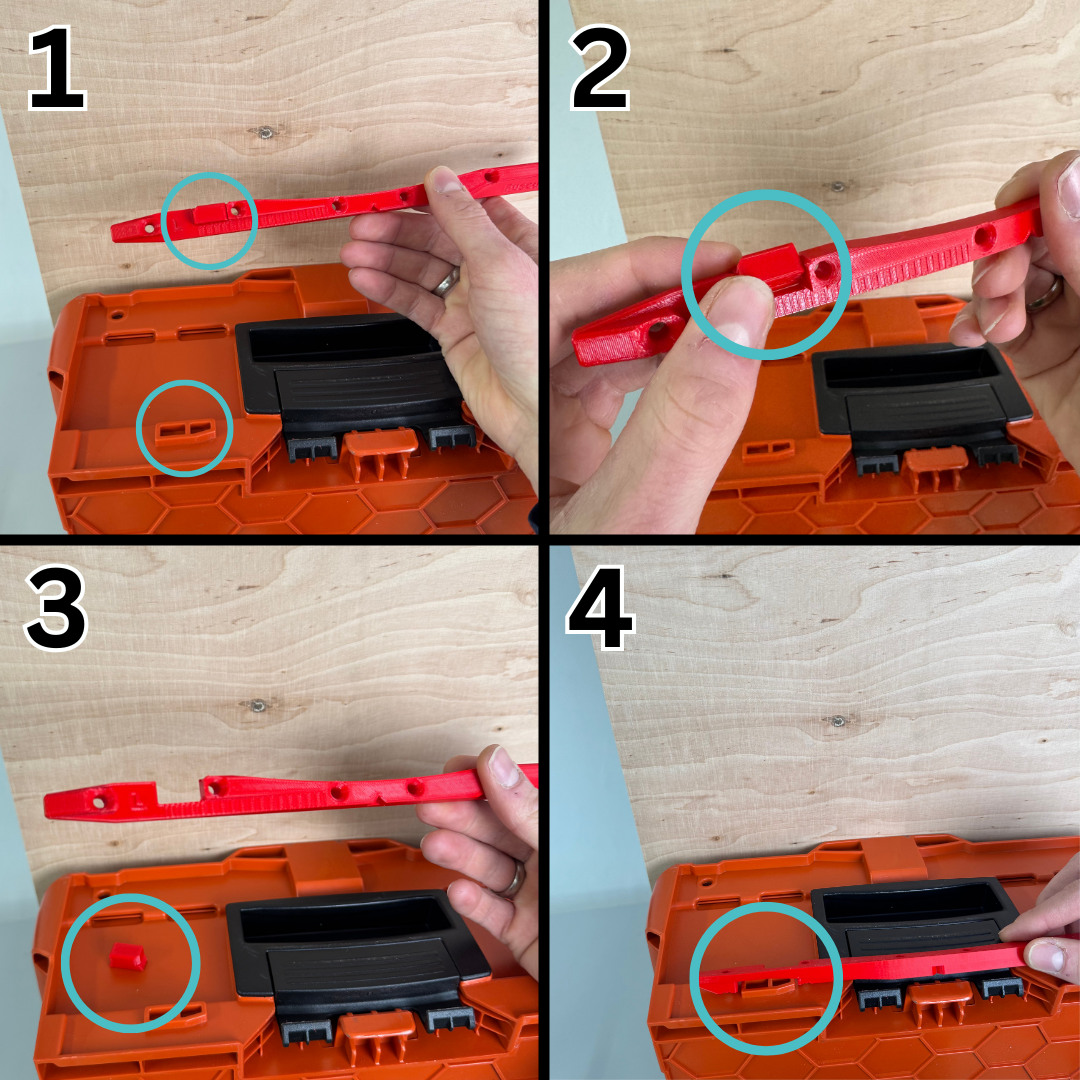
Step 2: Determine the order
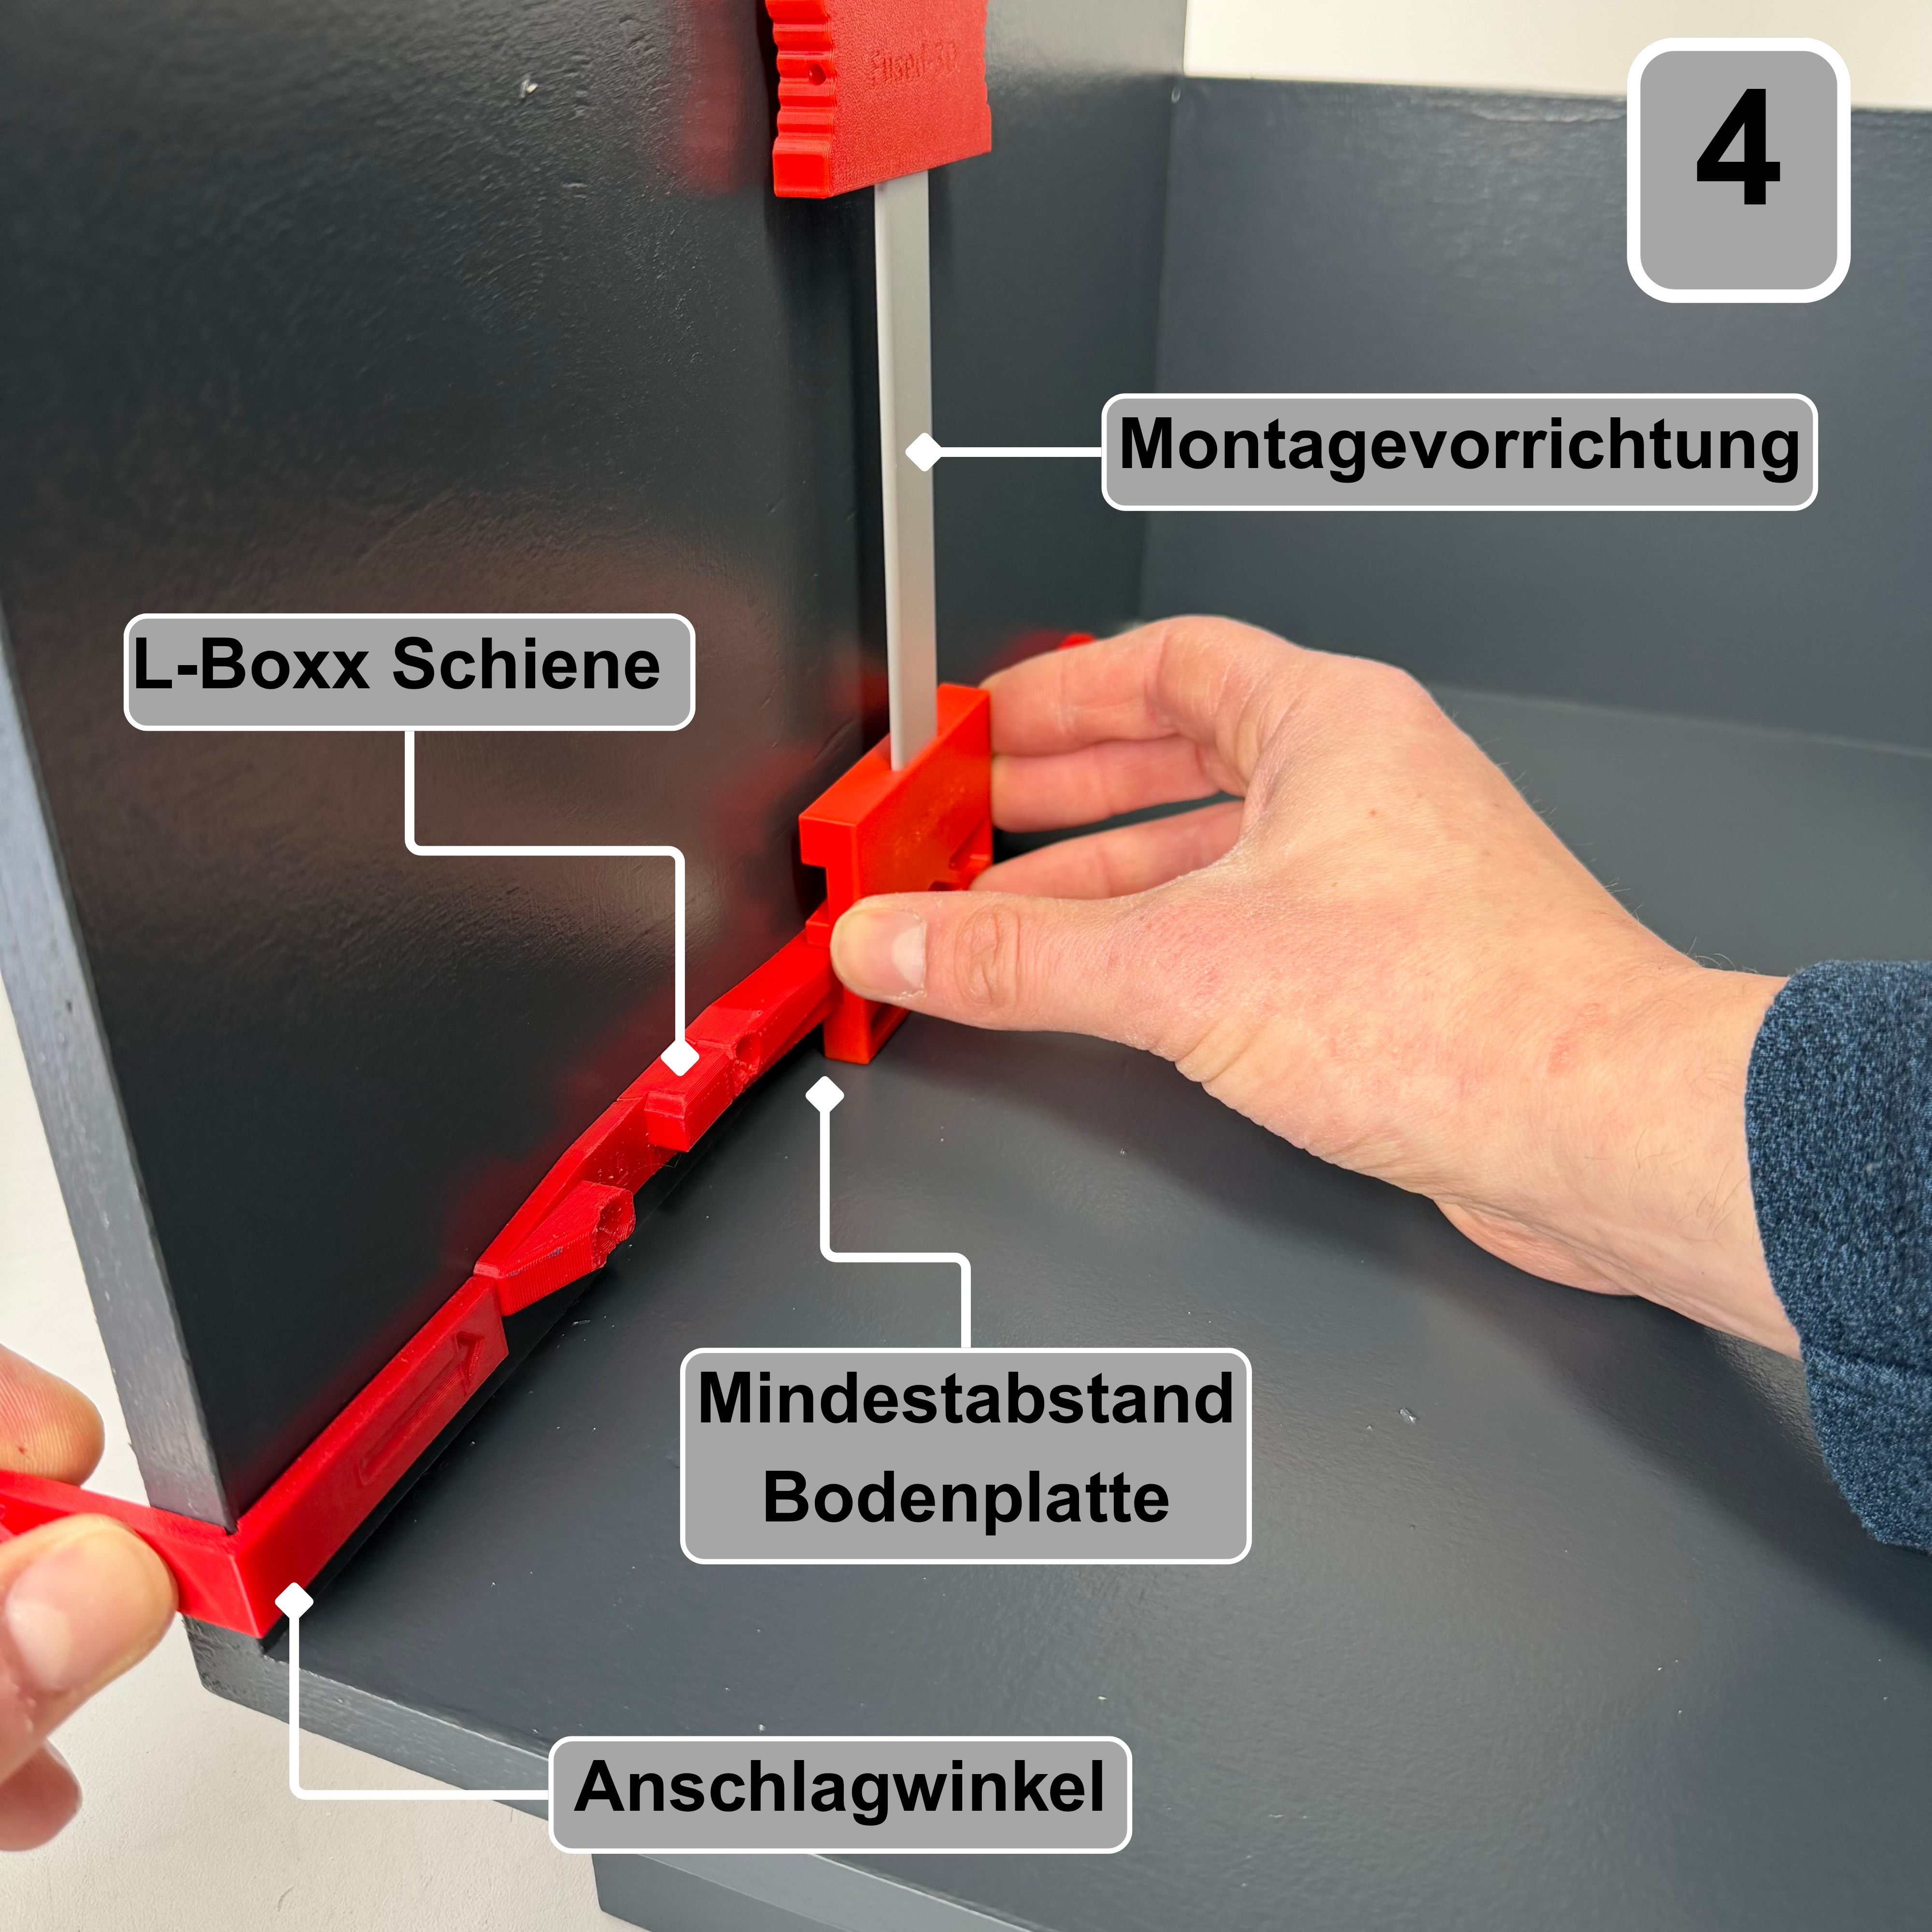
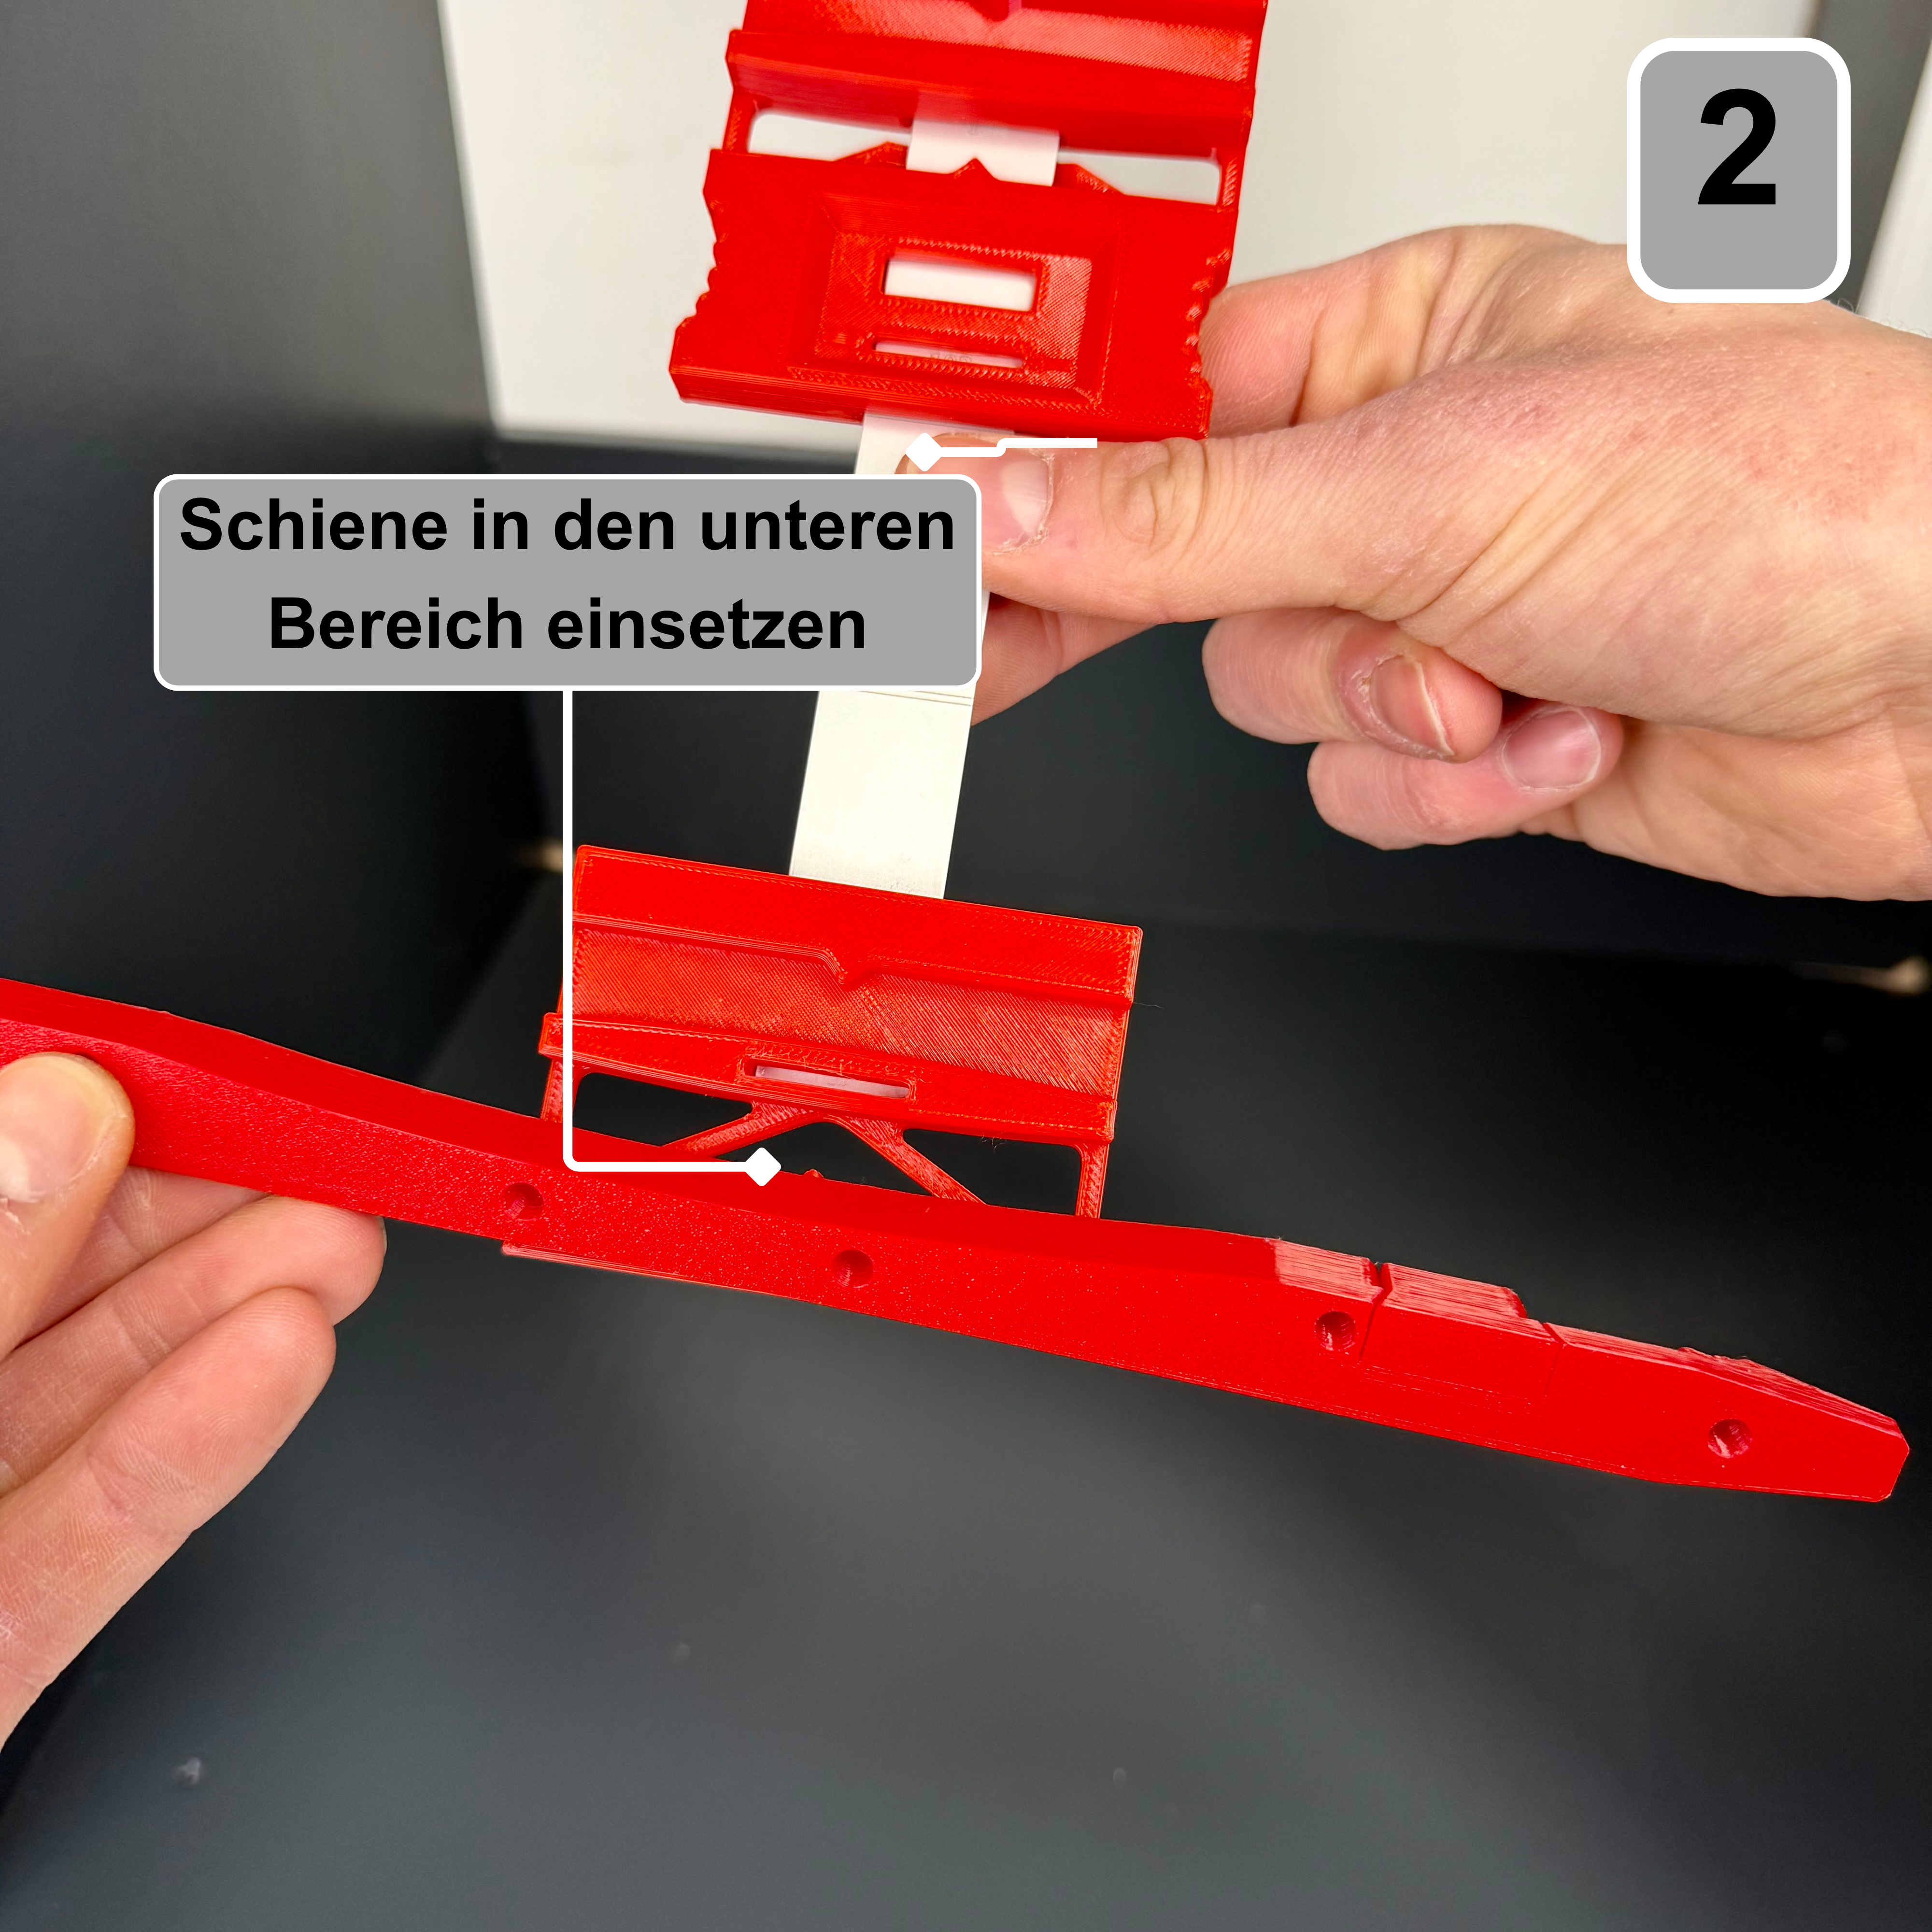
Insert the bottom rail into the mounting system.
Step 3: Determine the order
1. If you intend to store an L-Boxx G, check the nose width of your L-BOXX G.
2. Next, break out the appropriate pre-scored element on the strip.
3. Pick up the item. It can be reused if necessary.
4. Done.
Step 4: Assembling the first rail
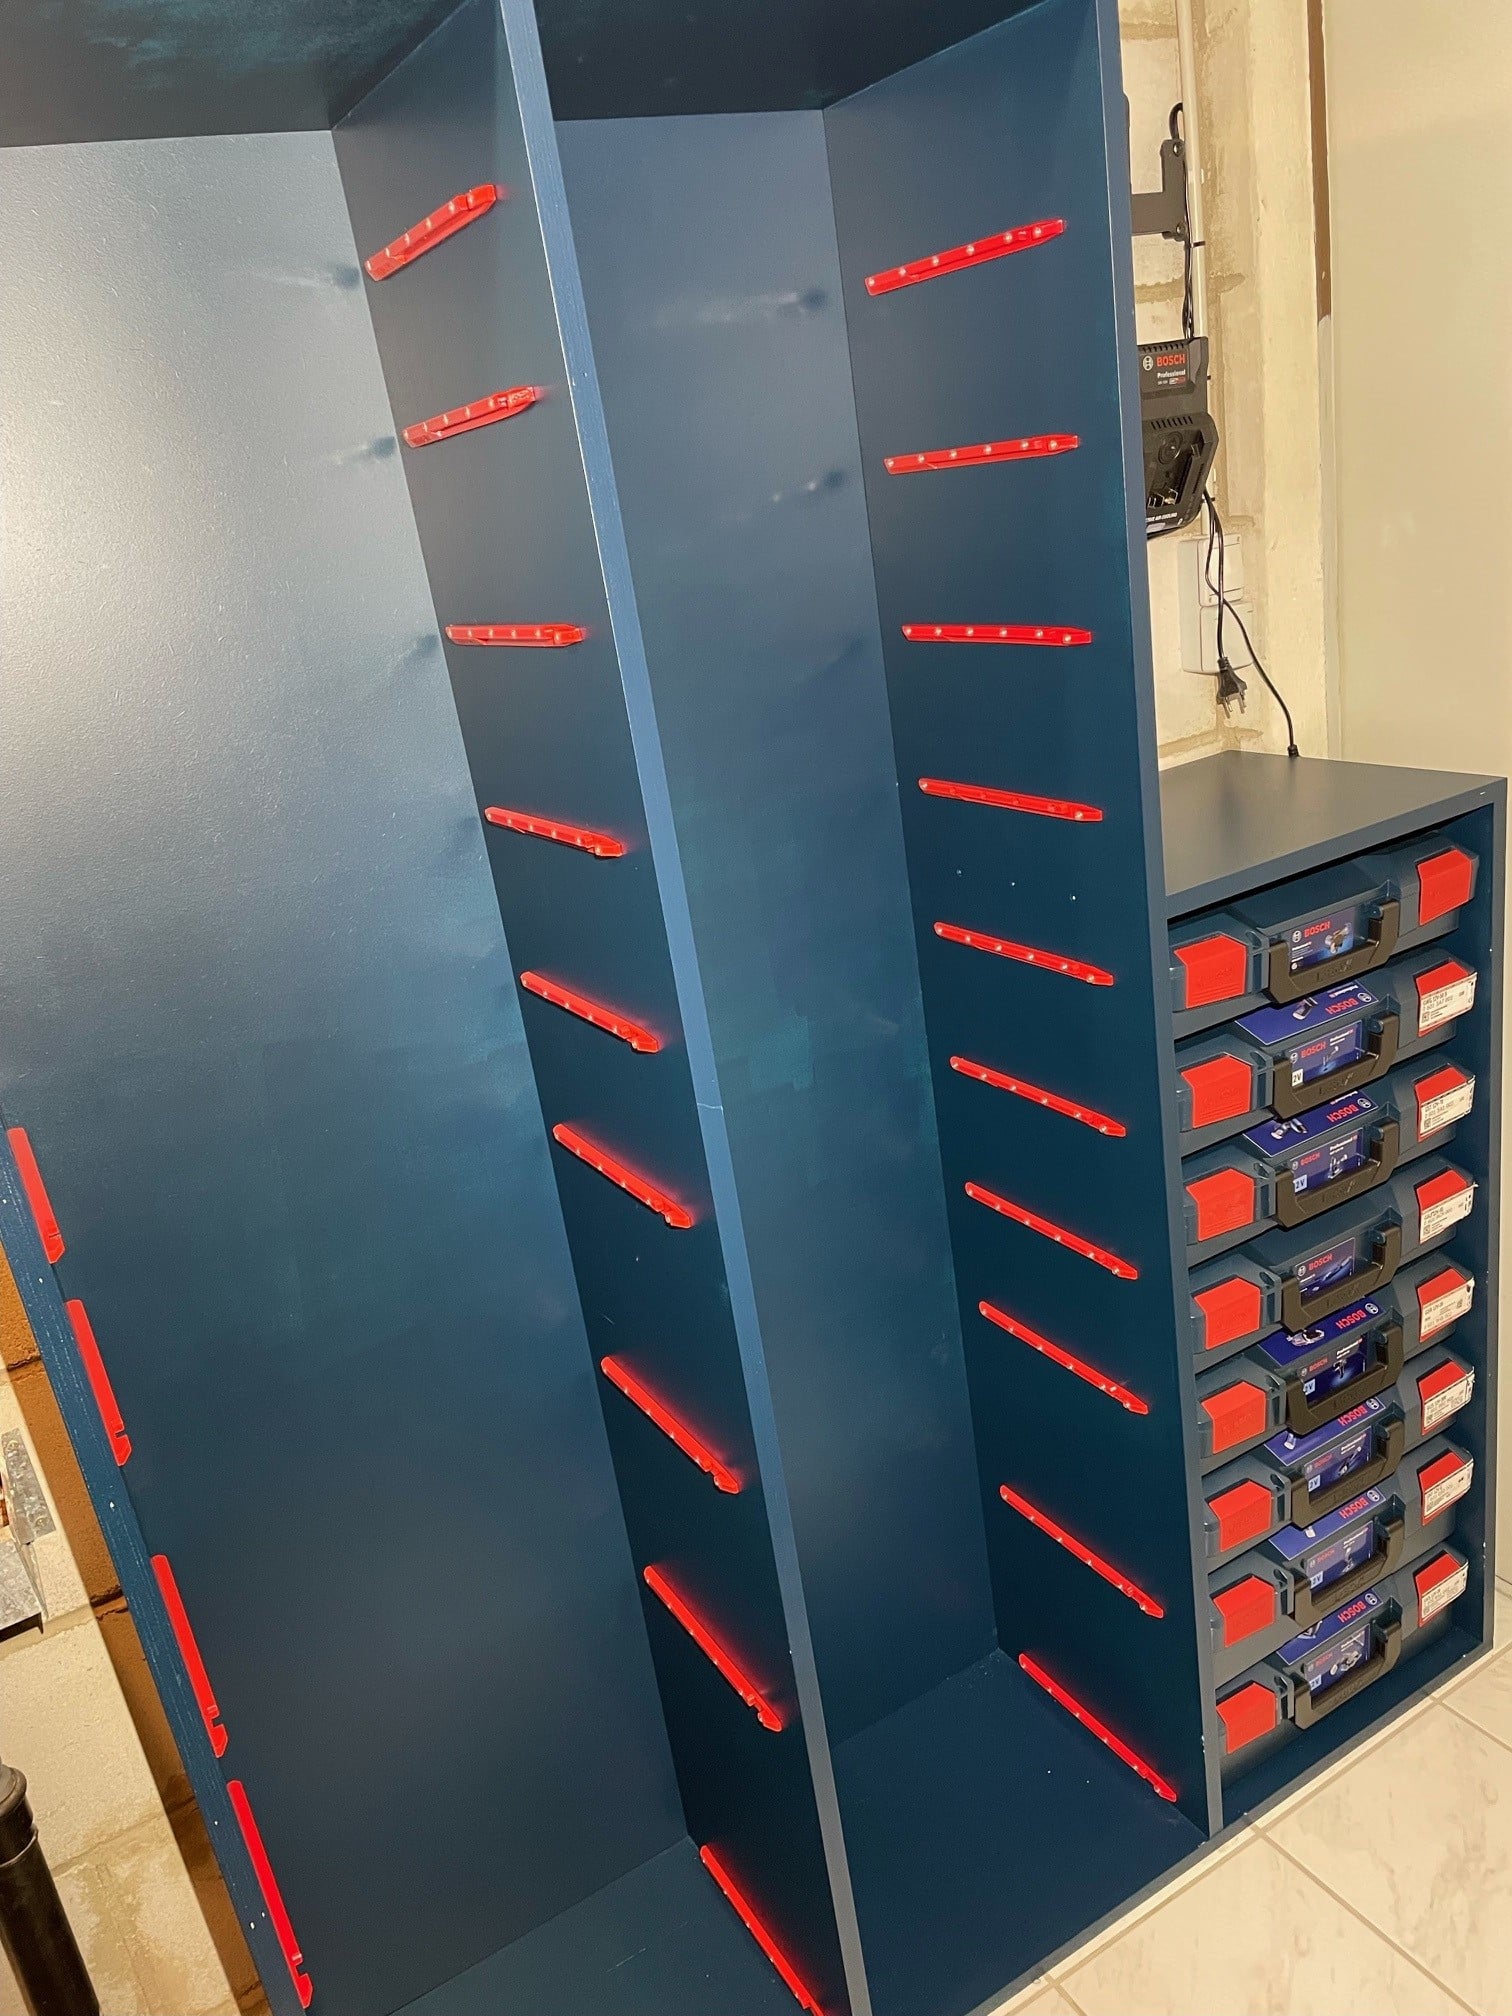
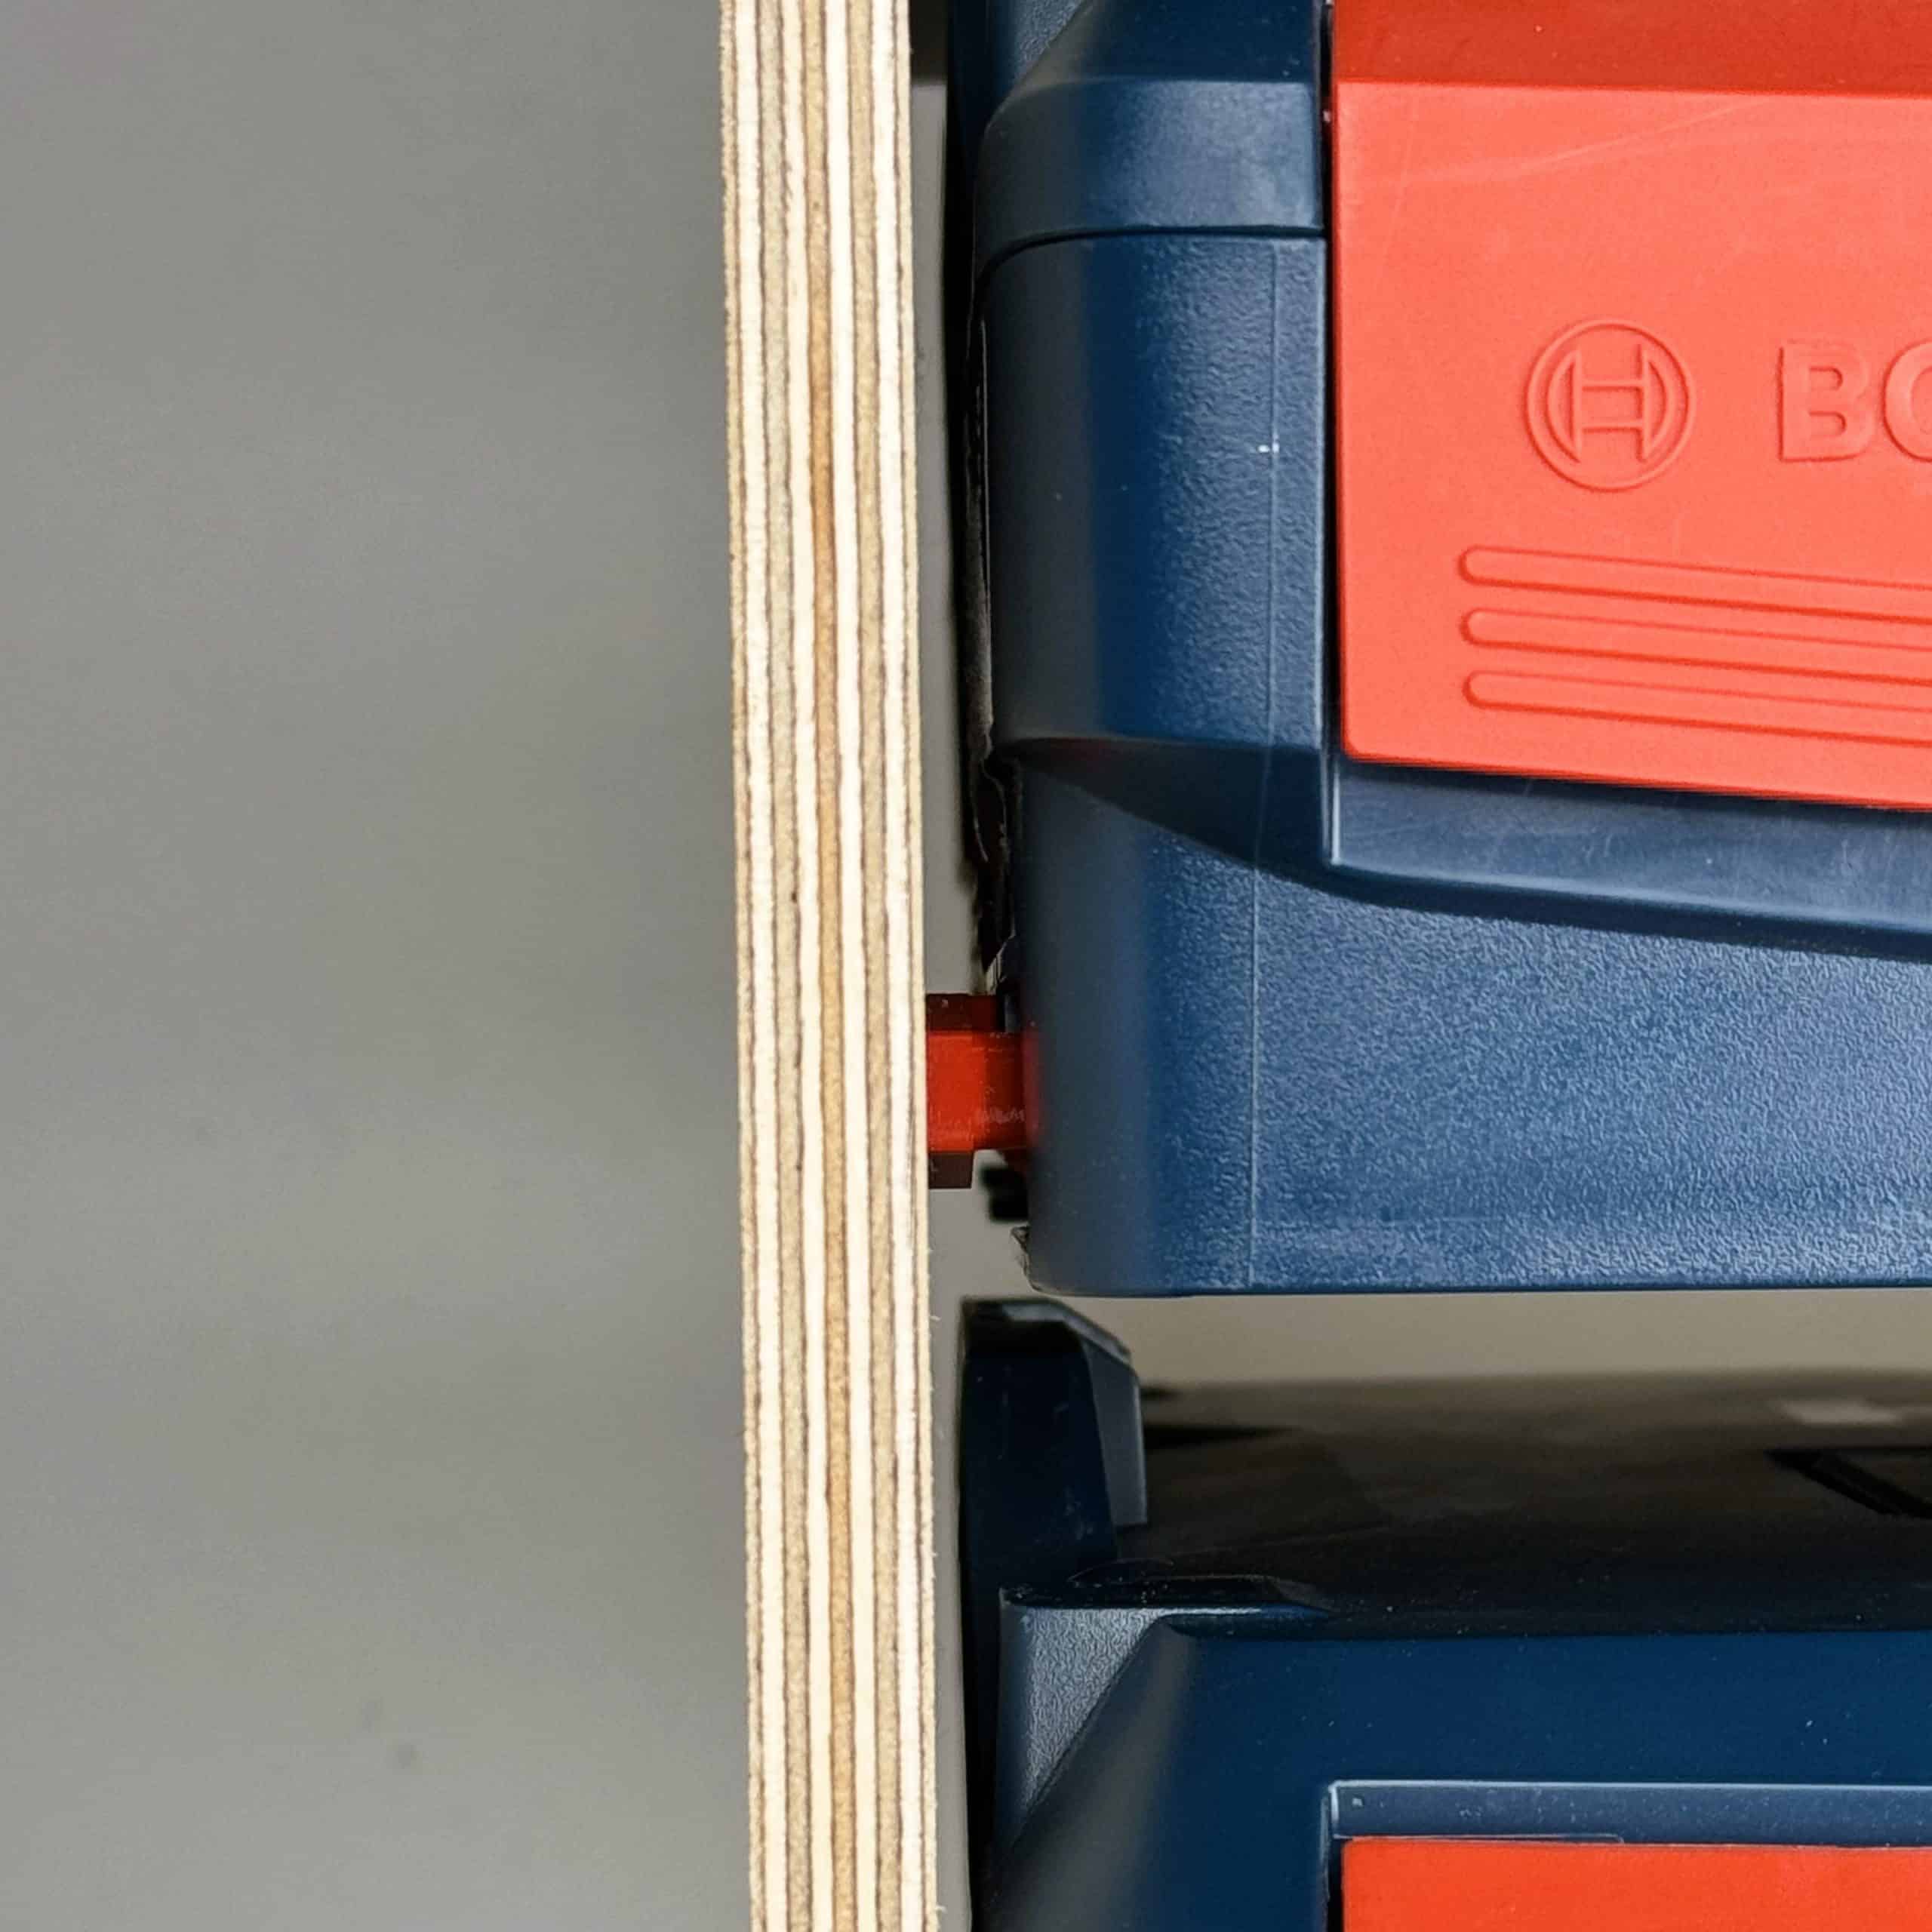
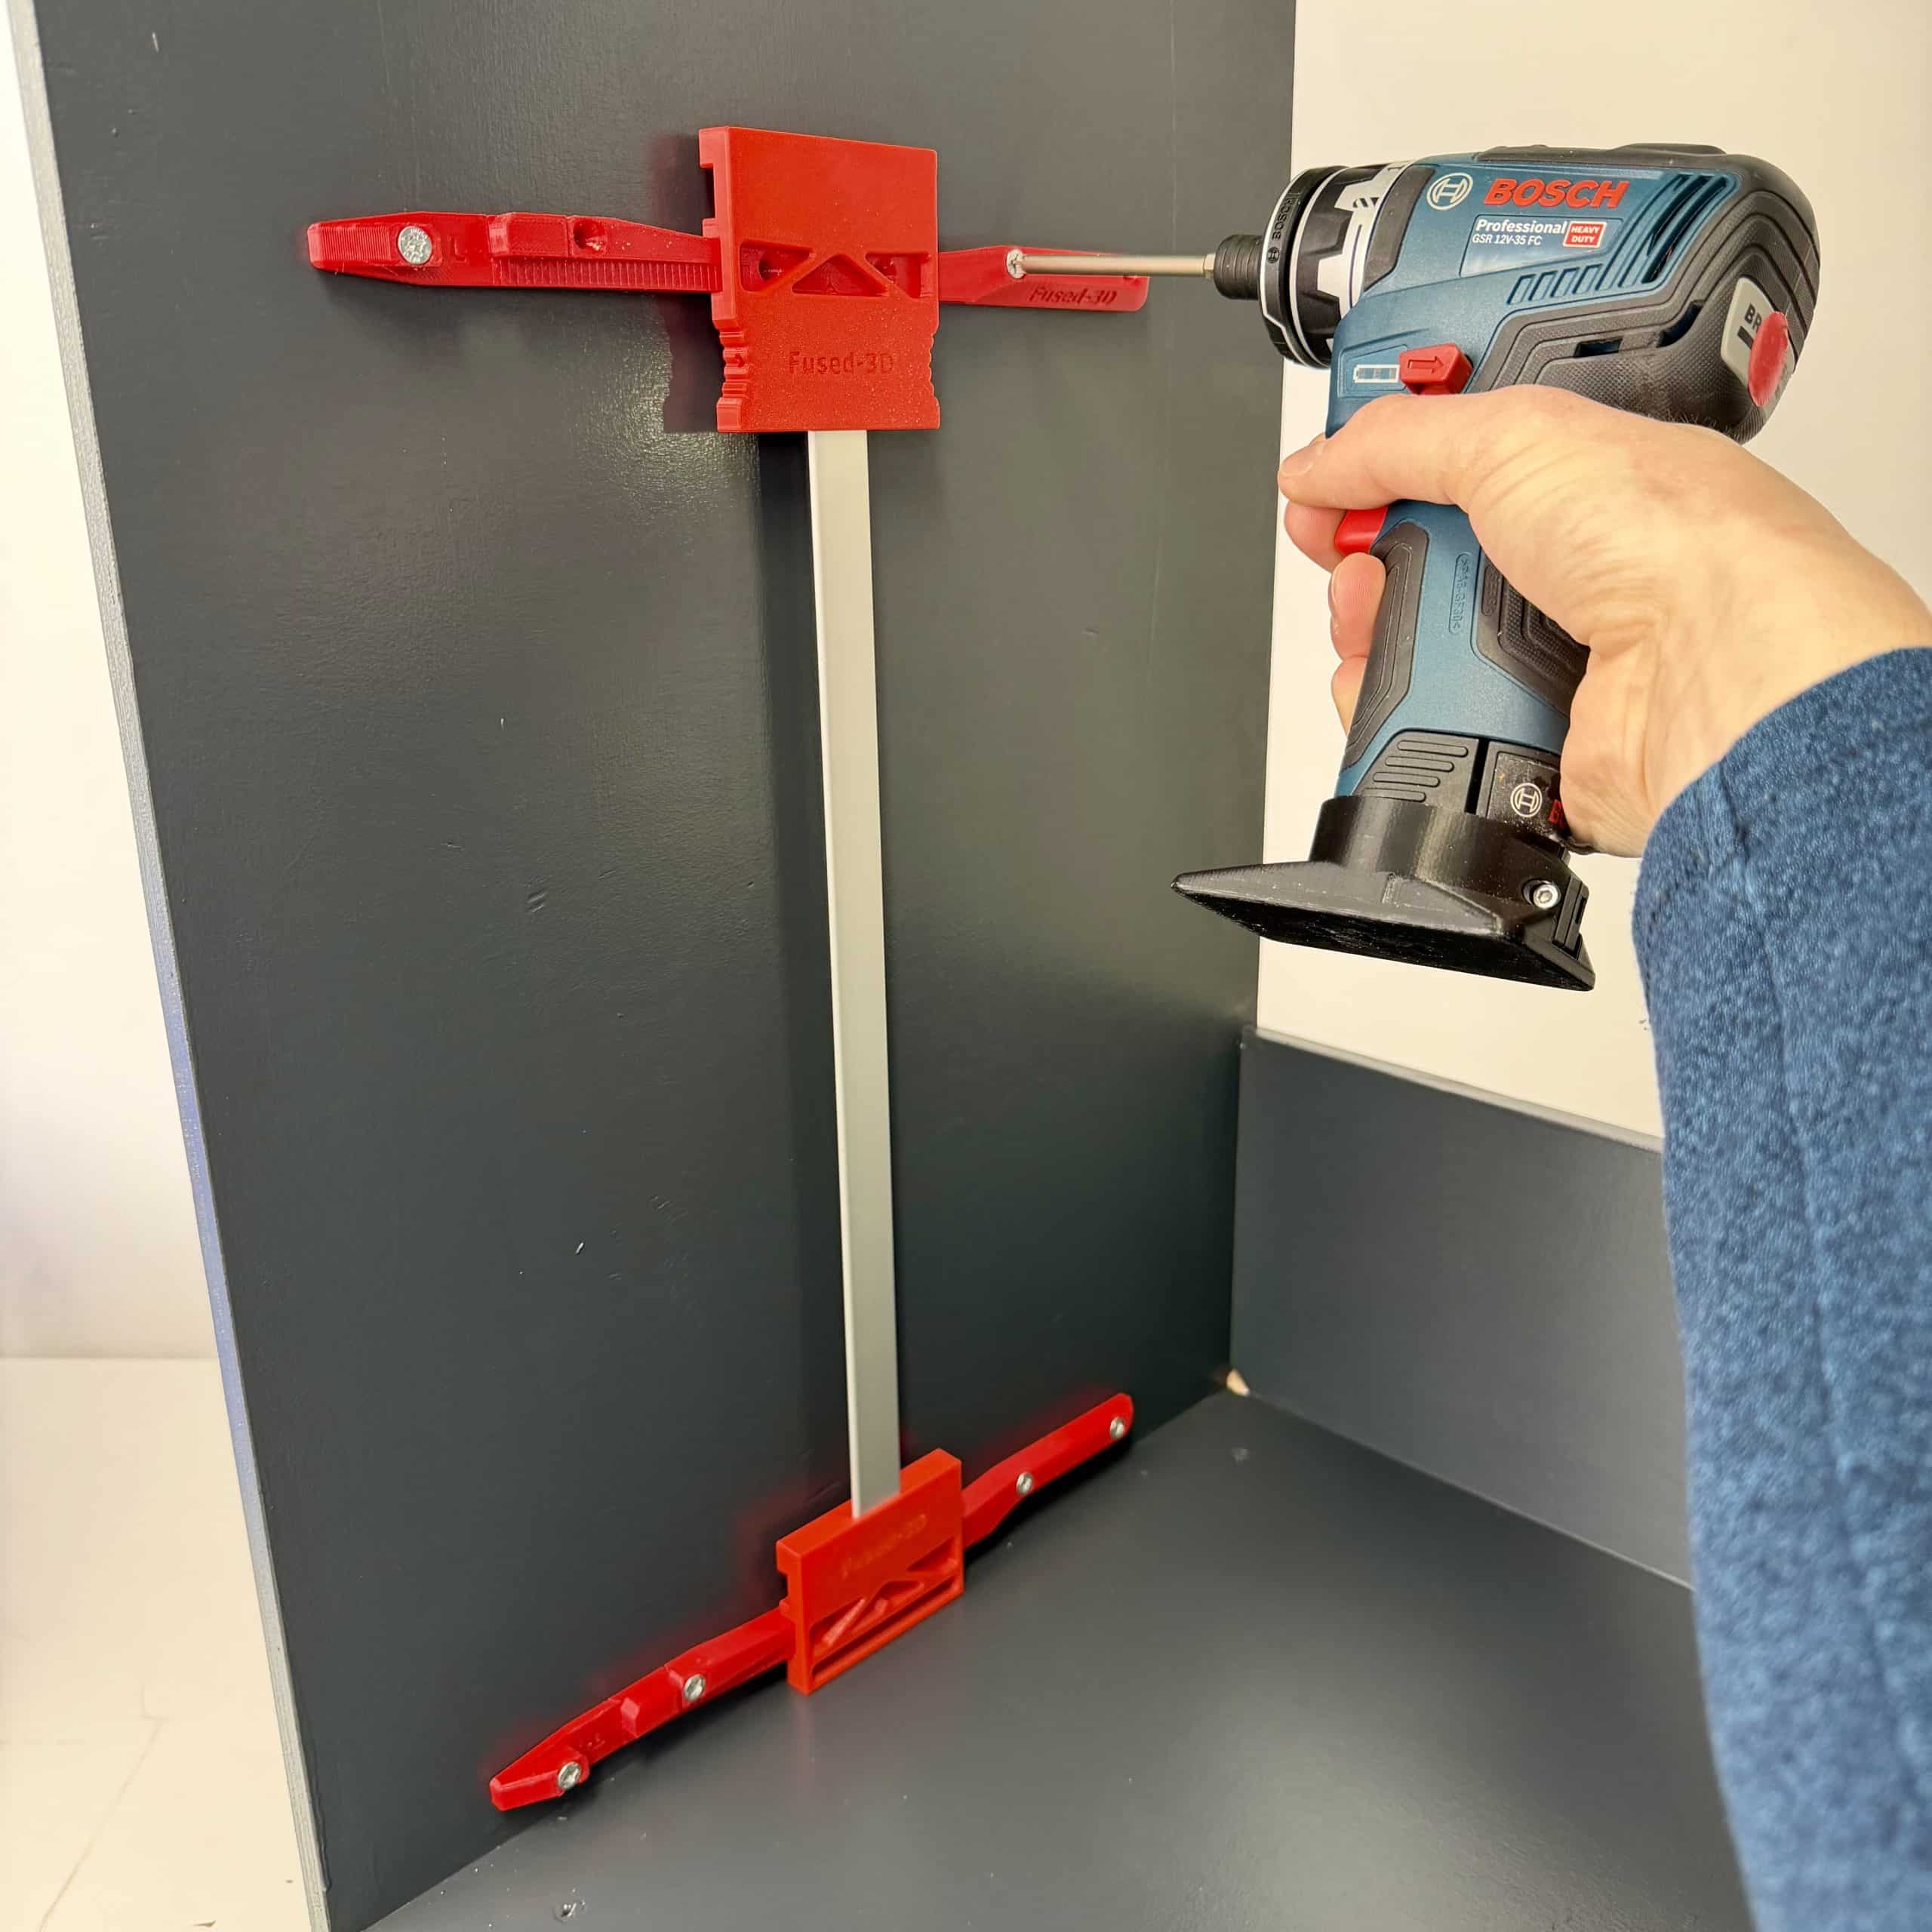
To install the first rail, use the underside of the mounting system to determine the perfect distance to the base plate. The stop bracket is then positioned flush with the shelf front. The rail is then leaned against this bracket. Pay attention to the inside of the stop bracket. This indicates which Boxx (L- or T-Boxx) you should align the rail with.
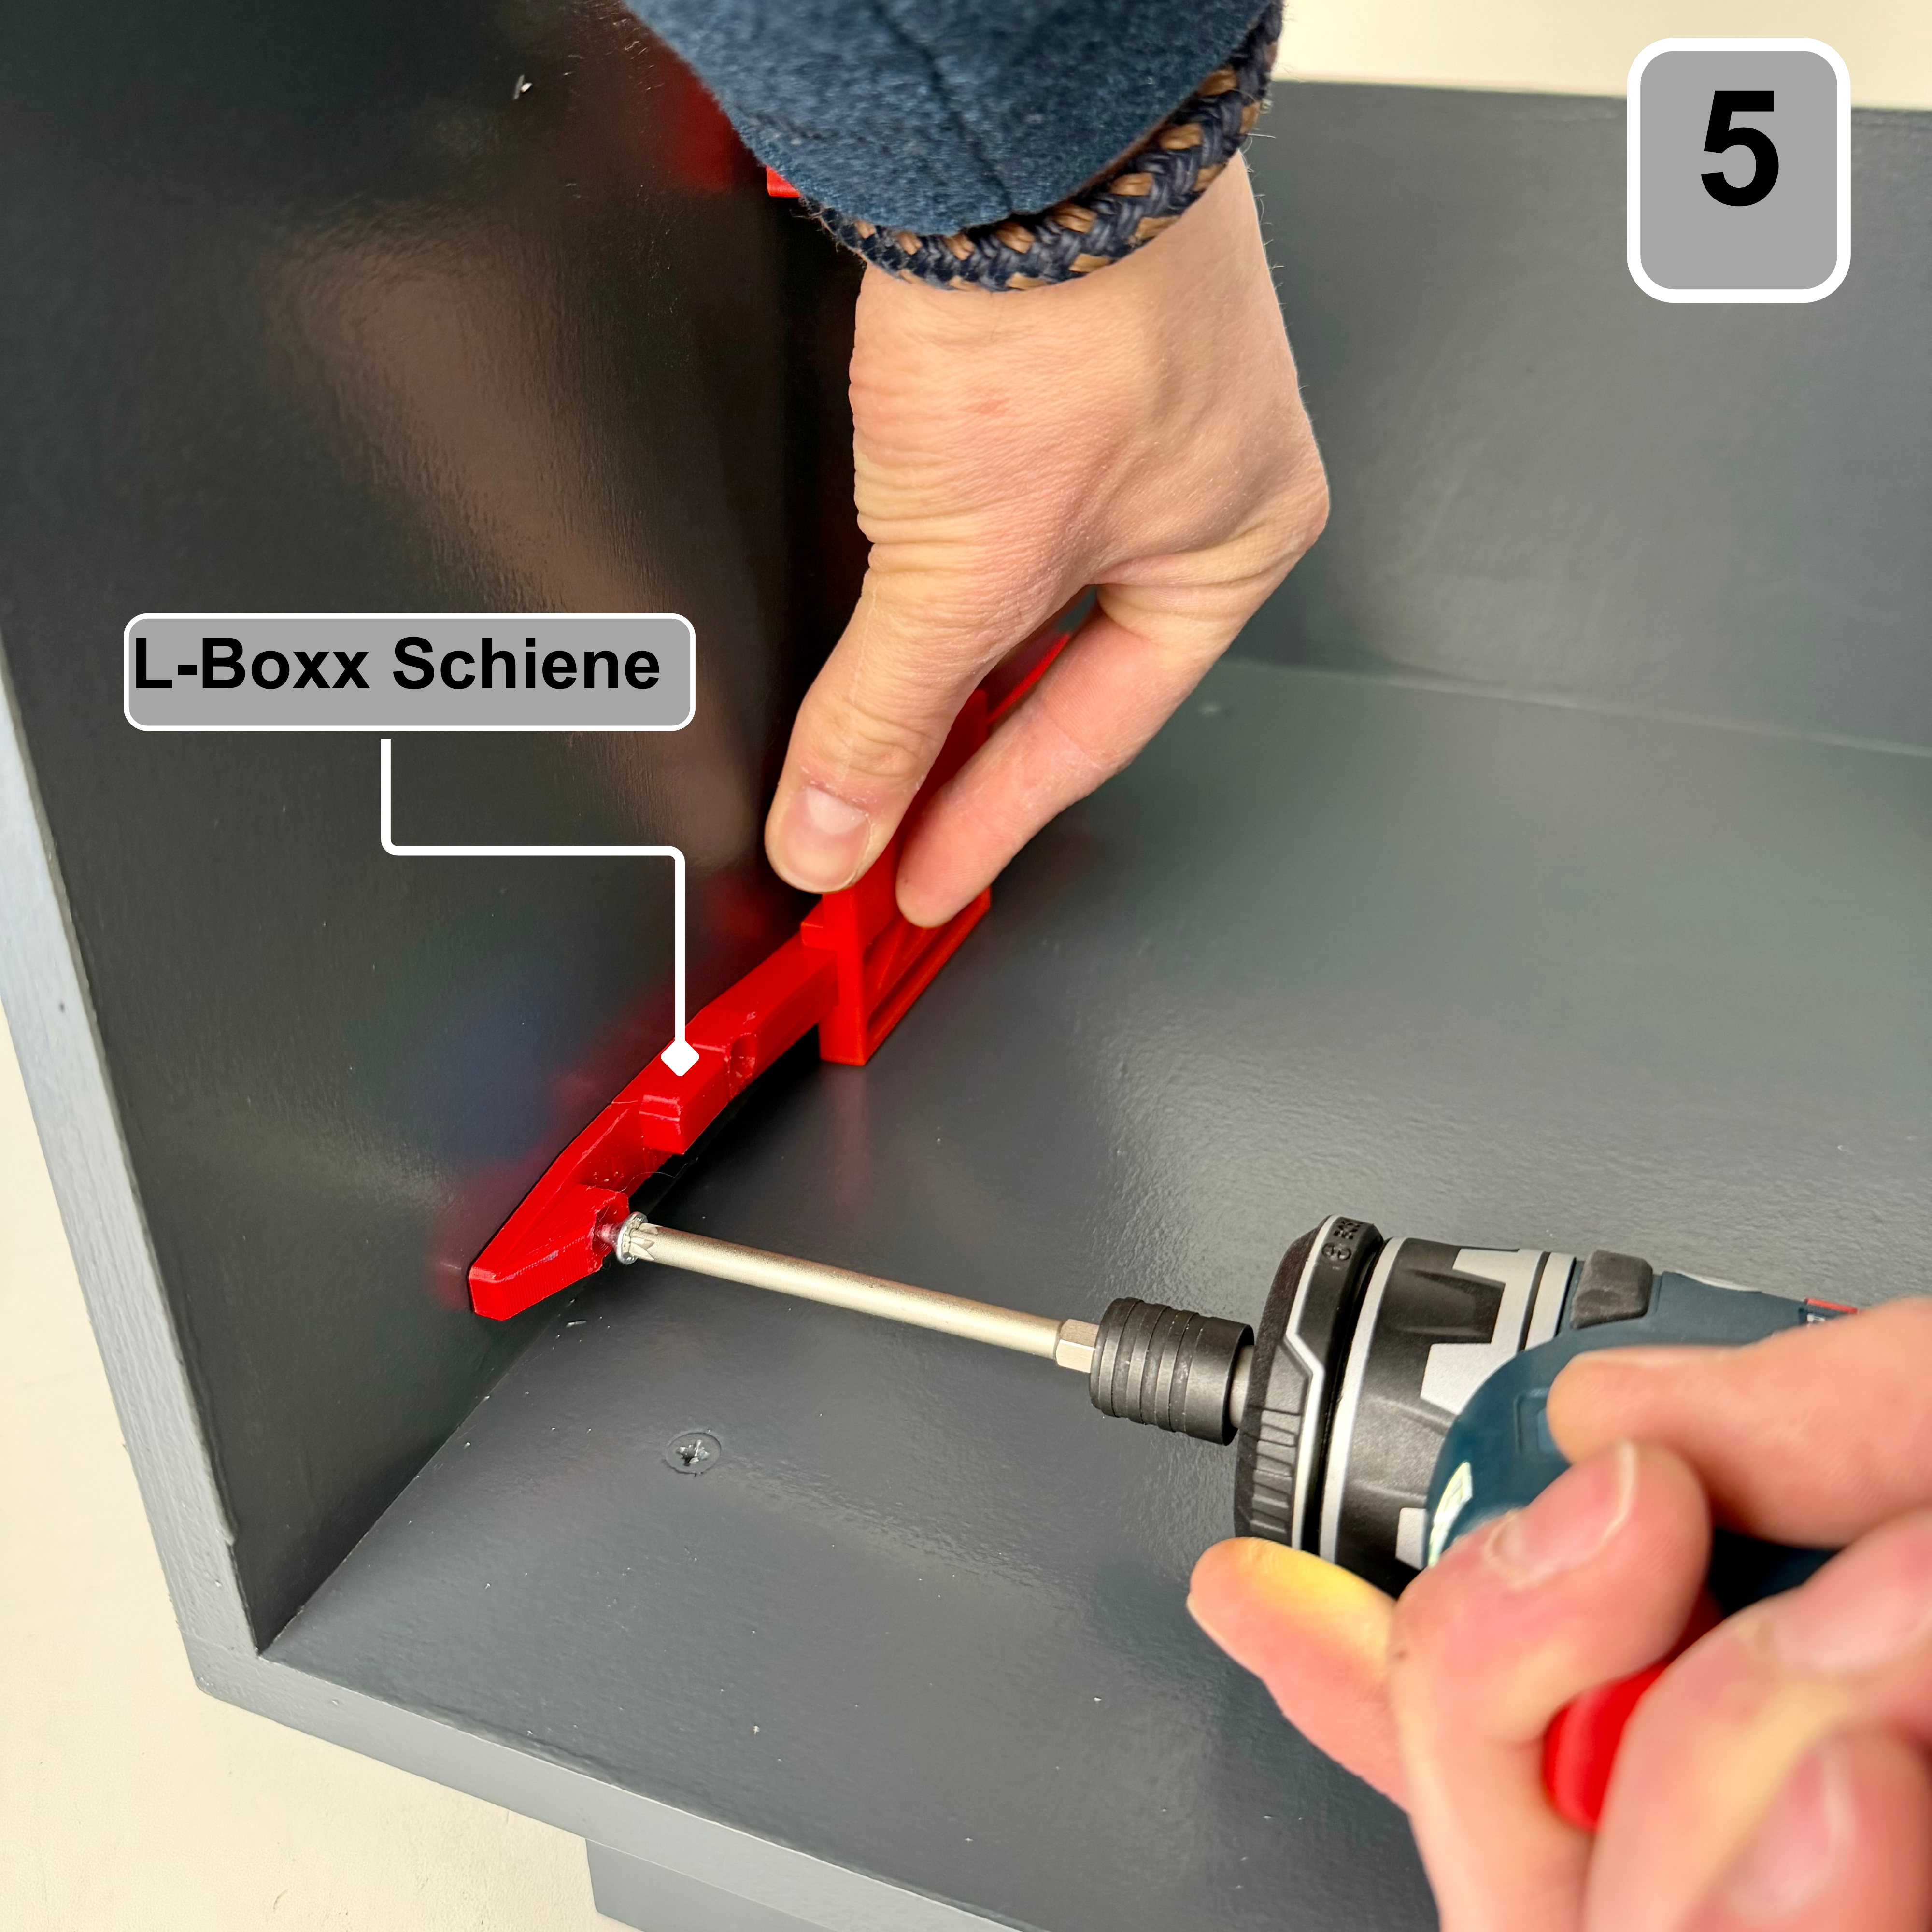
Step 5: Assemble first rail
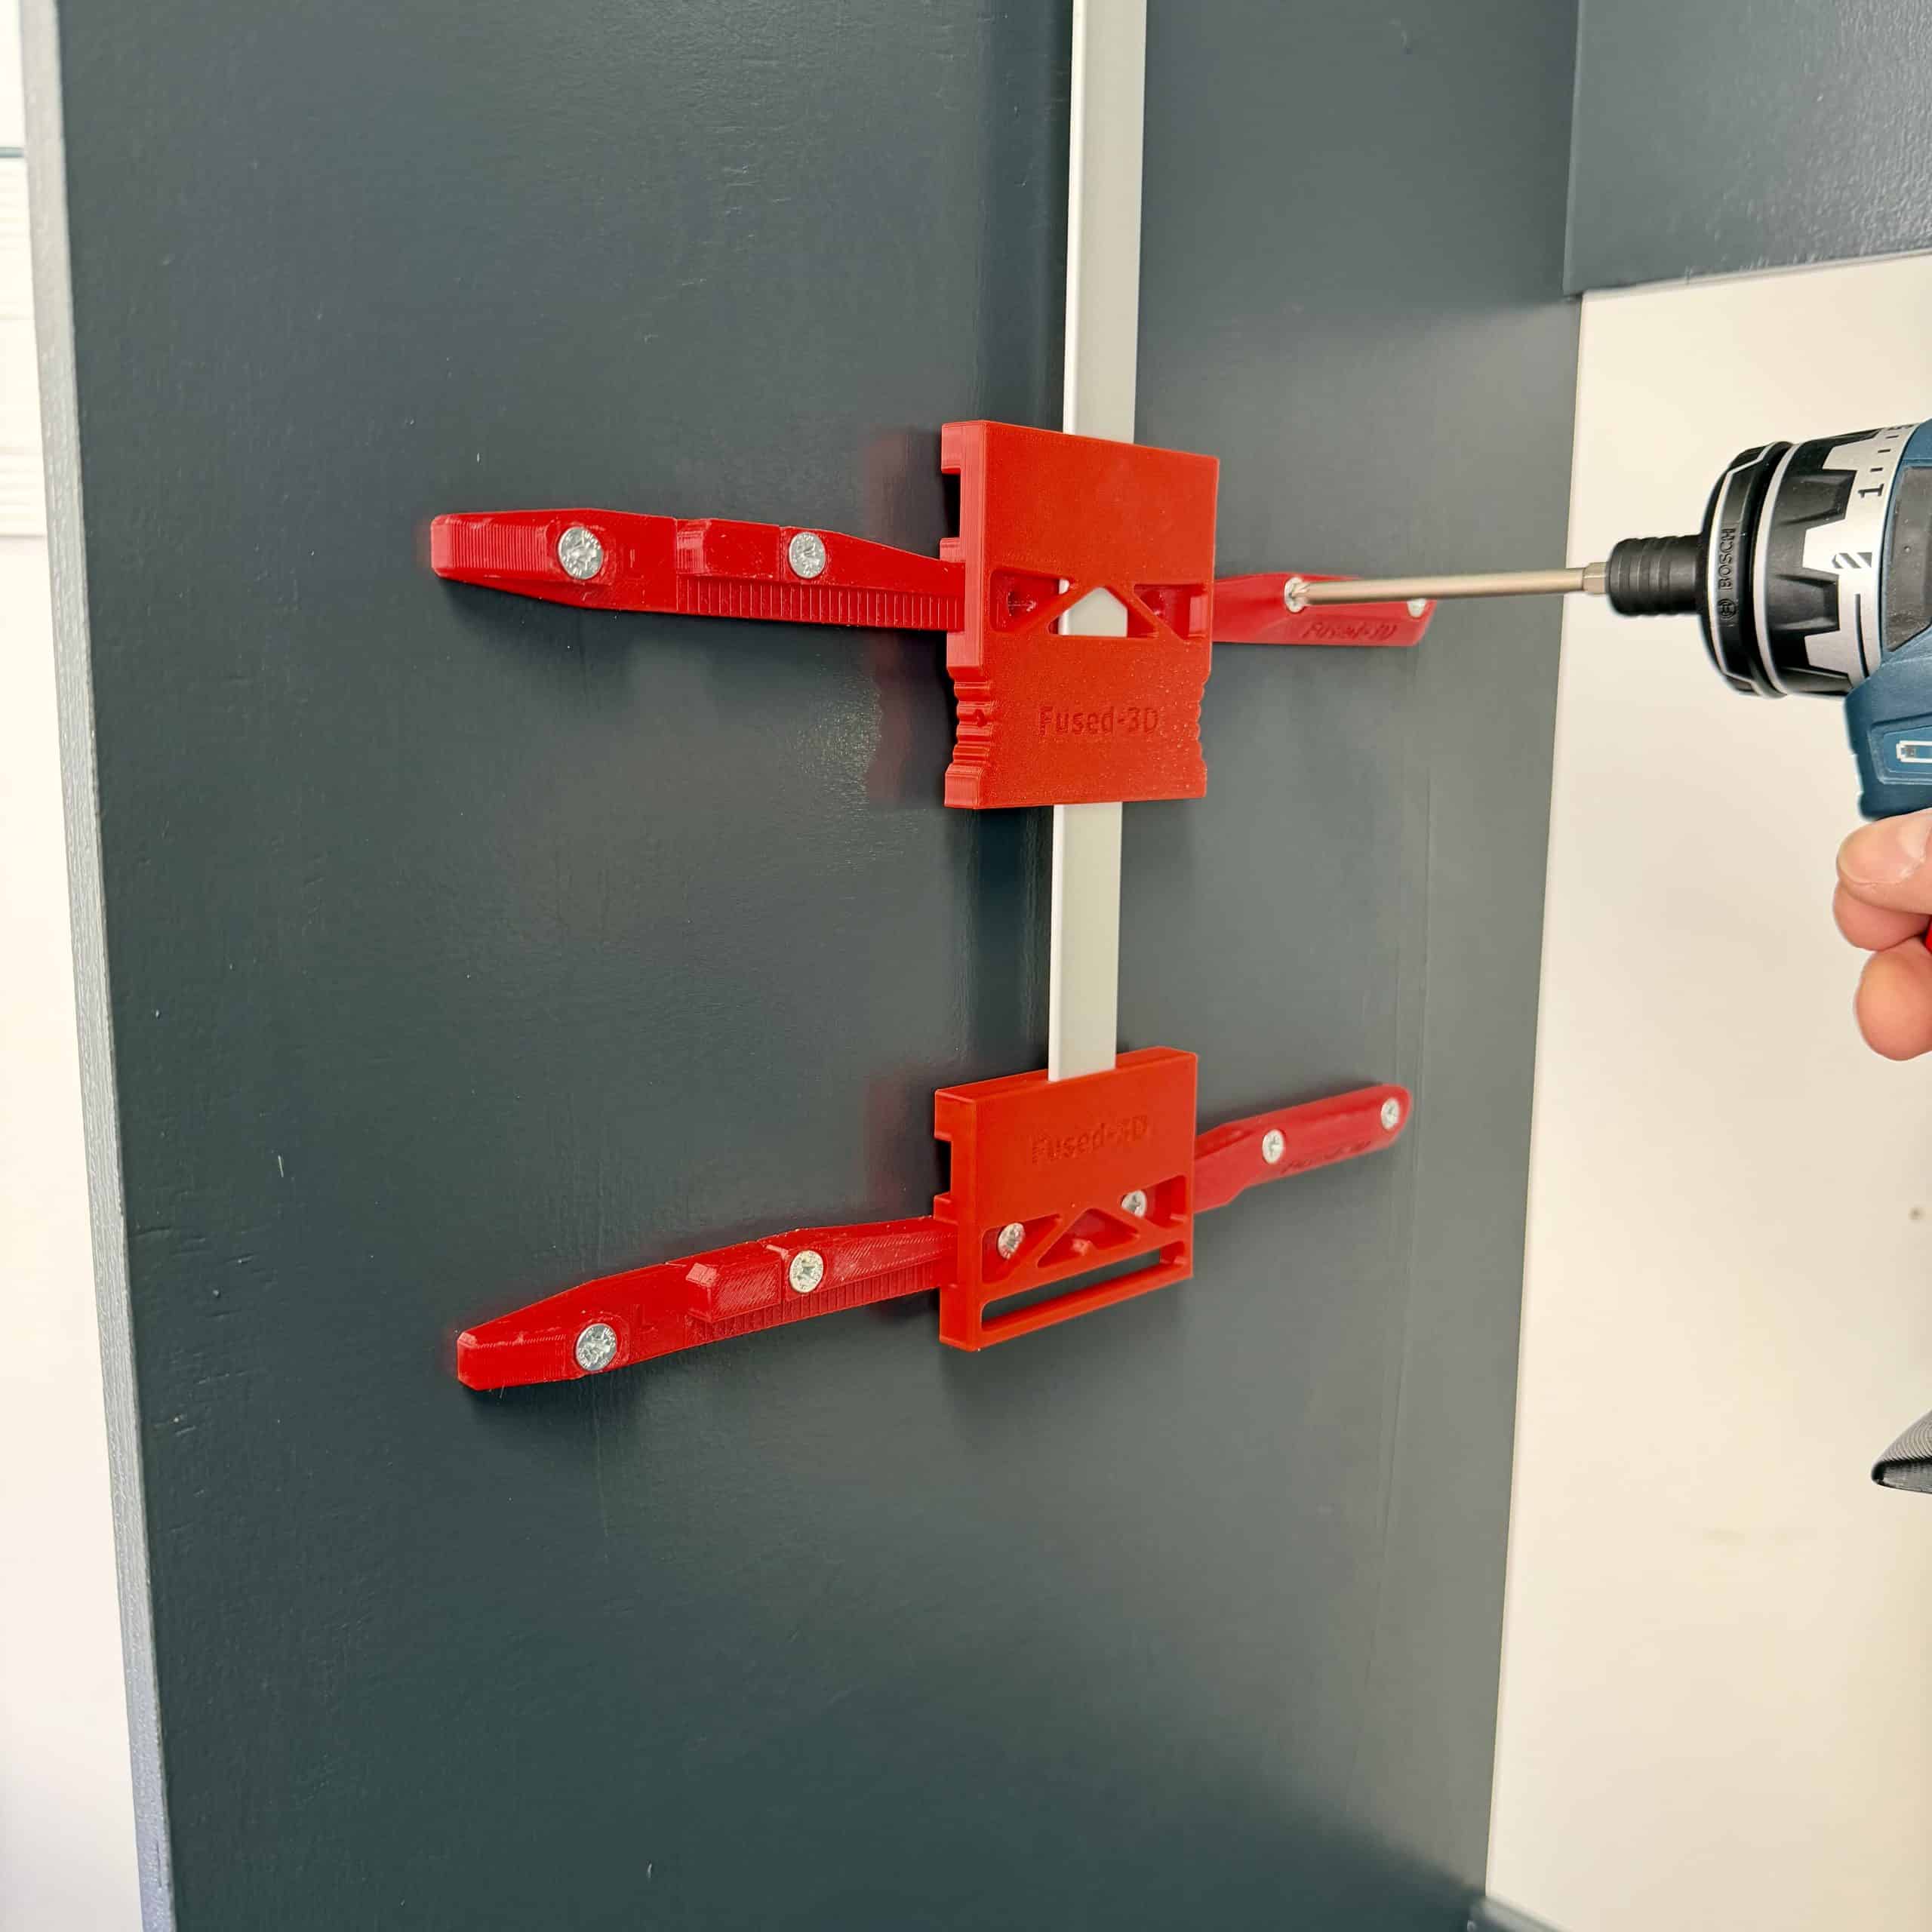
Then screw the first rail into your cabinet.
Step 6: Using the mounting system
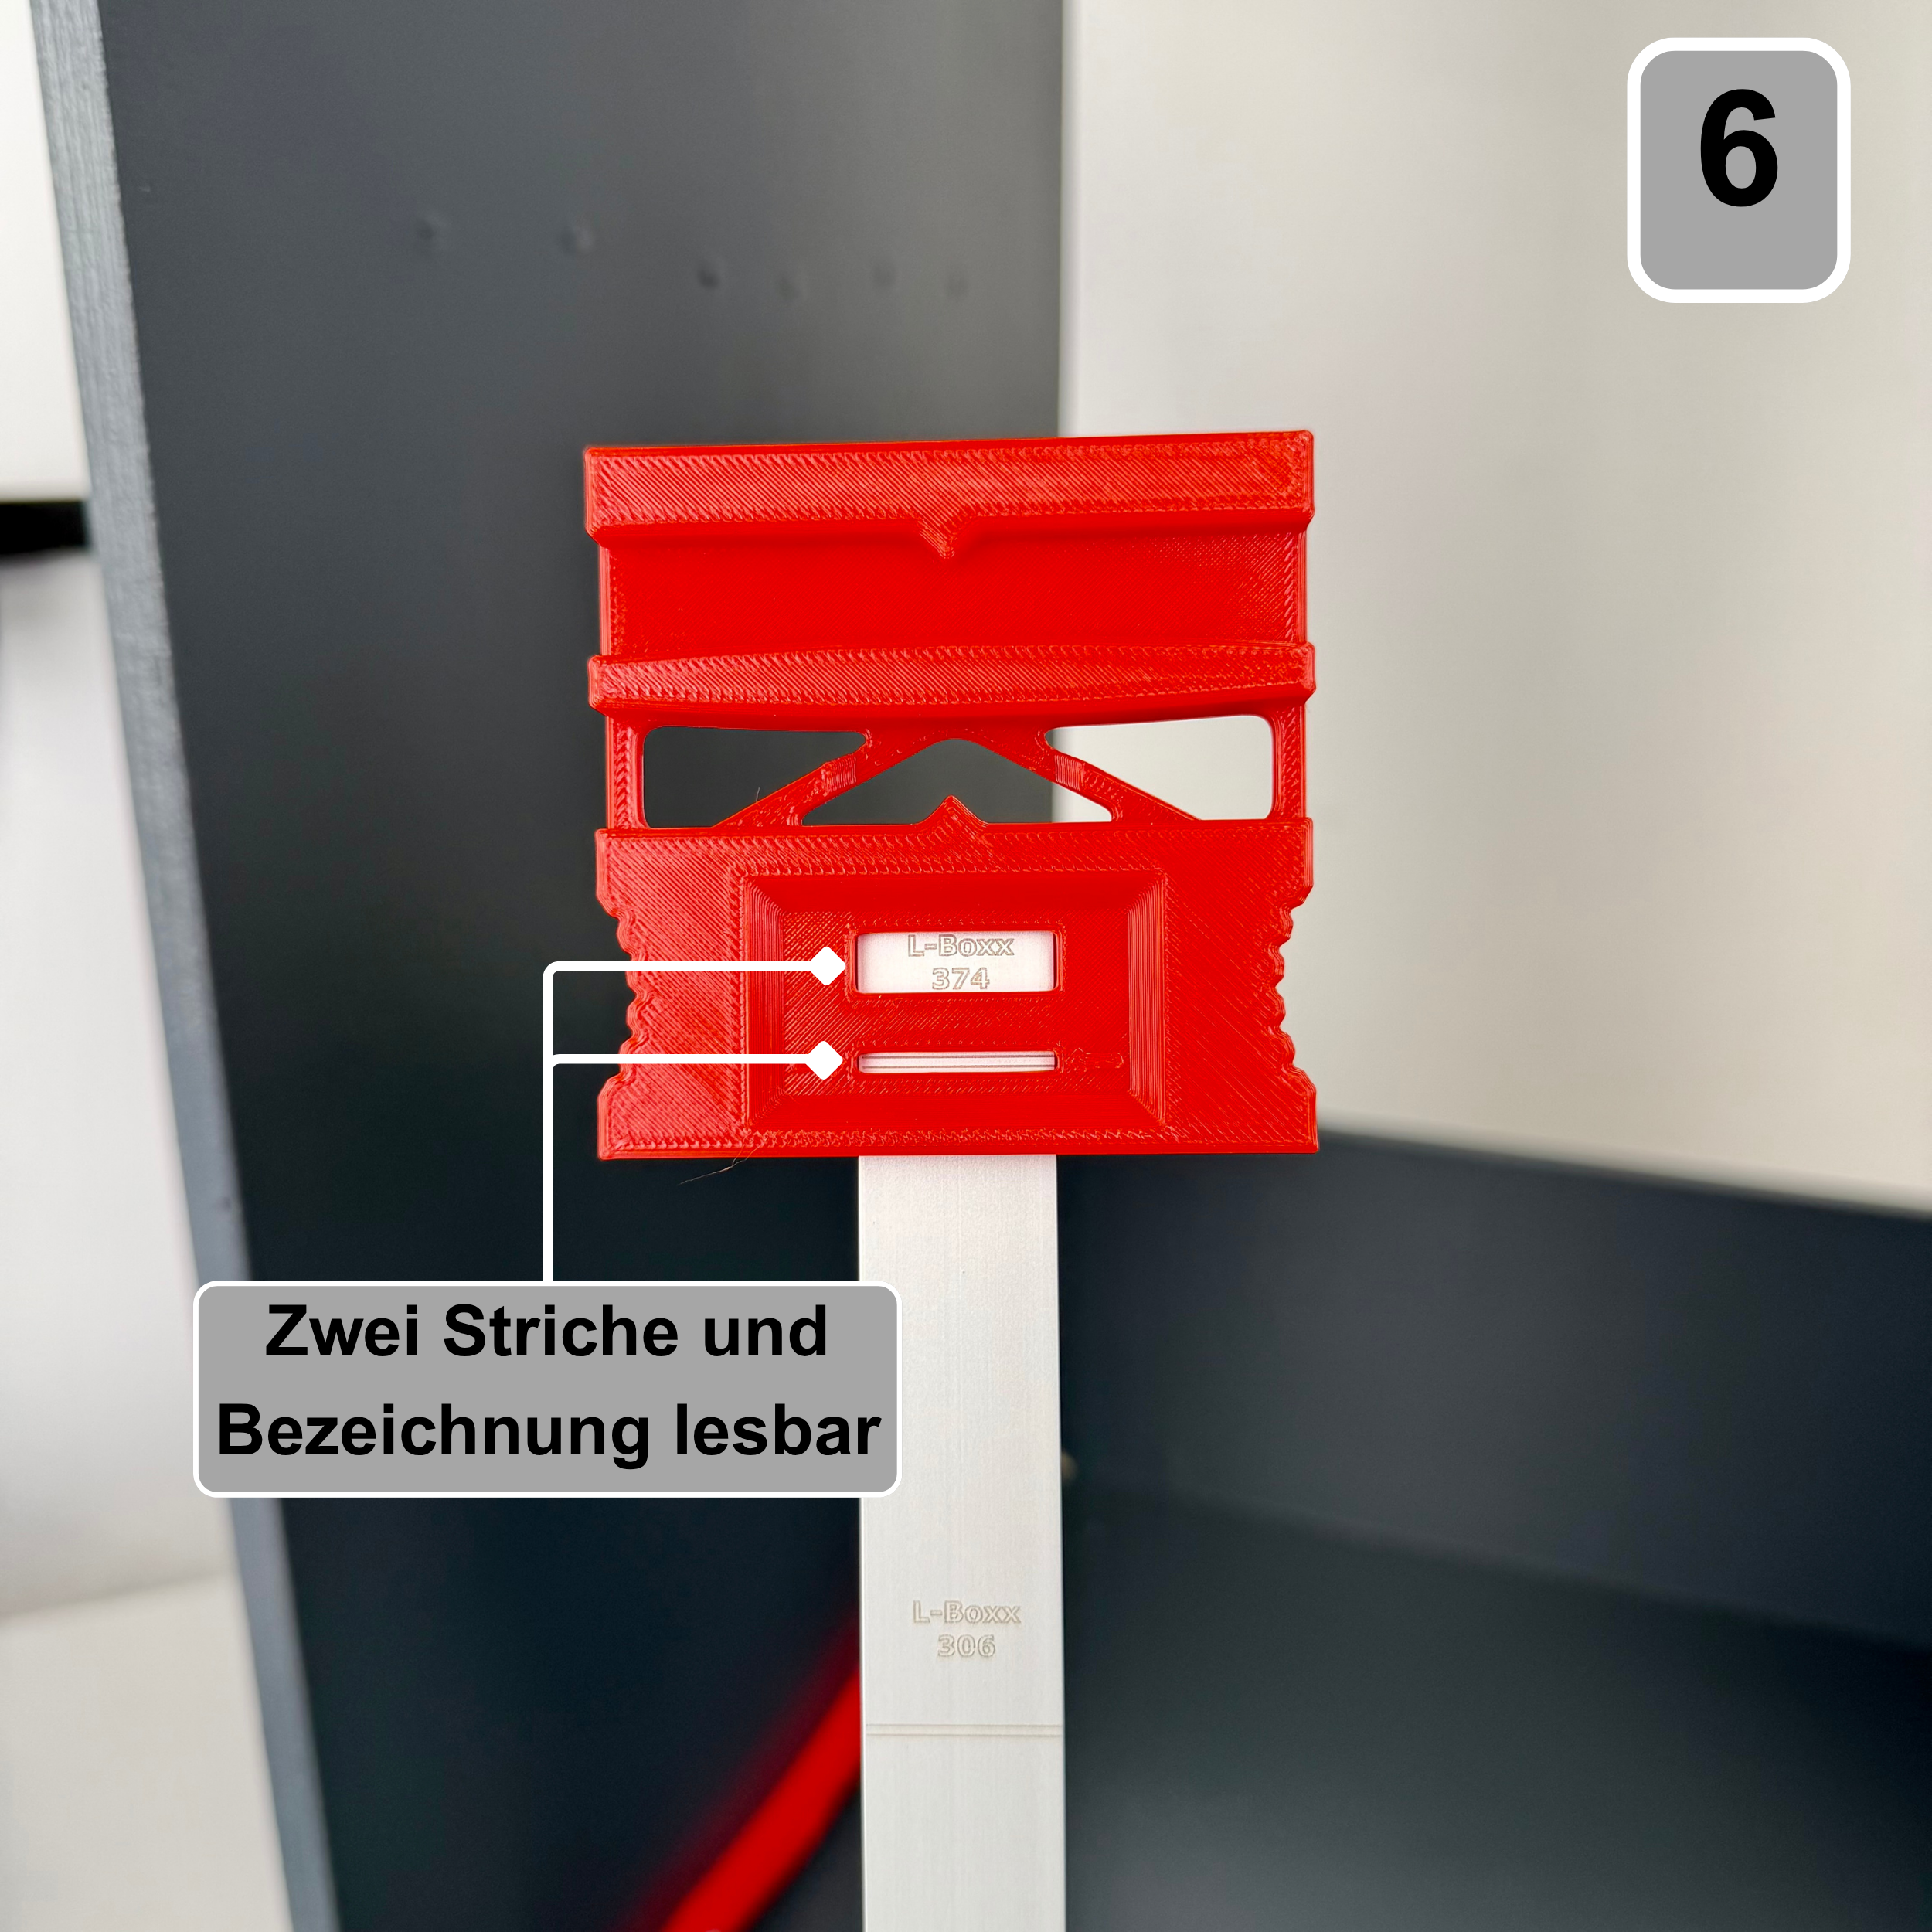
Adjust the rail mounting system to the Boxx height you prefer.
you want to place it in the subject. Make sure both lines are visible.
are.
Step 7: Using the mounting system
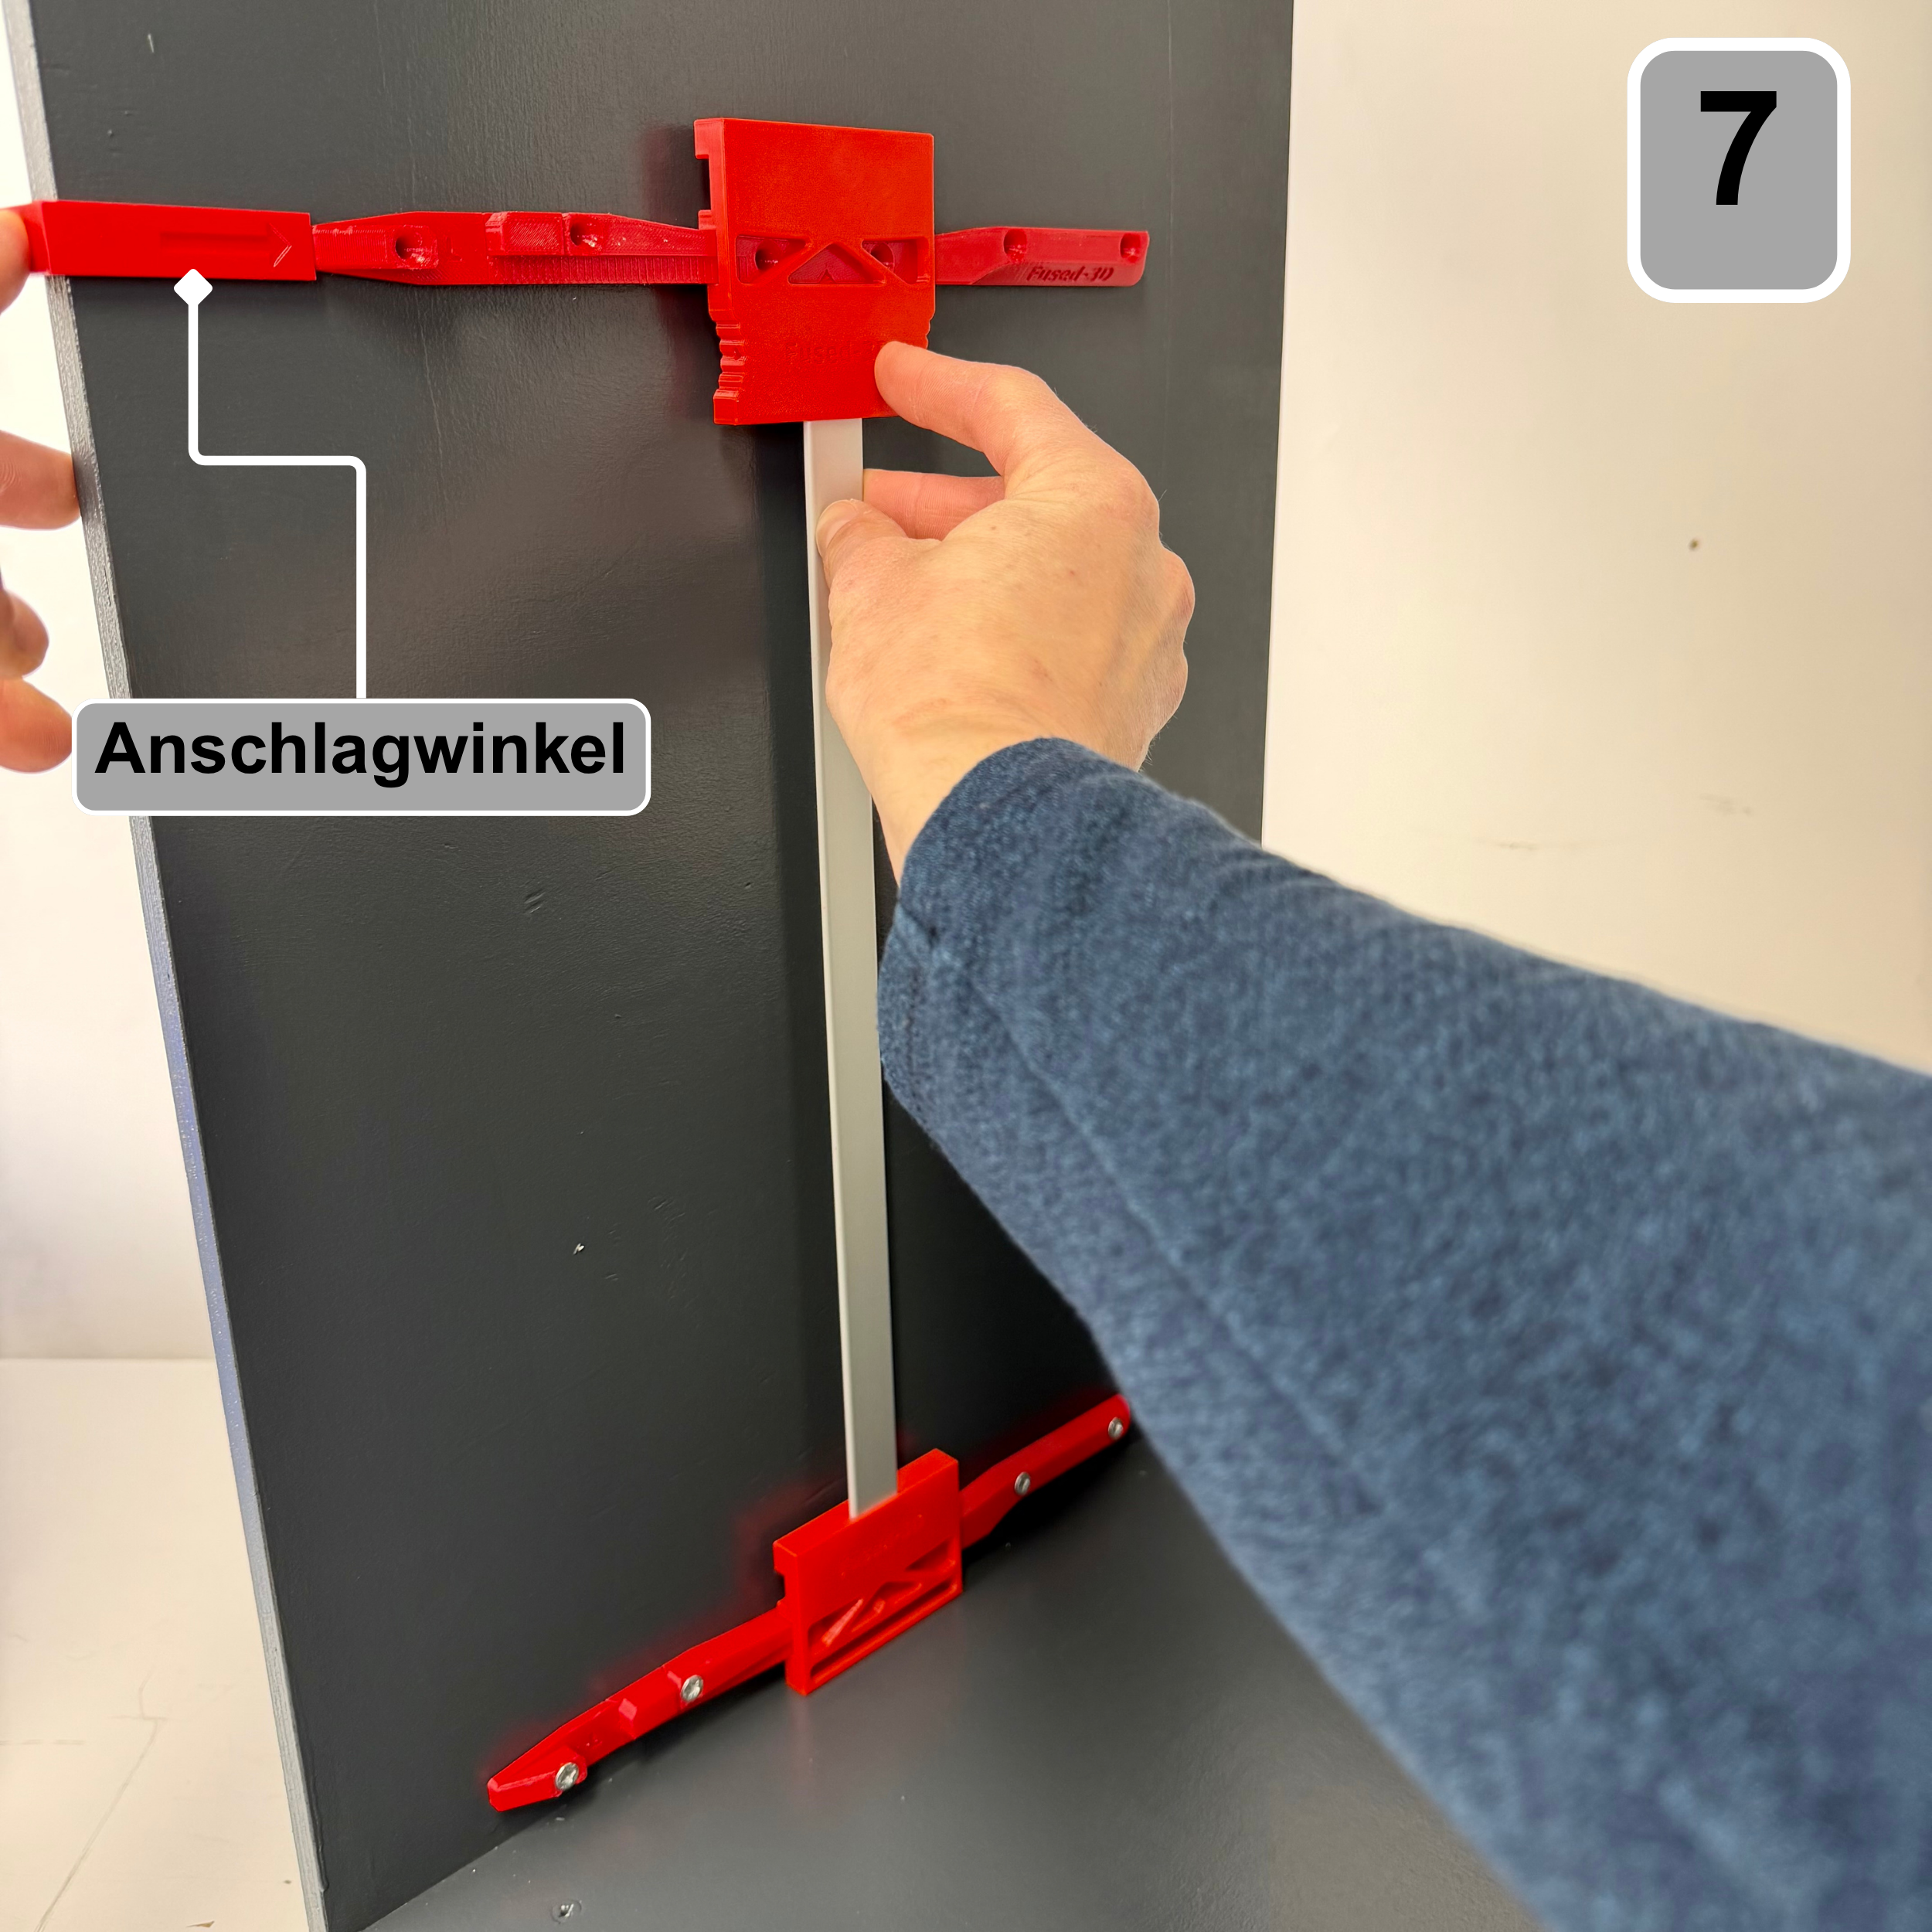
Insert a new rail onto the top of the system and use it.
continuously by inserting it into the underlying rail. Use
for this purpose, the stop angle is used to ensure precise alignment.
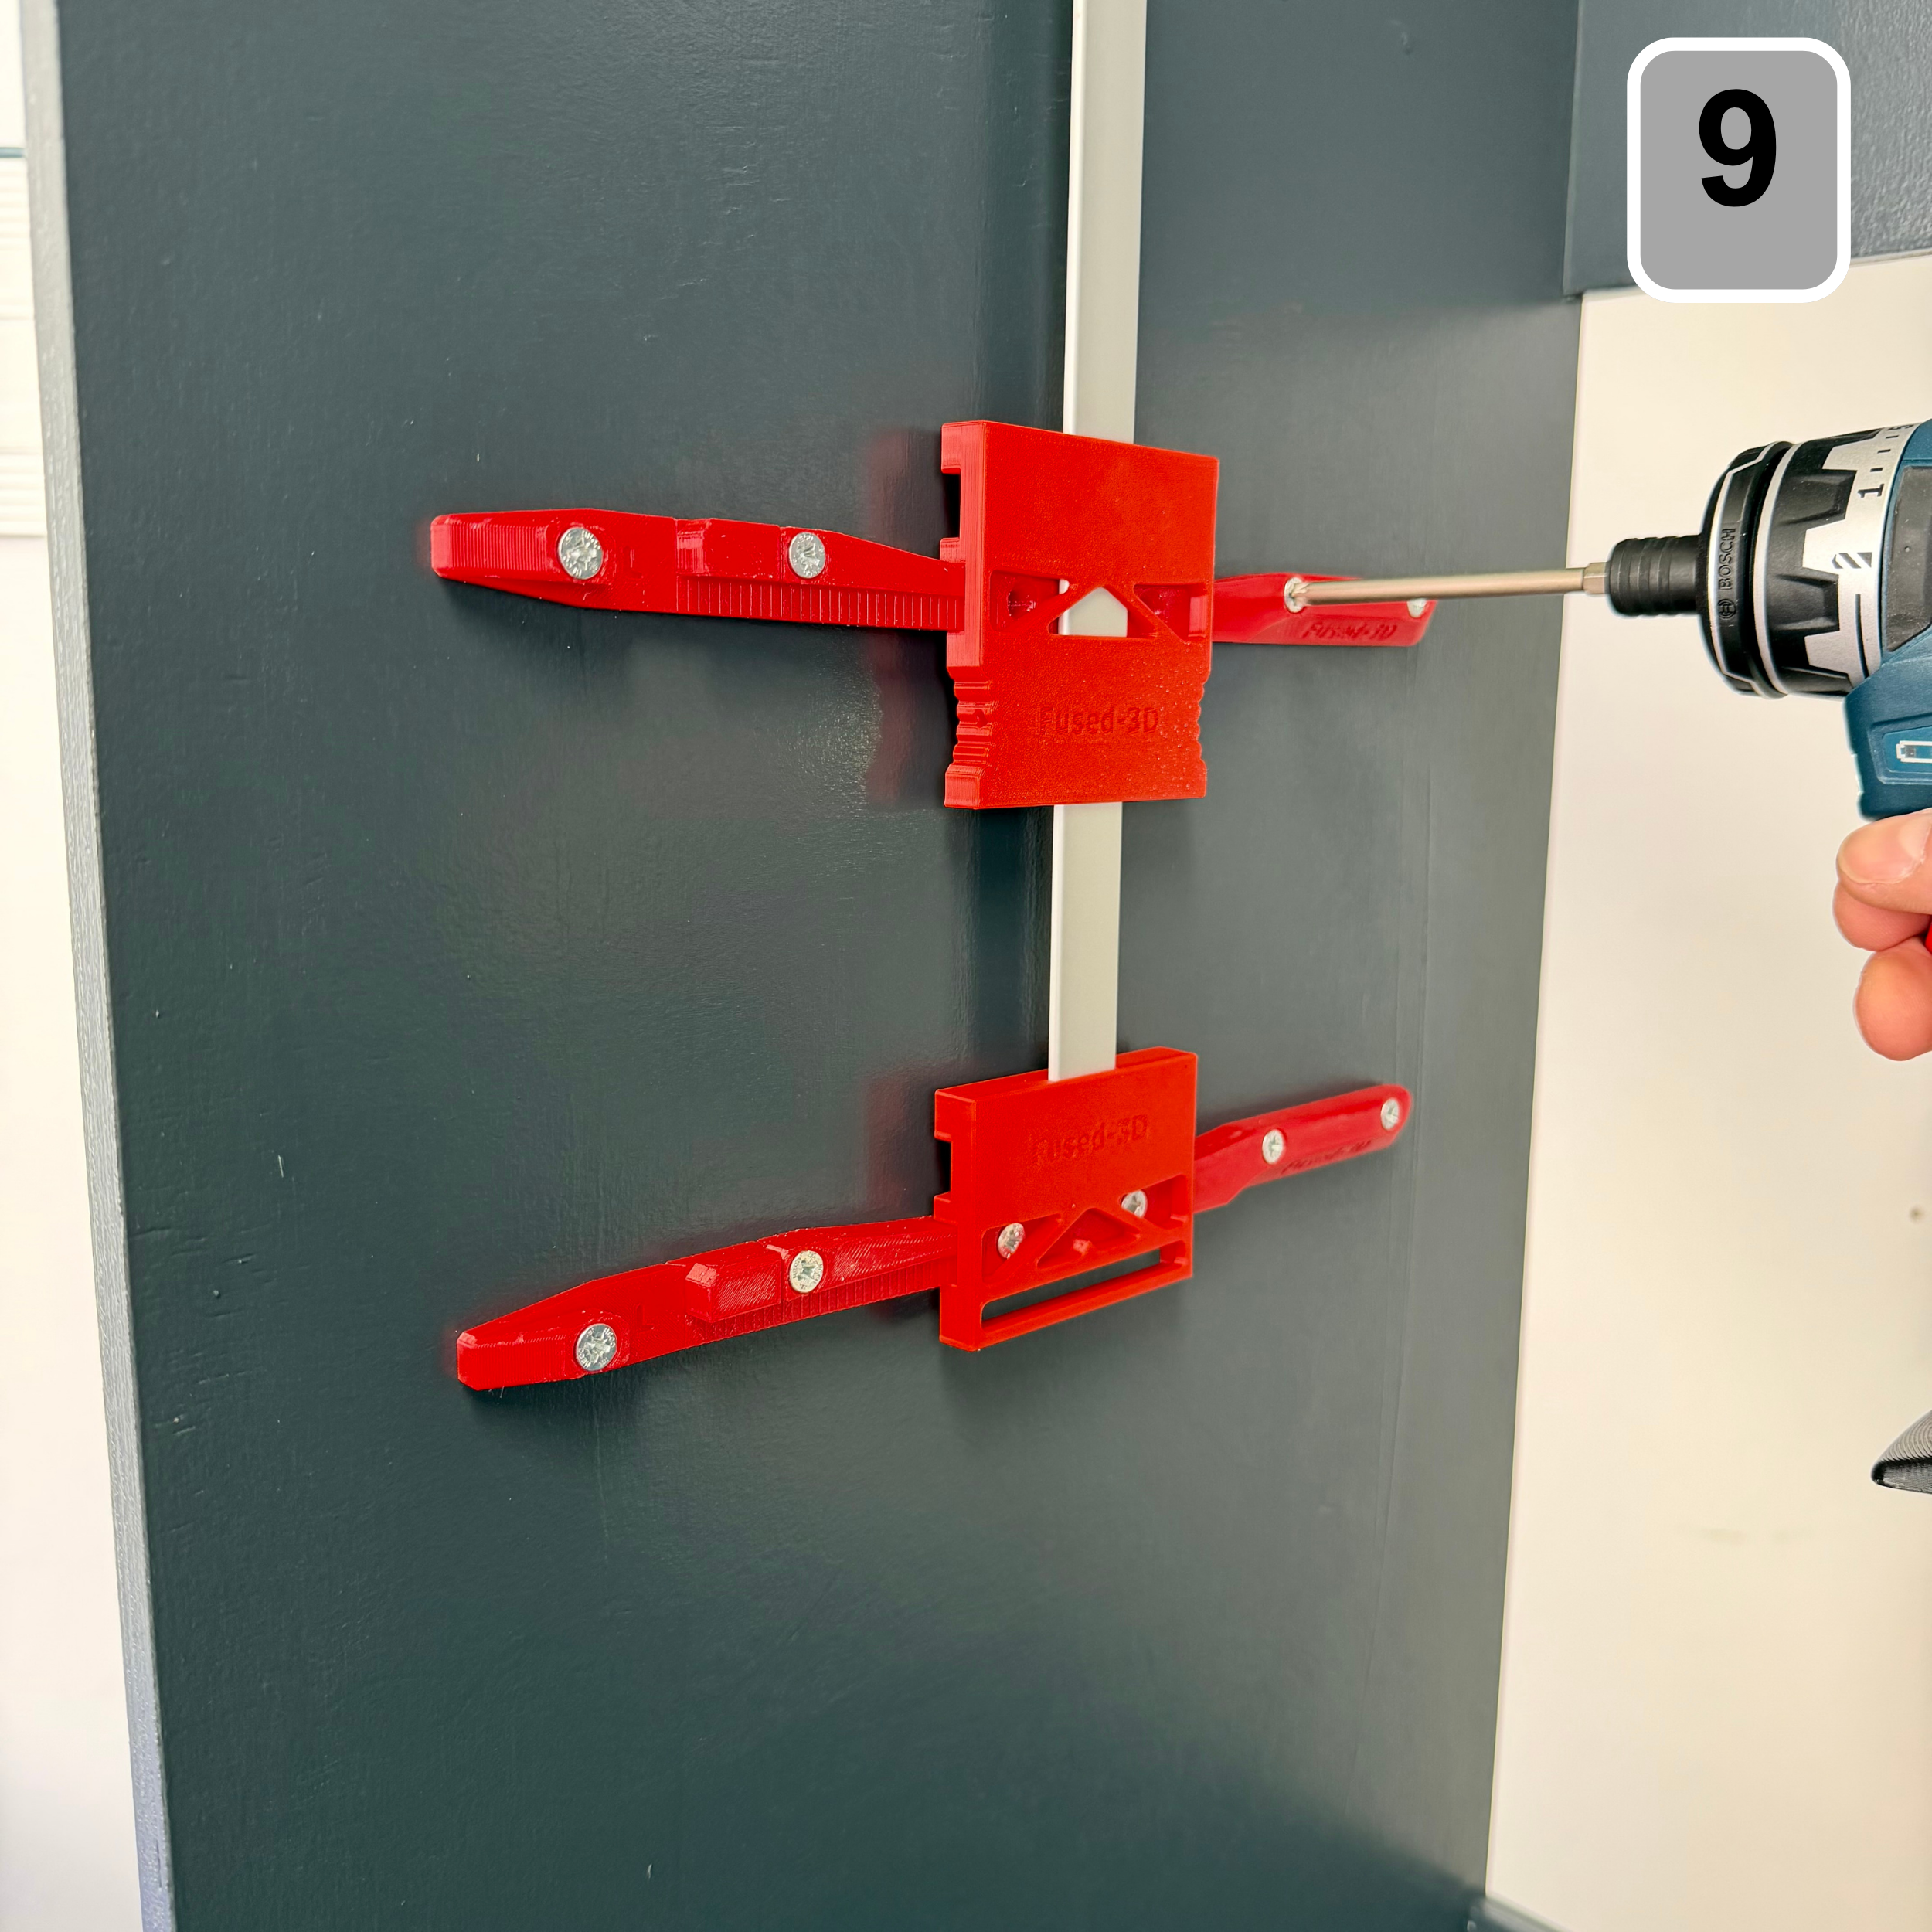
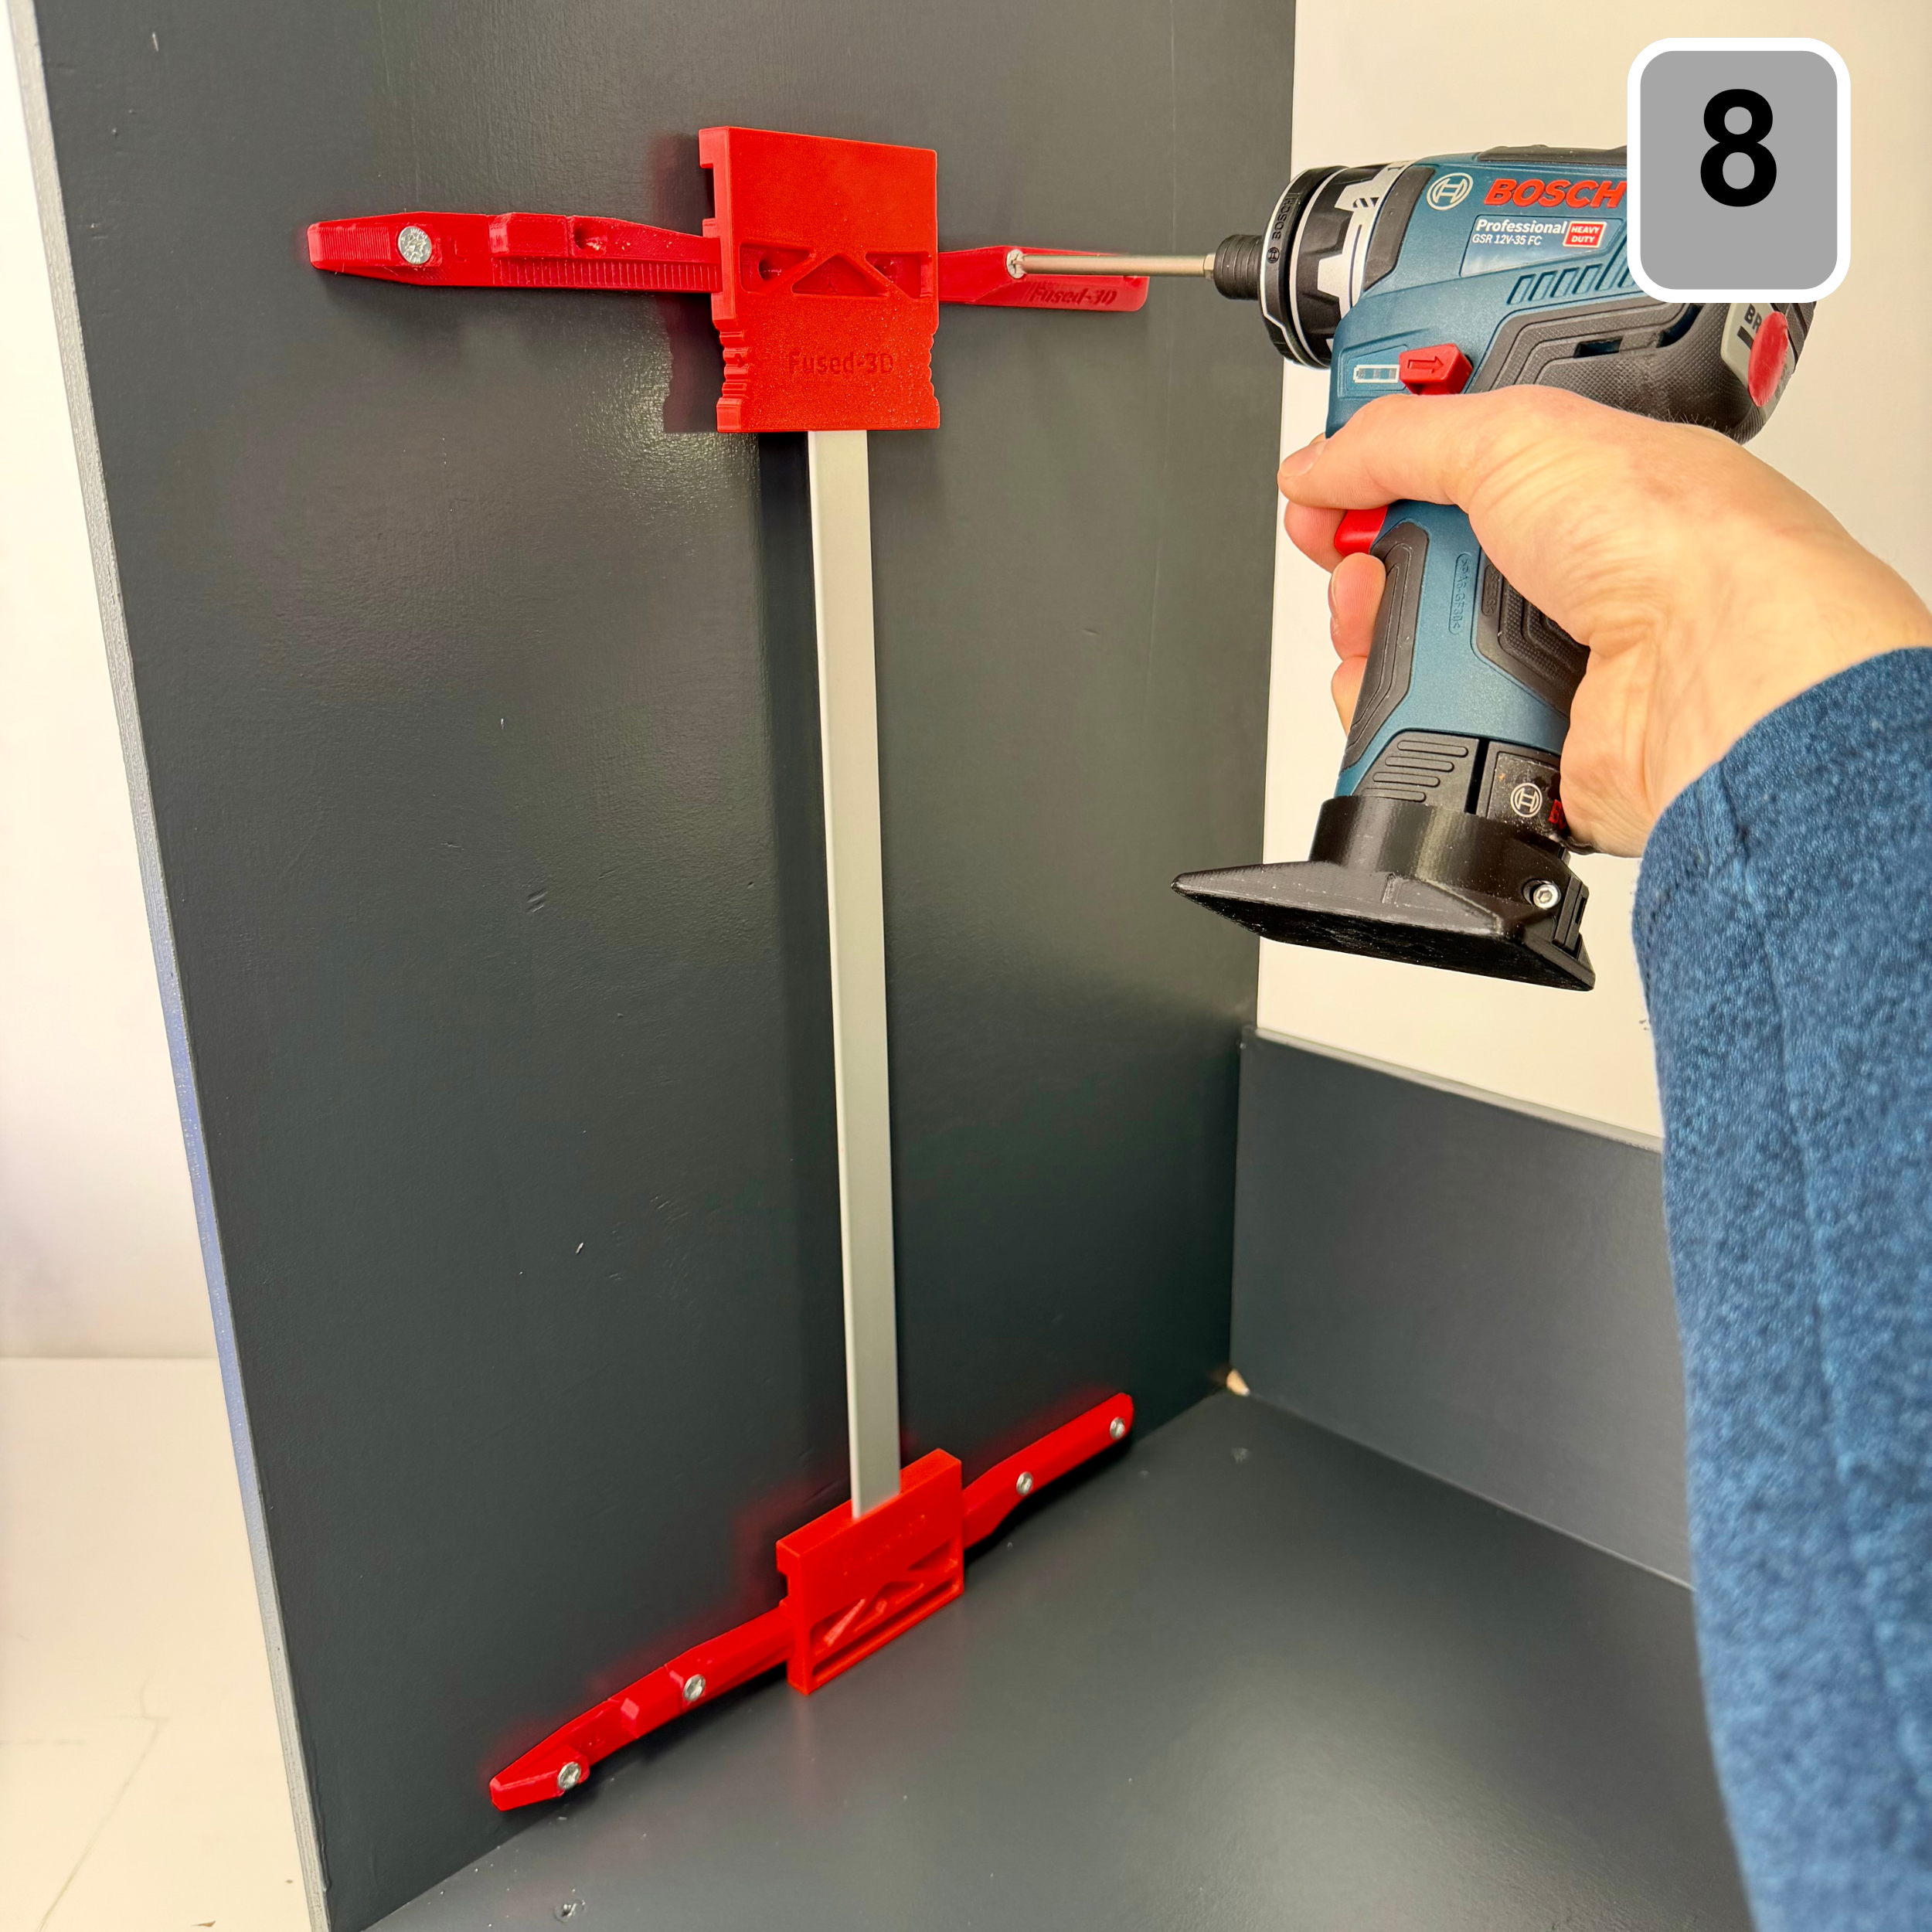
Step 8: Using the mounting system
Screw the rail to your cabinet.
Step 9: Finishing
Repeat steps 6 and 7 on both sides until you have fully equipped your wardrobe on both sides.